Now that we have our post overview page in Remix let’s see how we can add the individual pages from this data.
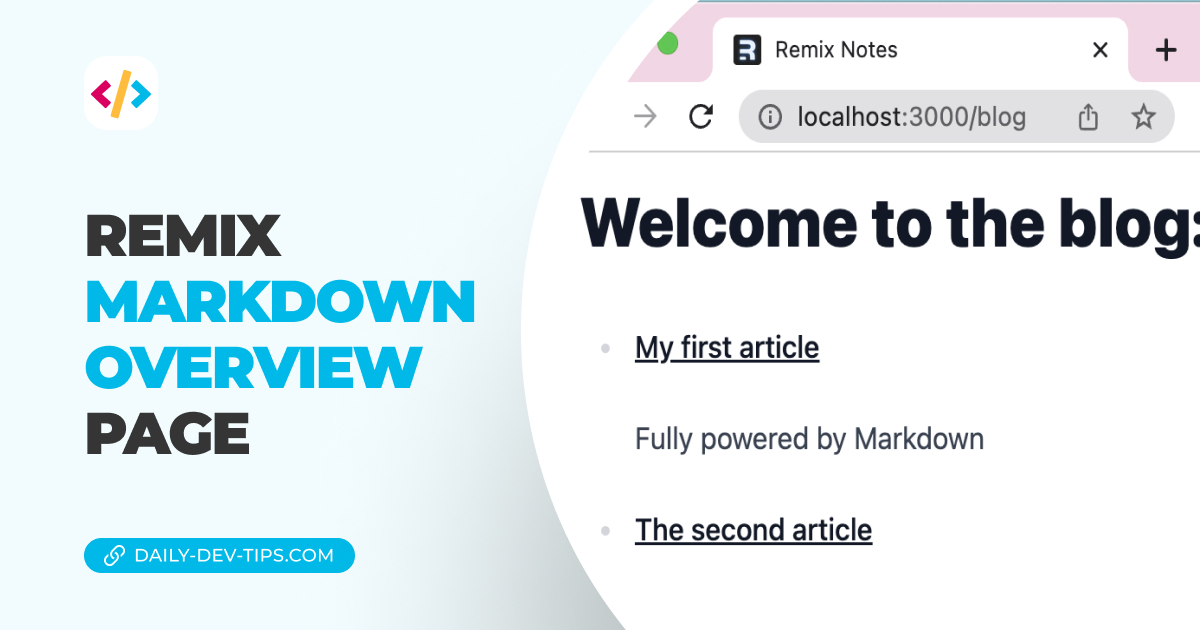
We are already able to click on the posts on the overview and go to each respective page like:
posts/post-1posts/post-2
But for now, they are non-existing, so let’s see how we can make those work dynamically.
If you would like to follow along, download this GitHub repo as your starting point.
A quick recap
We’ve added a posts model in the previous article, which acts as our data source. You can find it here: app/models/post.server.ts.
For now, it simply outputs an array of posts, but eventually, we’ll work to make this load from an external source.
To load these posts on the overview page, we use the useLoaderData hook built into Remix.
We are going to apply the same concept to create our dynamic pages. Like many of these modern frameworks, we have an option to create one file that can serve as a dynamic file.
In Remix, we use a dollar sign to make a file dynamic.
Create the dynamic post file: app/routes/posts/$slug.tsx.
import { json, LoaderFunction } from '@remix-run/node';
import { useLoaderData } from '@remix-run/react';
import { getPost } from '~/models/post.server';

type LoaderData = {
  post: Awaited<ReturnType<typeof getPost>>,
};

export const loader: LoaderFunction = async ({ params }) => {
  return json({
    post: await getPost(params.slug),
  });
};
This will now find the post matching this param based on the slug.
However this getPost function doesn’t exist yet, so let’s open our model and create it quickly.
export async function getPost(slug: string | undefined): Promise<Post> {
  const posts = await getPosts();
  return posts.filter((post) => post.slug === slug)[0];
}
As you can see, this is based on the existing function that retrieves all the posts, but we limit it to match based on the slug.
And then, we can return some HTML and render our post title, for instance.
export default function PostSlug() {
  const { post } = useLoaderData() as LoaderData;
  return (
    <main className="mx-auto max-w-4xl">
      <h1 className="my-6 border-b-2 text-center text-3xl">
        The post title: {post.title}
      </h1>
    </main>
  );
}
Let’s try it out and see what happens.
Yes, we did it. We now have managed our dynamic routes in Remix.
You can find the completed code on GitHub.
Thank you for reading, and let’s connect!
Thank you for reading my blog. Feel free to subscribe to my email newsletter and connect on Facebook or Twitter