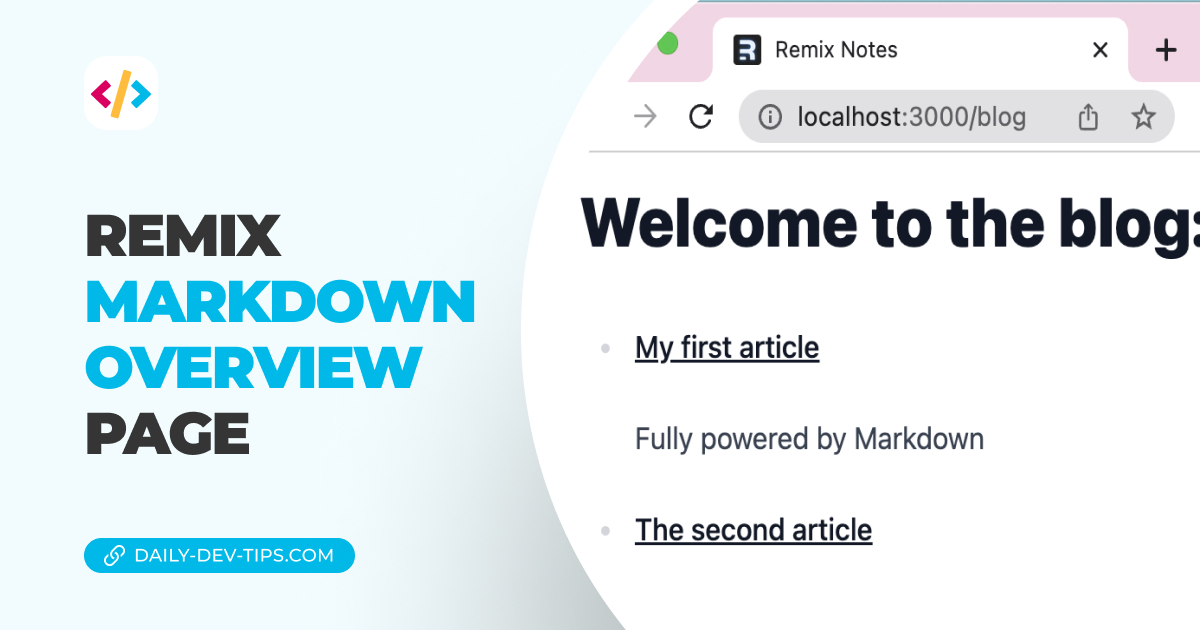
Now that we have our Remix Markdown powered website up and running let’s explore how we can enhance it a bit by adding some cool Markdown plugins.
For this article, we’ll add the table of contents Rehype plugin.
Installing the Rehype plugin
We have to start by adding the plugin to our project. To use the table of contents plugin, we also need to install the slug and auto-link headings plugins as it relies on these.
npm i rehype-autolink-headings rehype-to rehype-slug
With these installed, we have to register them in Remix. Luckily Remix comes prepared with a remix.config.js file.
We can add an mdx section in this file and load our plugins.
module.exports = {
  // Existing lines,
  mdx: async (filename) => {
    const [rehypeSlug, rehypeAutolinkHeadings, rehypeToc] = await Promise.all([
      import('rehype-slug').then((mod) => mod.default),
      import('rehype-autolink-headings').then((mod) => mod.default),
      import('rehype-toc').then((mod) => mod.default),
    ]);
    return {
      rehypePlugins: [rehypeSlug, rehypeAutolinkHeadings, rehypeToc],
    };
  },
};
Now that we have loaded all three plugins, it will already work! No need to add anything else to our markdown. We can try it out by running outcode and see what happens.
You can also find the complete code on GitHub.
Thank you for reading, and let’s connect!
Thank you for reading my blog. Feel free to subscribe to my email newsletter and connect on Facebook or Twitter