We had a brief first-look at TypeORM, an excellent ORM system for managing your database.
I wrote about this first as I was transitioning to Prisma, this is not finished, but I found some fantastic elements of TypeORM I wanted to showcase in the meantime.
The TypeORM viewEntity
And for this article, that is something called a viewEntity.
In broad terms, TypeORM has entities that reflect database tables or connections.
But there is another type of entity we can leverage. The viewEntity can be used to map to a database view.
If you have never heard of database views, this is a view of a particular result of a database.
Let’s take our initial TypeORM project as a starting point.
Note: You can find it here on GitHub.
We have something called a photo table in this project, which has all our photos.
These photos can be either published or not. We could also add a simple view entity that can only show the published photos.
That way, we always perform that specific query, instead of repeating ourselves with something like andWhere(photo.isPublished).
Creating the view entity
We write the view entity the same as a normal entity, but you can give them an exact name.
Let’s use publishedPhoto for our one.
We have two ways of defining the actual view entity query, which can be either a raw SQL query like this:
@ViewEntity({
    expression: `
        SELECT "*"
        FROM "Photo"
        WHERE "isPublished" = true`
})
Or via the query builder, which would look like this.
@ViewEntity({
    expression: (connection: Connection) =>
        connection
            .createQueryBuilder()
            .select('*')
            .from(Photo, 'photo')
            .where('photo.isPublished = true')
})
I like the query builder a bit more, as it’s cleaner in my eyes.
This is a very simple query, but you can enhance the query and even include multiple joins, a small example could be:
@ViewEntity({
    expression: (connection: Connection) =>
        connection
            .createQueryBuilder()
            .select('photo.*', 'user.firstName')
            .from(Photo, 'photo')
            .leftJoin(User, 'user', 'photo.userId = user.id')
            .where('post.isPublished = true'),
})
Once the view entity is done, we still need to set up the returned columns.
These are called viewColumn, and we can add them in our class export like this:
export class PublishedPhoto {
  @ViewColumn()
  id: string;

  @ViewColumn()
  name: string;

  @ViewColumn()
  views: number;
}
You can, of course, add whichever columns you’d like to show here.
Loading the viewEntity
To load the view entity, we have two options. The first is to create a new migration and manually add all the queries to replicate this view entity.
This would be the preferred way of keeping everything in sync. However, since we haven’t used migrations yet, let’s use the sync command.
(But it can cause some odd syncs and is a bit more unpredictable for a production application)
npm run typeorm -- schema:sync
Once it’s done, you should see the view added to your database.
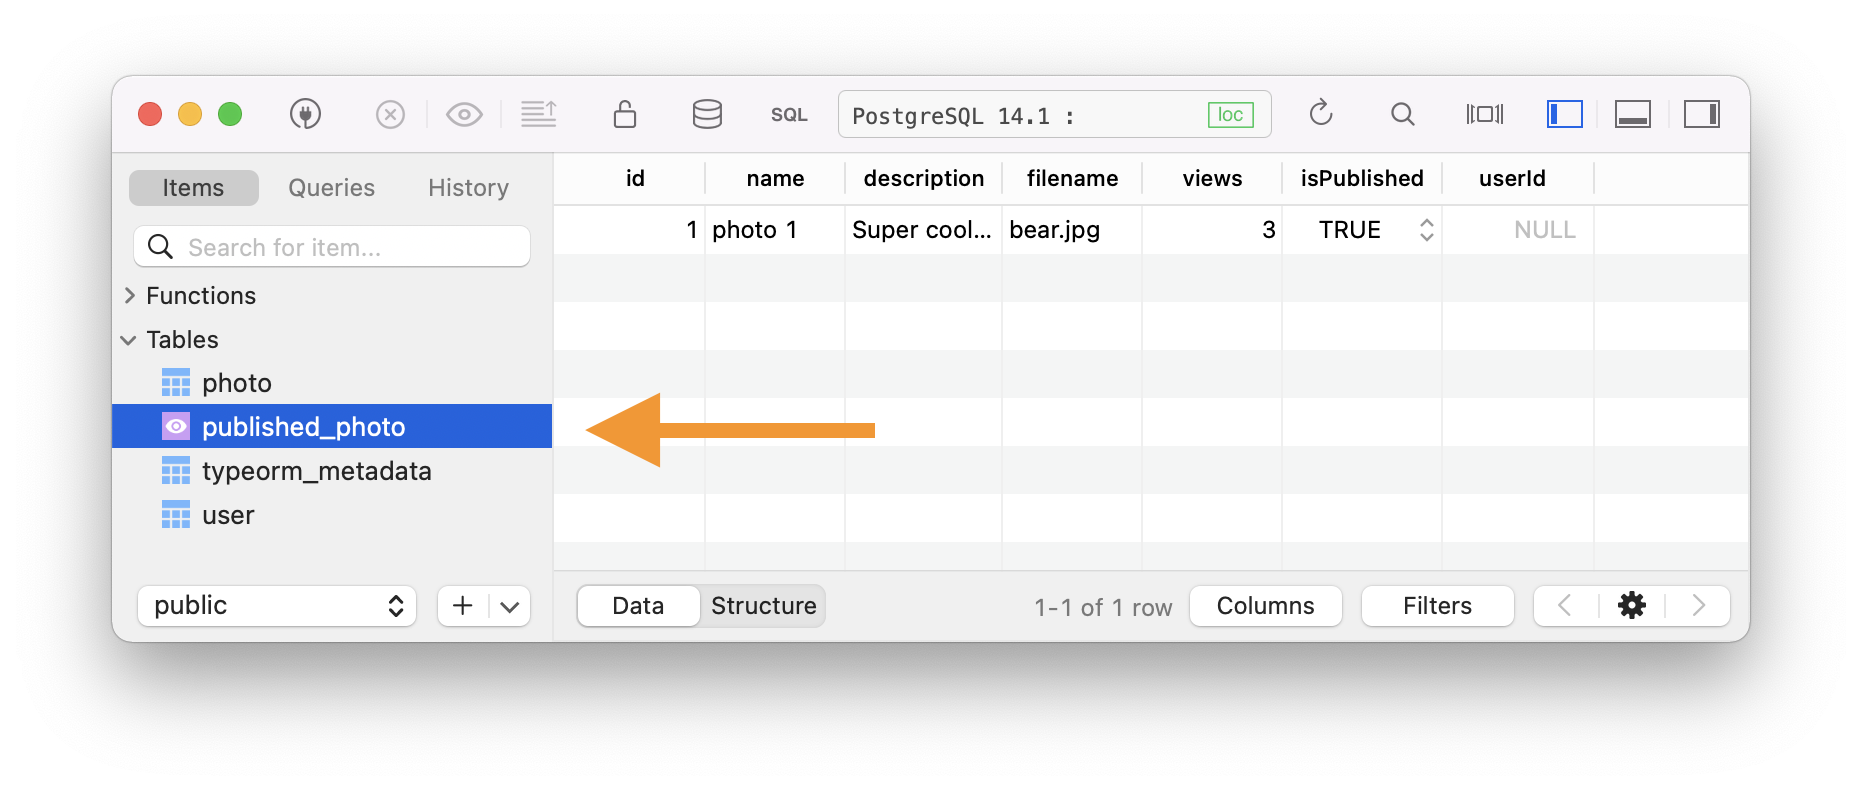
You can even see it shows only one result, while my database has two pictures. One is published, and the other one is not.
Query the view entity
Let’s first create an endpoint to retrieve all photos to see the difference.
Open up your index.ts file and add the route of the following photo.
fastify.get('/photos', async (request, reply) => {
  const photos = await connection.manager.find(Photo);
  return { photos };
});
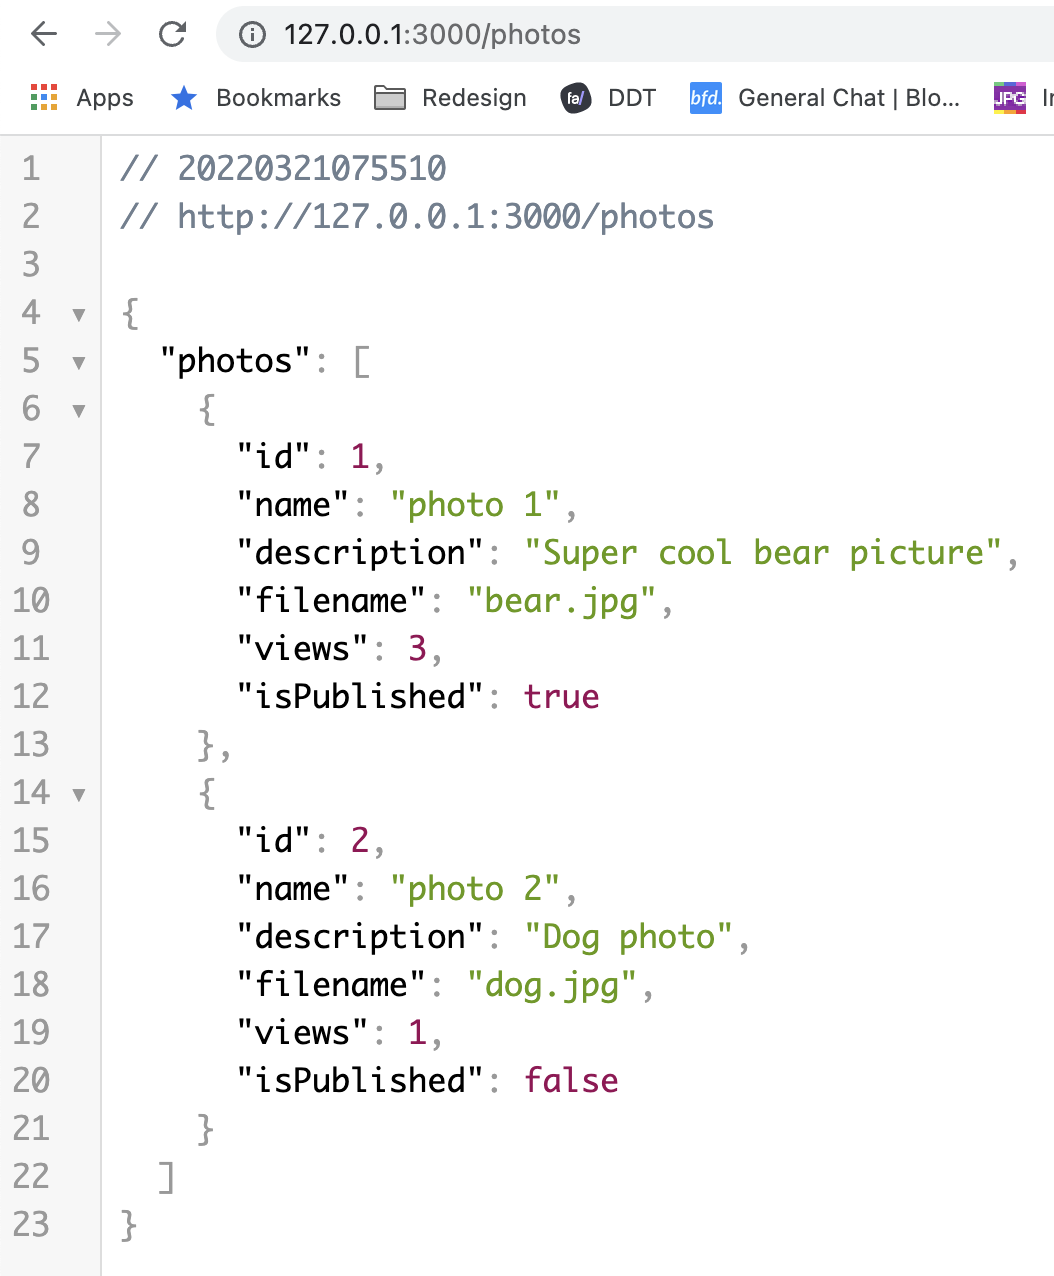
If we now run our application (npm run start) and visit the page, we should see all our photos.
Now we can swap out the Photo entity with our newly created view entity, which will use instead.
fastify.get('/photos', async (request, reply) => {
  const photos = await connection.manager.find(PublishedPhoto);
  return { photos };
});
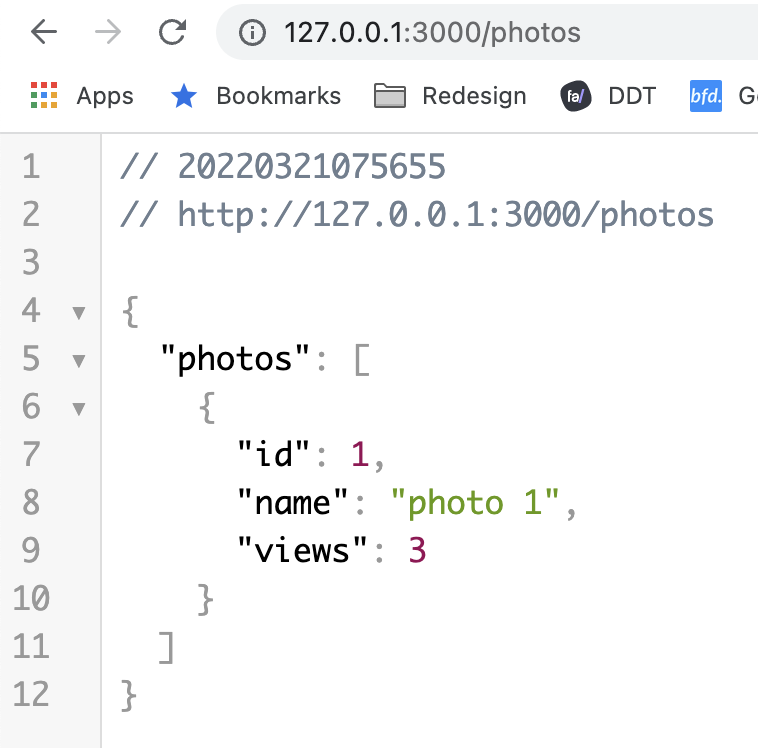
As you can see, view entities can be super easy for specific combinations that you’d always have to do.
Think about published or deleted or even hidden items.
You can also find this in the GitHub repo.
Thank you for reading, and let’s connect!
Thank you for reading my blog. Feel free to subscribe to my email newsletter and connect on Facebook or Twitter