I’ve recently had some fun playing around with Next.js but never really documented any of my learnings.
So let’s go back to the basics and set up a basic Next.js application that uses Tailwind css!
Setting up Next.js
First of all, let’s set up Next.js, which is easy as we need to have node.js installed.
Then run the following command in your terminal.
npx create-next-app
Follow the steps it prompts.
If you want to start with a Typescript version, use the following command.
npx create-next-app --ts
By now, we already have half the work done and a basic Next.js app is running. We can see it in action by running: npm run dev.

Adding Tailwind CSS to a Next.js application
However, let’s not stop there and add Tailwind CSS to the mix. Tailwind is so easy for basic styling and can help us get started quickly.
To installed Tailwind in our Next.js app, we first need to install the dependencies:
npm install -D tailwindcss@latest postcss@latest autoprefixer@latest
Then let’s add our config files by running:
npx tailwindcss init -p
This creates a tailwind.config.js file as well as a posts.config.js file.
Open up the tailwind.config.js file and the purge for our Next.js files.
For v2 of tailwind use this purge option:
purge: ['./pages/**/*.{js,ts,jsx,tsx}', './components/**/*.{js,ts,jsx,tsx}'],
If you are on v3 use content:
content: ['./pages/**/*.{js,ts,jsx,tsx}', './components/**/*.{js,ts,jsx,tsx}'],
You can also enable Tailwind JIT mode if you like.
mode: 'jit',
Note: If you are on Tailwind v3 JIT is automatically enabled so no need to add the mode.
Then we simply have to add our Tailwind base styles to our styles/globals.css file.
@import 'tailwindcss/base';
@import 'tailwindcss/components';
@import 'tailwindcss/utilities';
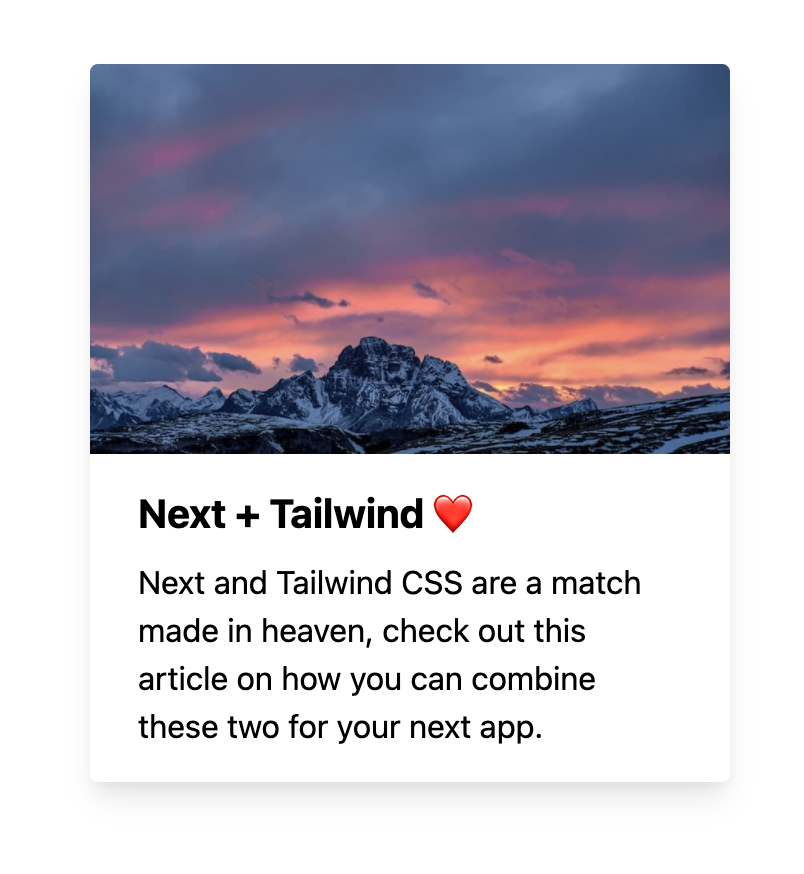
And let’s add a basic card template in our pages/index.js file:
<div className="flex min-h-screen justify-center items-center">
  <head>
    <title>Create Next App</title>
    <meta name="description" content="Generated by create next app" />
    <link rel="icon" href="/favicon.ico" />
  </head>

  <div className="max-w-xs rounded overflow-hidden shadow-lg my-2">
    <img
      className="w-full"
      src="https://tailwindcss.com/img/card-top.jpg"
      alt="Sunset in the mountains"
    />
    <div className="px-6 py-4">
      <div className="font-bold text-xl mb-2">Next + Tailwind ❤️</div>
      <p className="text-grey-darker text-base">
        Next and Tailwind CSS are a match made in heaven, check out this article on how
        you can combine these two for your next app.
      </p>
    </div>
  </div>
</div>
If you now re-run the application, we should see a card like this show up in the browser.
Are you interested in seeing the complete code? You can view it on GitHub.
Thank you for reading, and let’s connect!
Thank you for reading my blog. Feel free to subscribe to my email newsletter and connect on Facebook or Twitter