You might have heard about it remix, the new kid on the React ecosystem block.
This framework comes from some big names in the React world. After giving a lot of training in React and helping people see build websites, they decided to make one new bridge for websites.
It’s heavily focused on handling dynamic front and back ends. With these four points as their primary focus:
- High on a server/client model: Their premise is that we (developers) can choose fast servers, but we can’t make an end-users network fast. So we should highly optimize that part
- Trust web standards: Use HTML defaults. They are so good these days we should use them to enhance our applications
- Progressive enhancement: The main part they focus on here is to make the web work with or without JavaScript, but the way they can add JavaScript focuses on being an enhancement and not a burden.
- Don’t over abstract: Since they are so close to native web functionalities getting good at Remix means you get good at building for the web. Many of their APIs leverage direct native functions.
So, what do these four have in common?
They allow us to Make Better Websites, which happens to be the slogan of Remix, and I love this premise.
Getting started with Remix
Who doesn’t love a basic starter? For me a great way to explore and try out Remix.
Remix comes with some basic templates out of the box, which at the time of writing are:
- The blues stack: On the edge, Postgres, intended for large and fast production apps
- The indie stack: SQLite, great for dynamic data like blogs, content, and MVPs.
- The grunge stack: Serverless functions, DynamoDB, for production systems hosted on AWS
You are not limited to using any of these stacks, but it can be easy to pick one when getting started.
Note: You can always change/upgrade the stack
Start by creating a new remix project called remix-website on the indie stack.
npx create-remix --template remix-run/indie-stack remix-website
Once the installation is done, we can run the app with the following command:
npm run dev
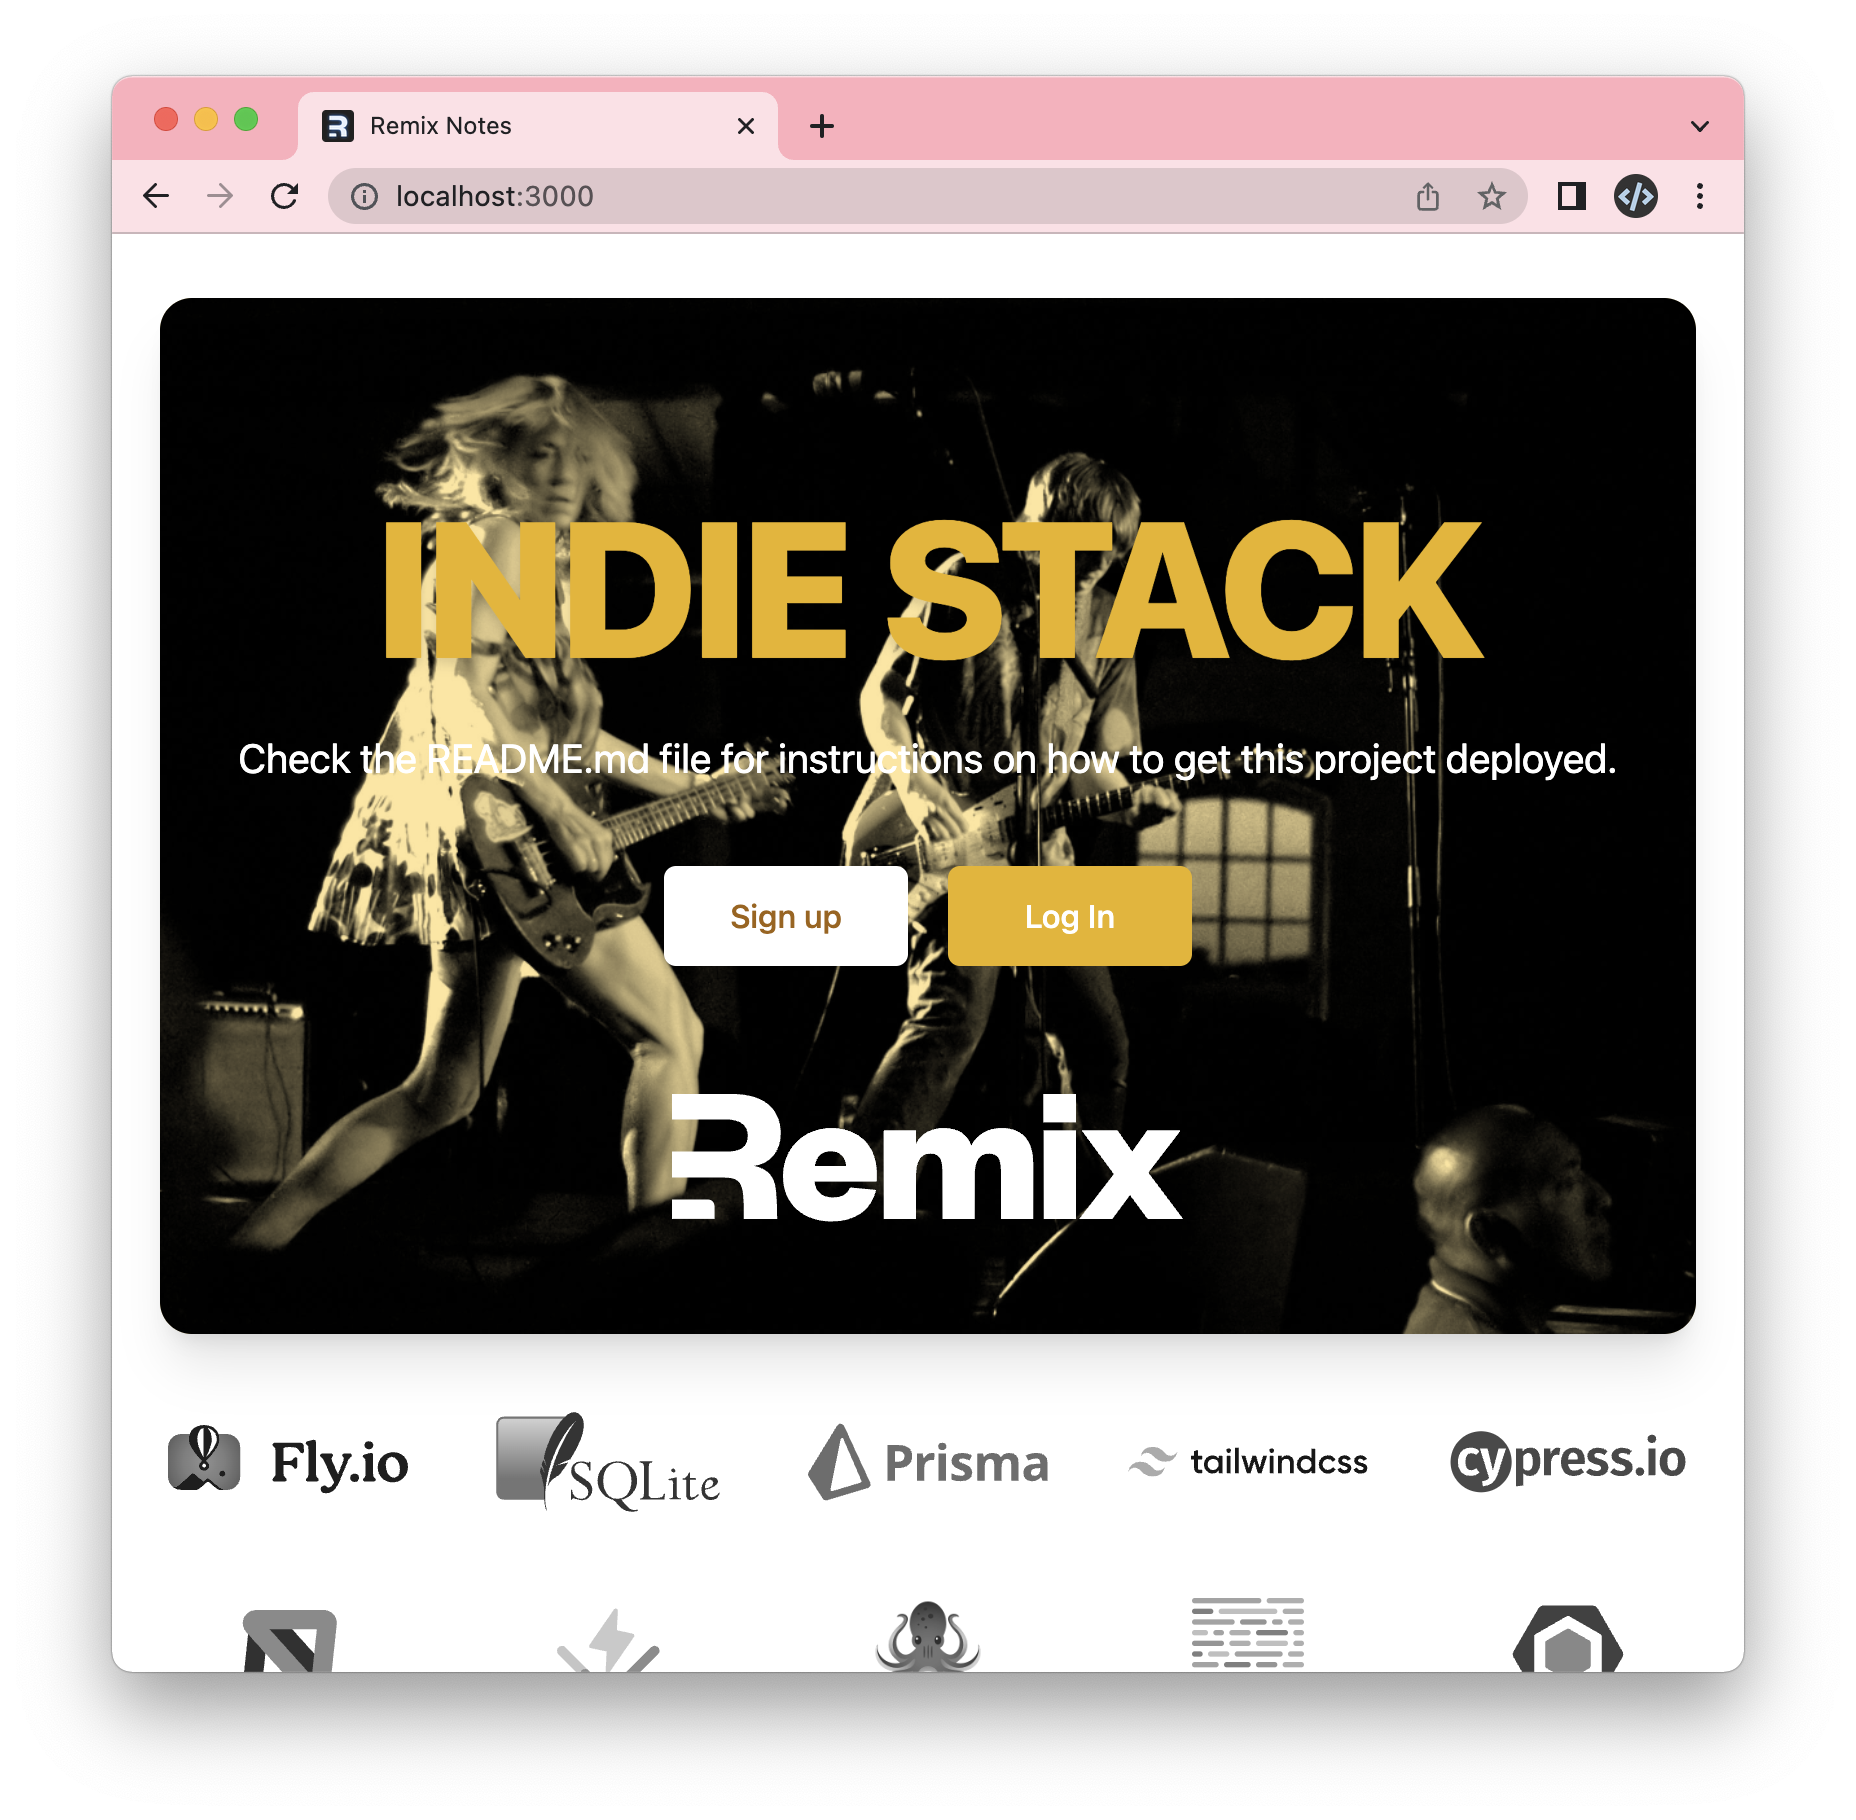
Now visit: http://localhost:3000 and you should see something like this.

Now that we are fully functional let’s add our first route.
Before we do that, let’s add a link to our homepage to go to the about page.
You can find the index at: app/routes/index.tsx.
<div className="mx-auto mt-16 max-w-7xl text-center">
  <Link
    to="/about"
    className="text-xl text-blue-600 underline"
  >
    About
  </Link>
</div>
Note: Good to note Remix comes with Tailwind by default in this stack
Now we can create this page inside the routes directory and call it about.tsx.
export default function About() {
  return (
    <main>
      <h1>About page</h1>
    </main>
  );
}
If we now refresh our application, we can click the about link and see this new page.
You can always find the code on GitHub.
Next steps
Now that we have the most basic setup done, we’ll start looking into the following.
- Shared layouts
- Dynamic pages
- Local database
- Forms
- And more
These will be shared among the upcoming articles, so keep an eye out if you want to learn Remix with me 🤘.
Thank you for reading, and let’s connect!
Thank you for reading my blog. Feel free to subscribe to my email newsletter and connect on Facebook or Twitter

