In the previous article, we changed our blog post to be loaded from local markdown files.
With that in place, we can start creating individual markdown-powered blog posts!
If you want to follow this article, use the following branch as your starting point.
Creating individual blog pages
In the blog overview, we set the URL to individual pages as /blog/${slug}, where the slug would be the file’s name.
We can start by creating a dynamic page in our blog pages directory.
We can call this file [slug].js. This dynamic format in Next.js allows random slugs to be valid files.
This file will need to use both the getStaticPaths and the getStaticProps functions. This is what they do:
getStaticPaths: Create all possible slug options for each postgetStaticProps: Get the actively requested page with more details for this specific article
So the first one is to generate all the available blog posts as a valid option, and the second is to fetch the details for this blog.
The structure of the file will look like this:
export async function getStaticPaths() {}

export async function getStaticProps({ params: { slug } }) {}

export default function PostPage({ frontmatter, content }) {}
Let’s start by creating the static paths function.
import fs from 'fs';

export async function getStaticPaths() {
  const files = fs.readdirSync('./posts');

  const paths = files.map((fileName) => ({
    params: {
      slug: fileName.replace('.md', ''),
    },
  }));
  return {
    paths,
    fallback: false,
  };
}
As with the blog overview page, we need to read all our files from the posts directory. We then map them with their filenames, which means a path with the slug will be valid for each file.
With the individual request, we need to extract both the frontmatter parts and the page’s actual content.
import fs from 'fs';
import matter from 'gray-matter';

export async function getStaticProps({ params: { slug } }) {
  const fileName = fs.readFileSync(`./posts/${slug}.md`, 'utf-8');
  const { data: frontmatter, content } = matter(fileName);
  return {
    props: {
      frontmatter,
      content,
    },
  };
}
Now we can adjust our render function to return the content for the requested file.
export default function PostPage({ frontmatter, content }) {
  return (
    <section className='px-6'>
      <div className='max-w-4xl mx-auto py-12'>
        <div className='prose mx-auto'>
          <h1>{frontmatter.title}</h1>
          <div>{content}</div>
        </div>
      </div>
    </section>
  );
}
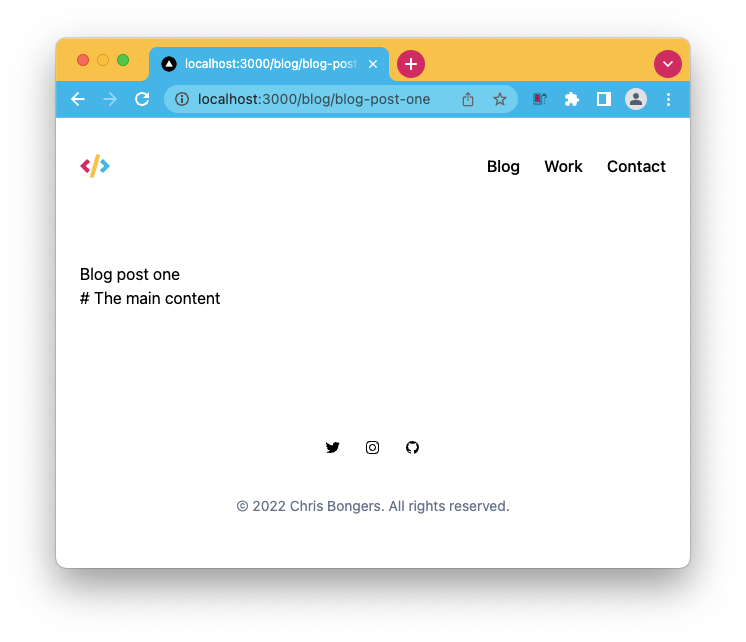
Let’s take a look at how this renders now.

So it looks like everything is there, but we see two issues.
- The markdown is not rendering as HTML
- The page doesn’t apply any styling
For the first part, we can leverage a pretty cool NPM package that will convert markdown into HTML.
Start by installing the package.
npm install markdown-it
Now import this package on the [slug].js page and set the content to render.
import md from 'markdown-it';

export default function PostPage({ frontmatter, content }) {
  return (
    <section className='px-6'>
      <div className='max-w-4xl mx-auto py-12'>
        <div className='prose mx-auto'>
          <h1>{frontmatter.title}</h1>
          <div dangerouslySetInnerHTML={{ __html: md().render(content) }} />
        </div>
      </div>
    </section>
  );
}
We have to use the dangerouslySetInnerHTML function. However, since we own the content on the server, this is safe enough.
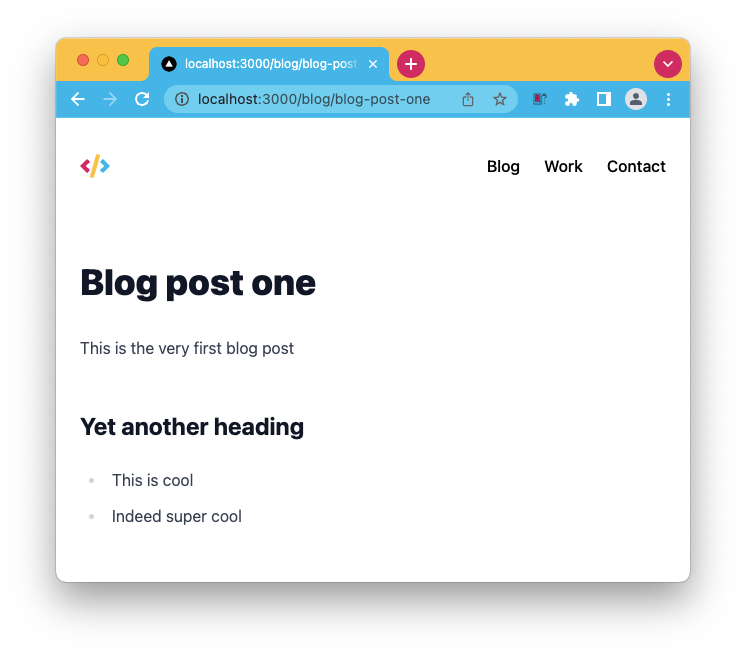
If now refresh, we can see the # is rendering as a heading, but it still all looks the same.
And luckily for us, there is a Tailwind plugin to handle auto styling for us. This means we don’t have to go and add classes to each element.
Install the plugin first:
npm install -D @tailwindcss/typography
Then open the tailwind.config.js file and add the plugin:
plugins: [require('@tailwindcss/typography')];
Restart the server and open the page again! You should now see a styled website, go ahead and add some markdown to the page to see it work.

You can also find the completed code for this article on GitHub.
Thank you for reading, and let’s connect!
Thank you for reading my blog. Feel free to subscribe to my email newsletter and connect on Facebook or Twitter