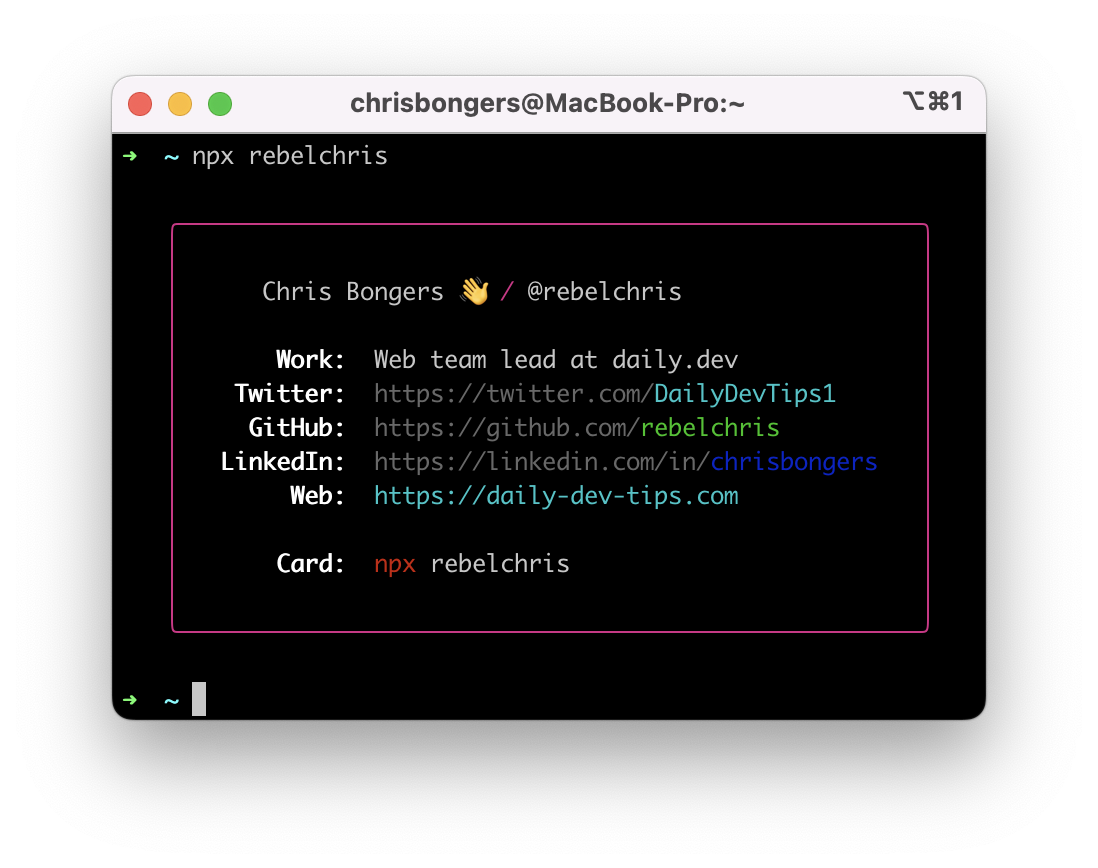
Recently I came across Scott Spences fantastic business card, and I can’t believe I missed this trend a couple of years ago.
So I’m here to bring it back! Business cards in the terminal, because who doesn’t love using their terminal 😅.
The original idea, as far as I can tell, comes from bitandbang, and that’s the one we’ll be using and crediting for this article.
The result for today:

Creating an NPM business card
We won’t be creating the card from scratch as the heavy lifting is already done by bitandbang.
Head to the bitandbang repo and fork it!
Once you have your fork, clone it locally and open it up in your favorite editor.
Open up the build.js file as this contains all the magic we need.
Replace all the information with your own, and you can play with what elements you’d like to showcase. You can add/remove lines as you go.
In the last line, you can see the rendering where you can specify a pre-defined or custom color for your card.
Once done, you can try it out locally by running the following command.
npm run dev
This should show you how the output of the card will look.
Publish your card to NPM
Once you’re done with the card and happy with how it looks, it’s time to publish it to NPM.
But before we do, let’s make sure we publish it under our domain.
Open up the package.json file and modify the following items:
- name
- version
- description
- bin (the first element)
- repo
- homepage
- author
Once that’s done, you can publish the package to the registry by executing the following command.
npm publish
You can now open a new terminal and run your card command to see the output.
In my case, that’s this command:
npx rebelchris
Super cool!
Credit
Massive credit to bitandbang for the initial repo.
You can find my version on this GitHub link.
Thank you for reading, and let’s connect!
Thank you for reading my blog. Feel free to subscribe to my email newsletter and connect on Facebook or Twitter