Prisma is a very cool ORM that we can use to access a database in JavaScript projects. Prisma works with SDL (Schema Definition Language) to make writing migrations and type-safe code a breeze.
You’ll learn the most by adding it and seeing it in action to see what we are working with.
Adding Prisma to a Next.js project
Let’s start a new blank Next.js project so everyone can follow along from scratch.
npx create-next-app
Give your app a name and navigate inside this new folder.
Then we need to install the Prisma development dependency as so:
npm i -D prisma
While we’re here, let’s also add the Prisma client we need to do any calls.
npm install @prisma/client
Connecting Prisma to our database
For this example, I’ll be using the [free Postgres database] (https://daily-dev-tips.com/posts/setting-up-a-free-postgresql-database-on-heroku/) we created in the article before this one.
To initialize Prisma, we can run this command inside our project.
npx prisma init
This will add a new entry in our .env file for the database, and more importantly, it creates a prisma/schema.prisma file.
This file is the brain of the operation as it holds all the information we need.
Open this file, and let’s add our first model. I’ll be adding a playlist model.
datasource db {
  provider = "postgresql"
  url      = env("DATABASE_URL")
}

generator client {
  provider = "prisma-client-js"
}

model Playlist {
  id           Int    @default(autoincrement()) @id
  title        String
  image        String
  uri          String
}
As you can see, the type definition for a playlist is pretty simple. Above that is the needed configuration for Prisma.
Then open your .env file and change the DATABASE_URL to your Heroku Postgres URL (or any other Postgres URL).
Now we need to push this schema to our database. We can do that by running the following command.
npx prisma db push
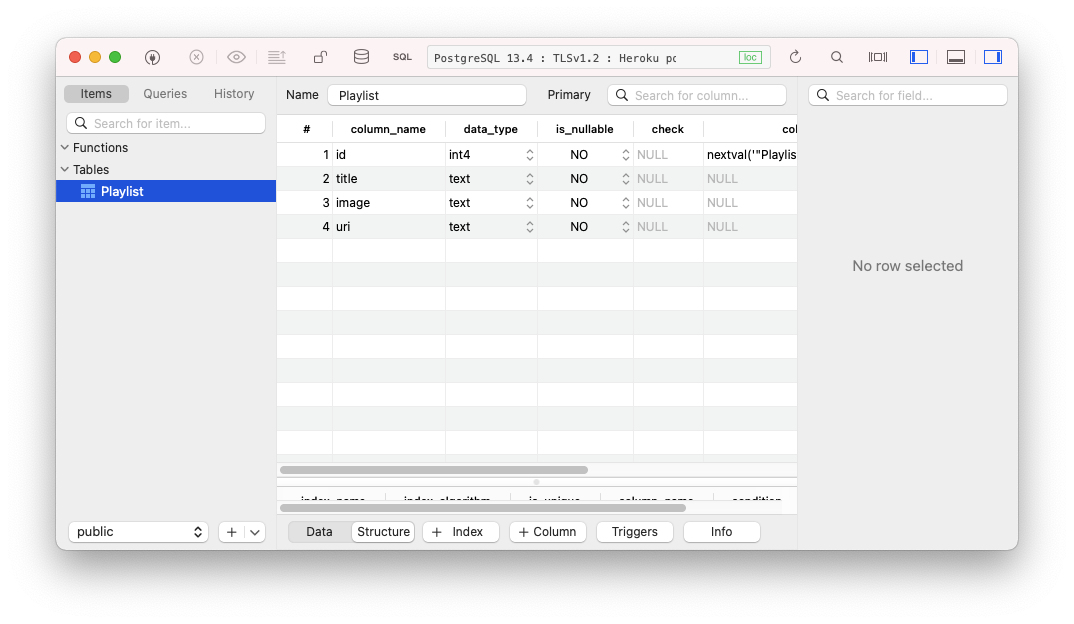
Once done, you can open your database, and you should see the following table.
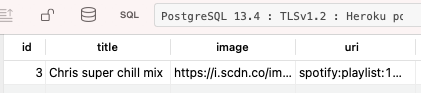
I’ve then added a record directly into this database for testing purposes.
Consuming the database in Next.js
With this data in place, we can try and consume it from our Next.js app.
To make sure the Prisma client is up to date with your schema, you need to run the following command every time your schema changes:
npx prisma generate
Let’s create a simple API call that we can test out to retrieve our data.
Create a playlists.js file inside your pages/api folder.
import { PrismaClient } from '@prisma/client';

const prisma = new PrismaClient();

export default async function handler(req, res) {
  const playlists = await prisma.playlist.findMany();
  res.json(playlists);
}
Here we load the Prisma client and query the client for the playlist table. On there, we run the findMany query.
This will result in an array of objects.
[
  {
    "id": 3,
    "title": "Chris super chill mix",
    "image": "https://i.scdn.co/image/ab67706c0000bebbf036b60da9286ccbc023a6f1",
    "uri": "spotify:playlist:1E8HDaDy8mM2otQwsFqRiD"
  }
]
And there you go, we created our first schema, pushed this to our database, and queried it through Prisma!
You can find the complete code on GitHub.
Thank you for reading, and let’s connect!
Thank you for reading my blog. Feel free to subscribe to my email newsletter and connect on Facebook or Twitter