So far, we have been running scripts in an IIFE, which works fine for those that need to run every time we invoke it.
But for the last part, we need a route to which a webhook can post data.
We need these webhooks to support the Sendy callback on subscribe and unsubscribe. We will create a route for those callbacks that will do the same action for the user on Revue.
If you want to follow along with the project, start from this GitHub branch.
Adding routes to our project
To make things easier for myself, I will use Fastify to handle my routes. Fastify is a great project which doesn’t take a lot of configuration, so we can focus on writing the actual content of the routes.
First, let’s install the dependency.
npm install fastify
Once installed, open up the index file and import the module.
import Fastify from 'fastify';

const fastify = Fastify({
  logger: true,
});
The next step is to add our first route. Let’s already call it subscribe.
fastify.get('/subscribe', function (request, reply) {
  reply.send({ hello: 'world' });
});
Then we need to spool up the Fastify server.
fastify.listen({ port: 3000 }, function (err, address) {
  if (err) {
    fastify.log.error(err);
    process.exit(1);
  }
});
When you now run your server (node index.js), we should be able to visit http://localhost:3000/subscribe.
However, this now supports GET requests only, and our webhook performs a POST request.
These are easy changes as we can change the method on the Fastify route.
In the previous tests with the web hook request bin, we also learned the webhook returns which action is triggered, so we can rename our route to be one uniform route.
fastify.post('/sendy-webhook', function (request, reply) {
  reply.send({ hello: 'world' });
});
Now we should be able to post to this webhook route. Since we used our request bin in our initial testing, we know what the data object looks like.
{
  "trigger": "unsubscribe",
  "name": "",
  "email": "[email protected]",
  "list_id": "xxx",
  "list_name": "DDT Subscribers",
  "list_url": "xxx",
  "gravatar": "xxx"
}
Handling the webhook data
Let’s modify our route to handle valid triggers.
fastify.post('/sendy-webhook', function (request, reply) {
  const data = request.body;
  if (!data.trigger) {
    throw new Error('Invalid data');
  }

  const { trigger, email } = data;
  if (['subscribe', 'unsubscribe'].includes(trigger)) {
    reply.send({ [trigger]: data.email });
  }

  throw new Error('Trigger not found');
});
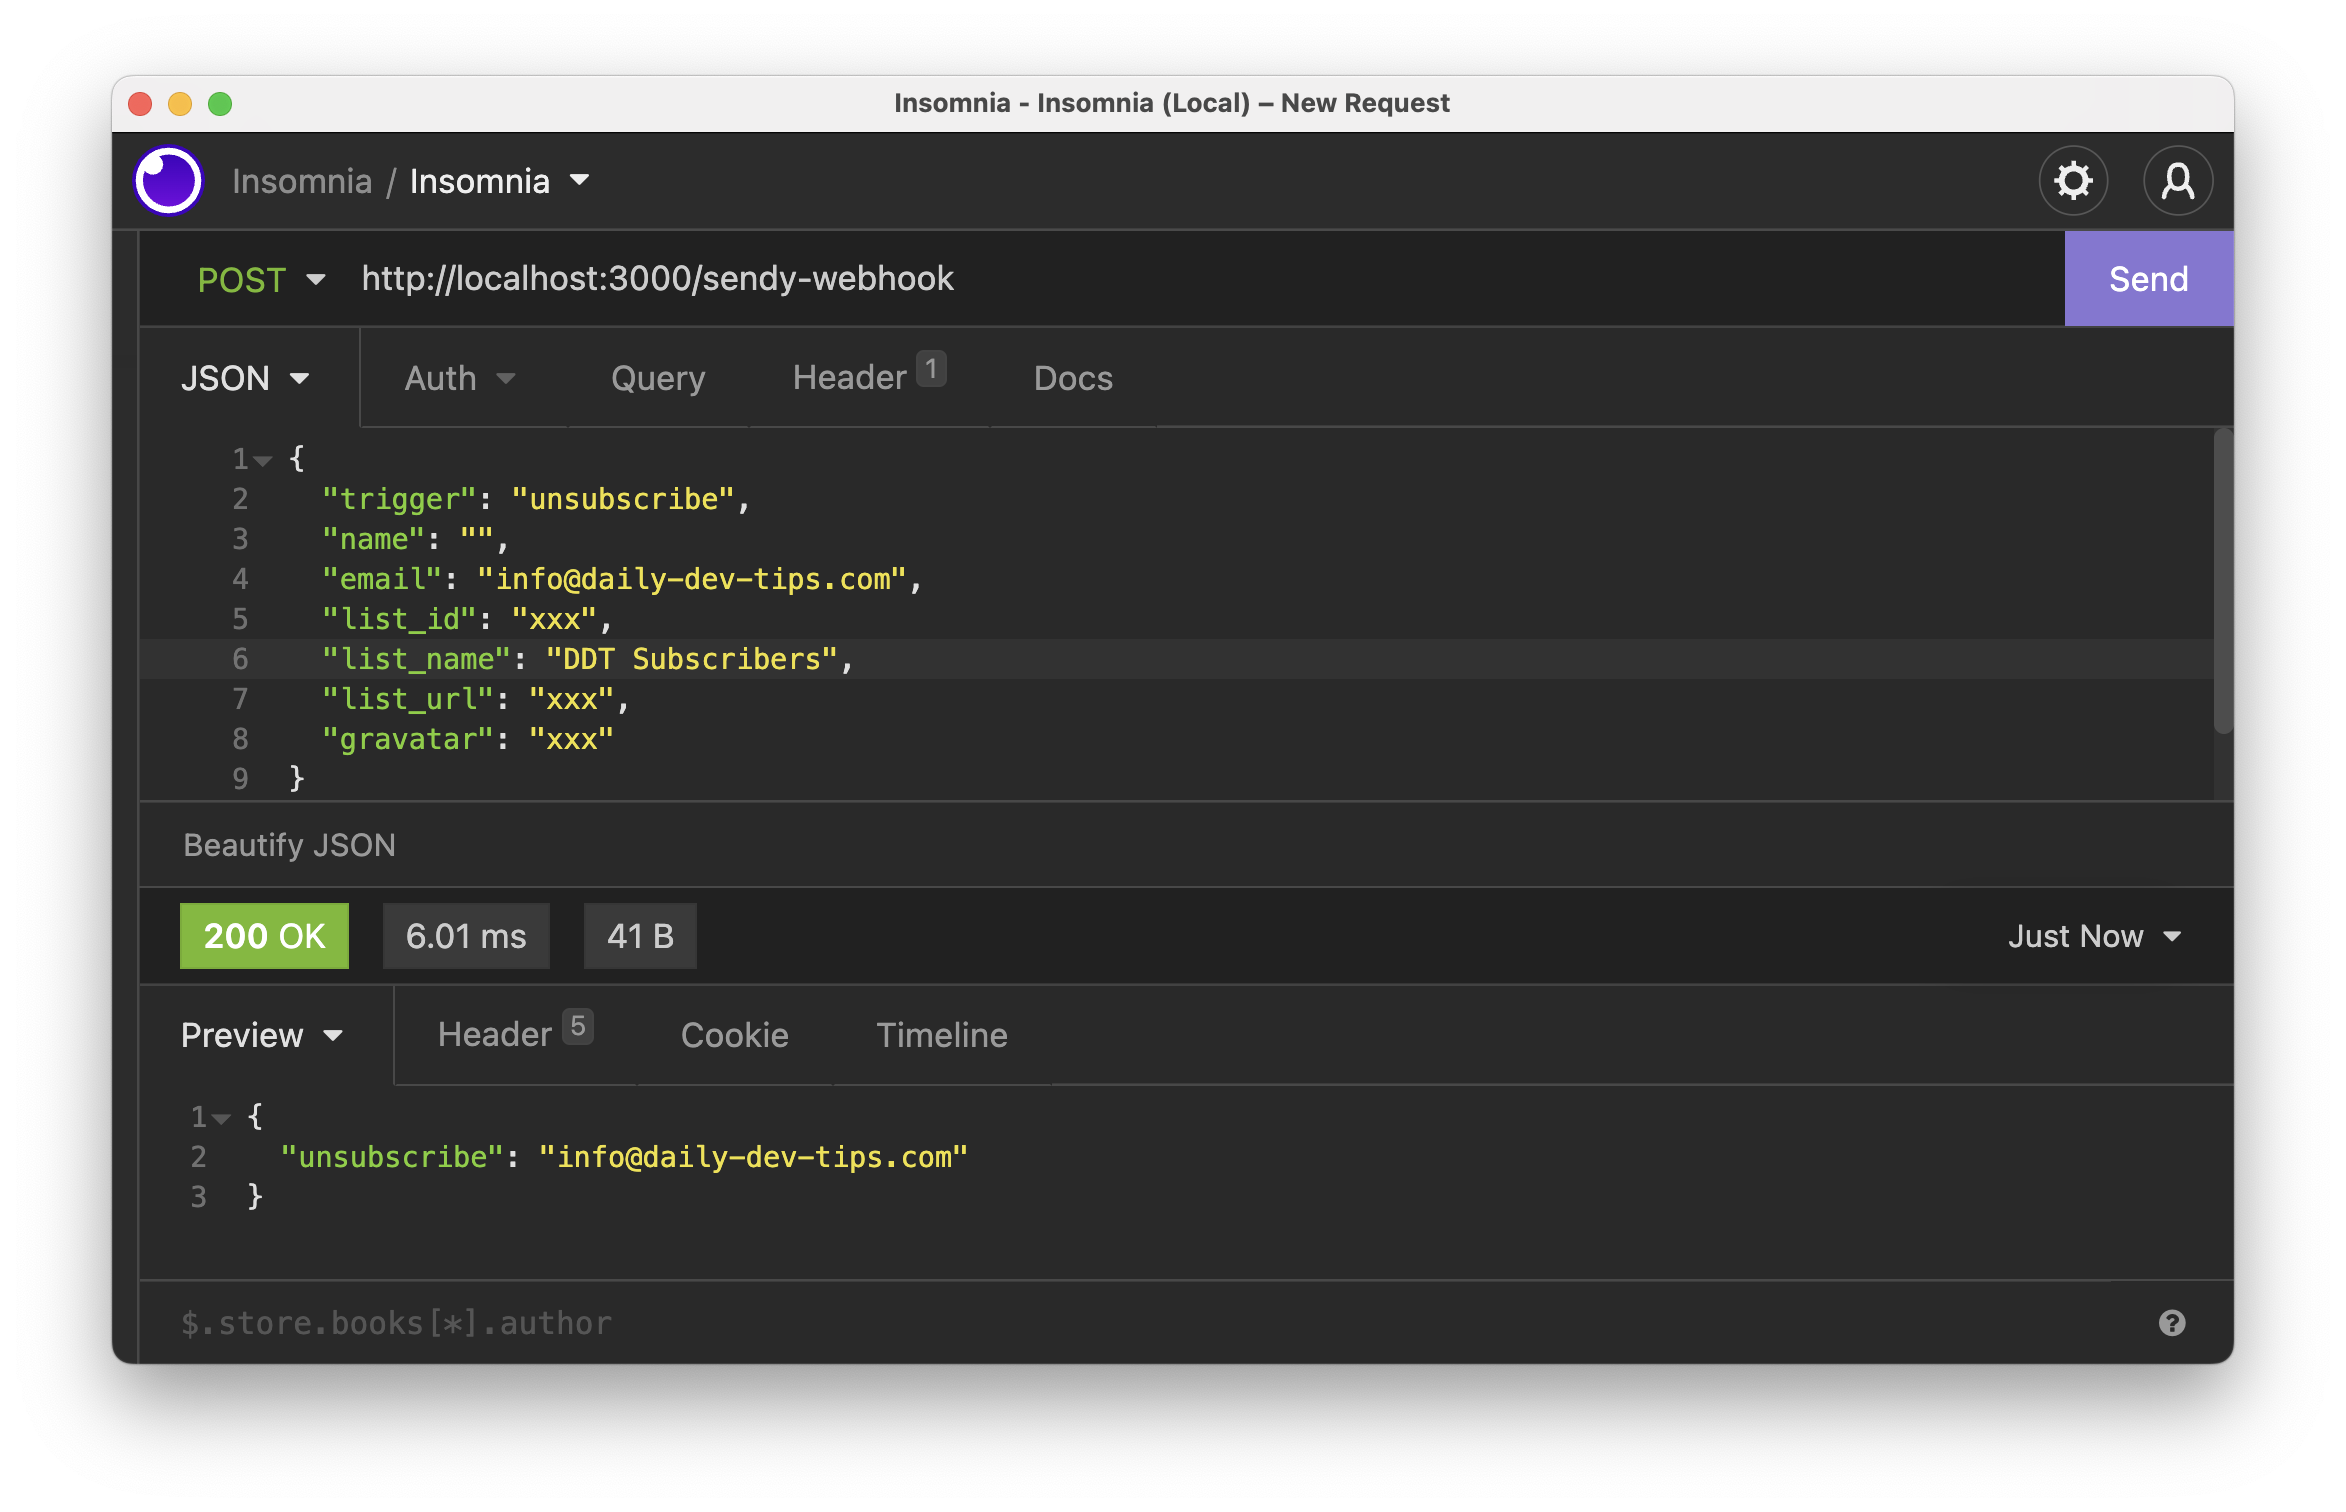
Let’s restart our server and try the endpoint in our API platform.

That seems to work perfectly. When we created our Revue routes, we only supported the GET routes, but we need to post data for this one.
Let’s modify our callRevueAPI to handle this.
const callRevueAPI = async (endpoint, method = 'GET', body) => {
  const response = await fetch(`https://www.getrevue.co/api/v2/${endpoint}`, {
    headers: {
      Authorization: `Token ${process.env.REVUE_API_TOKEN}`,
      'Content-Type': body
        ? 'application/x-www-form-urlencoded'
        : 'application/json',
    },
    method,
    body,
  }).then((res) => res.json());
  return response;
};
This call defines which content type to set and passes the optional body.
Now we can modify our webhook to call this function like this.
if (['subscribe', 'unsubscribe'].includes(trigger)) {
  const url = `subscribers${trigger === 'unsubscribe' && '/unsubscribe'}`;
  const status = await callRevueAPI(url, 'POST', convertToFormData({ email }));
  return reply.send(status);
}
We can use the same convertToFormData function we created before and simply post to the correct URL.
On execution, we return whatever Revue API returns to us.
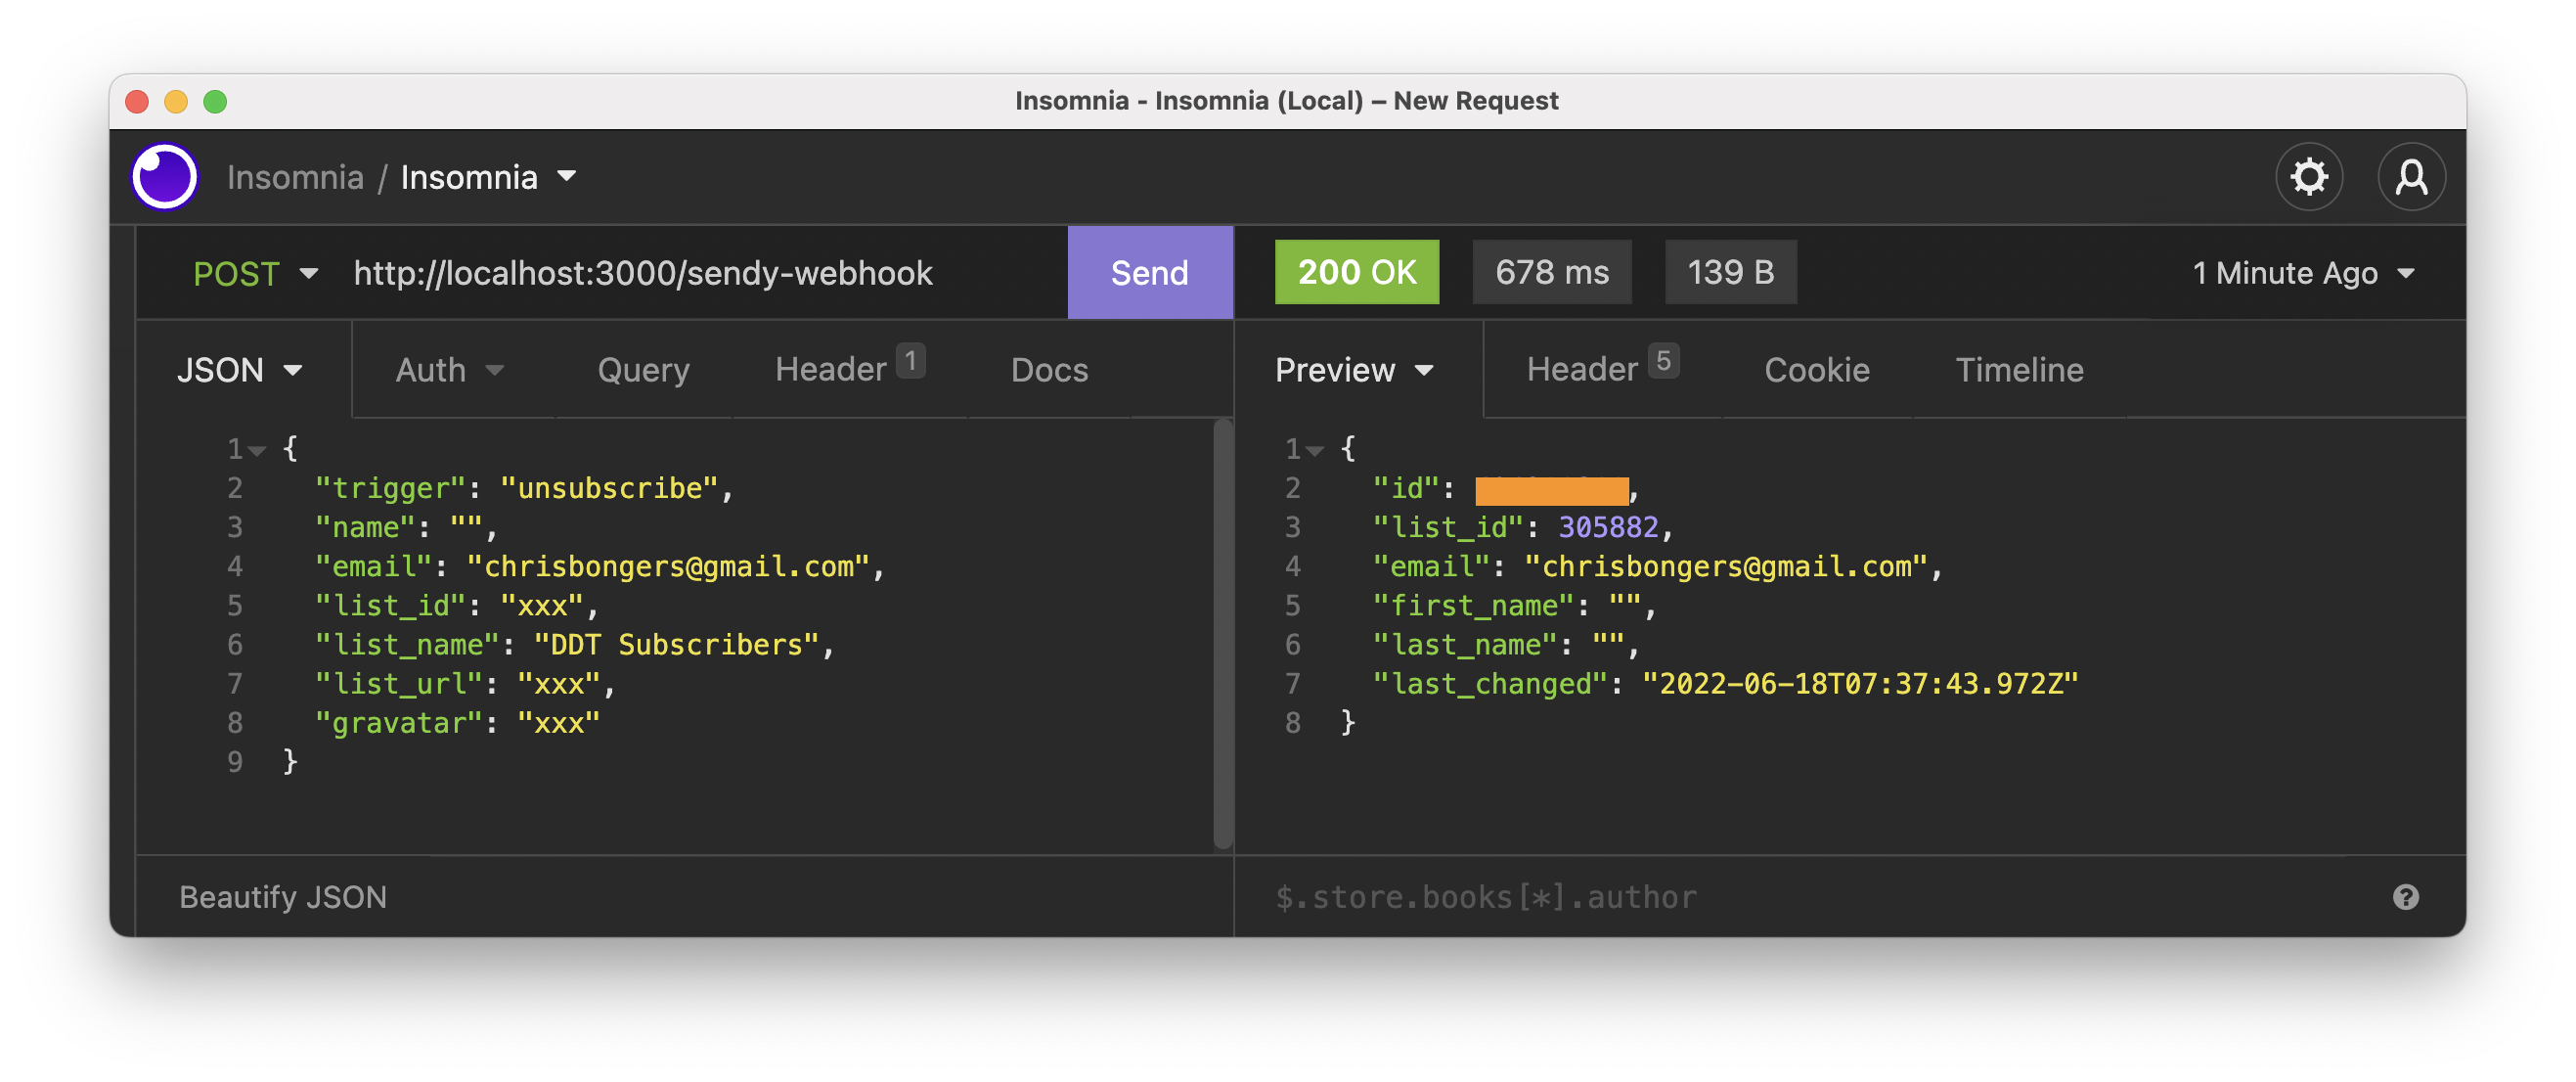
I get the following response when trying this out in our API platform.

Excellent, we can see we get the correct response from Revue, and if we now check their system, we should see that the person is unsubscribed.

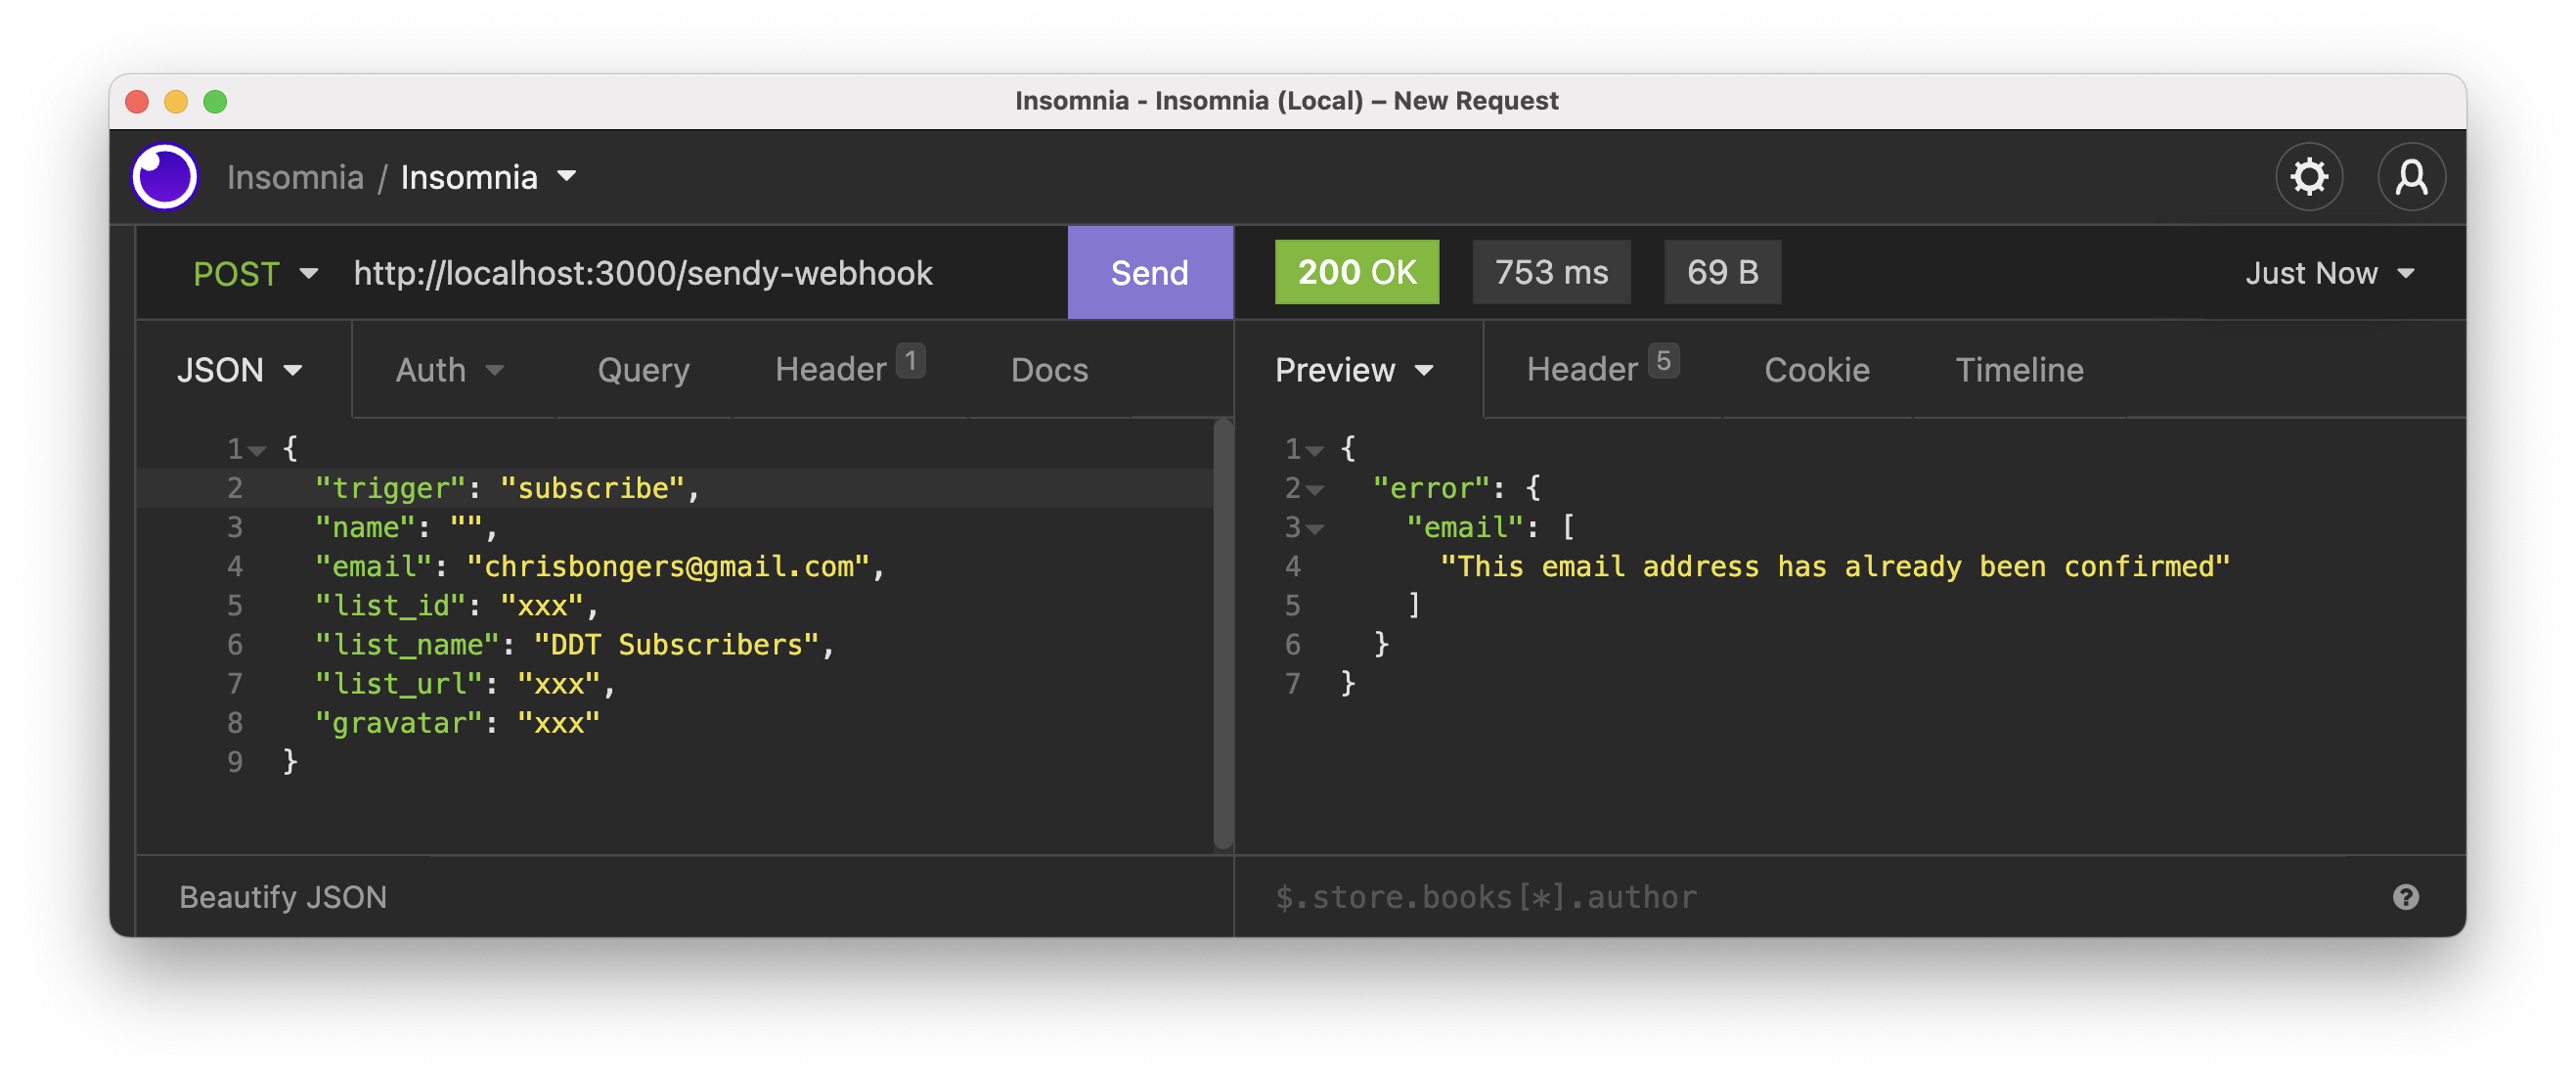
Let’s also try and see what happens on subscribe.

And yes, the subscription also works as intended.
Conclusion
We set up a dynamic route by using Fastify. This handles a POST request that can hold a uniform subscribe and unsubscribe callback.
We only have to host these scripts, and we should be ready to perform end-to-end tests.
You can also find the code for today’s article on GitHub.
Thank you for reading, and let’s connect!
Thank you for reading my blog. Feel free to subscribe to my email newsletter and connect on Facebook or Twitter