My portfolio website was a bit of a mix between plain HTML, Eleventy, and bootstrap.
However, it was a bit unmaintainable to edit the content. Since I was looking at Astro already, I decided to refactor my portfolio right away.
And the cool part: I open-sourced it for everyone to use!
Note: This article doesn’t describe the build step-by-step but showcases some important process highlights.
Rethinking the base
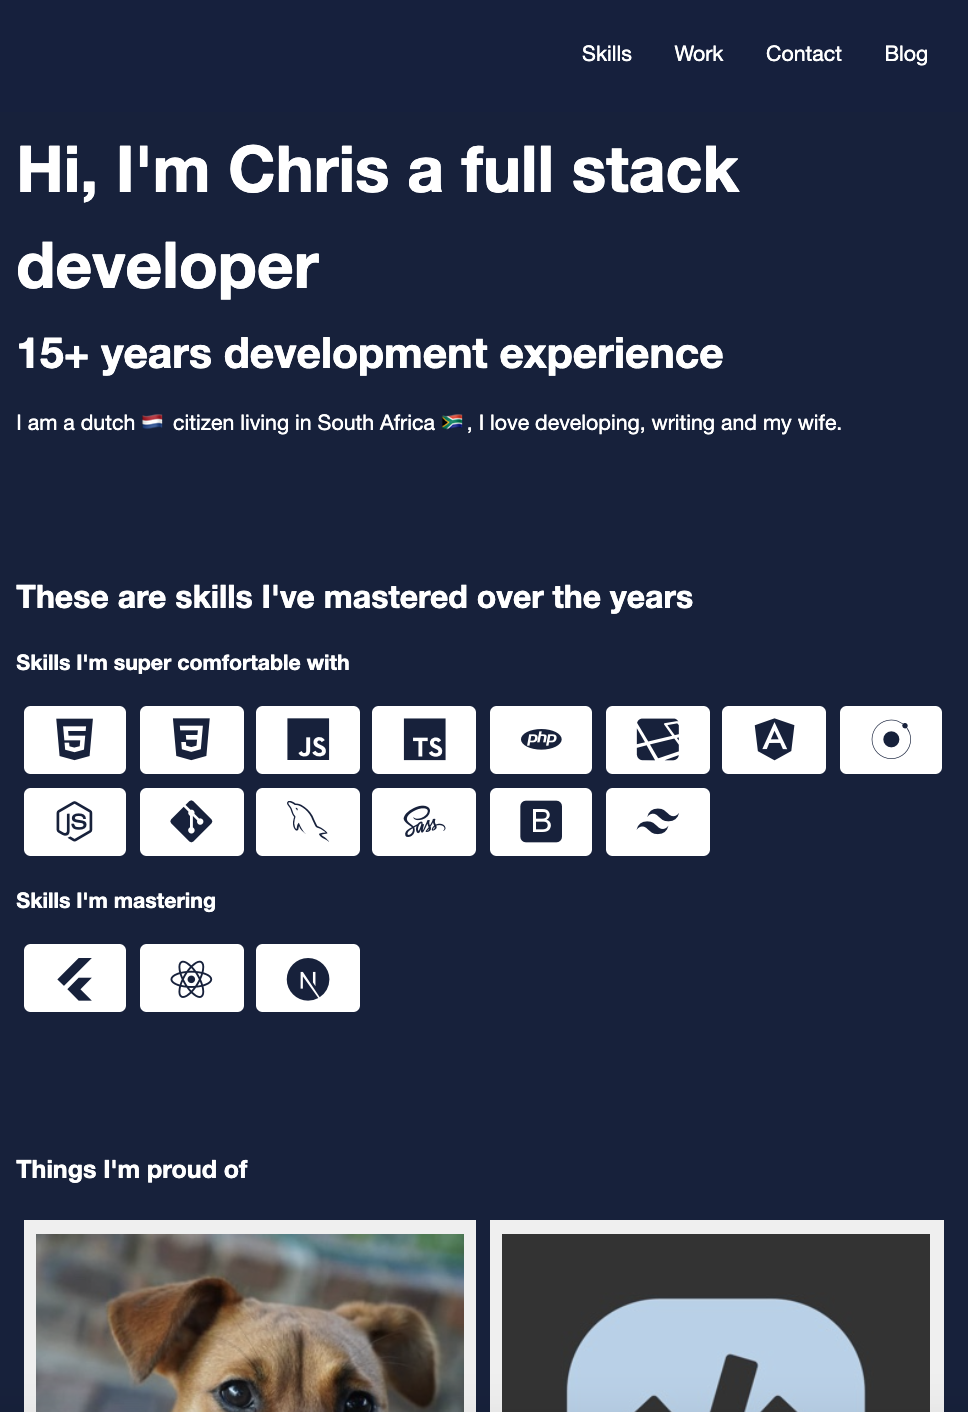
The portfolio was already a one-page, so there was nothing new about that, but thinking about how it would look as components, I quickly came up with the following approach.
- Header
- Intro
- Skills
- Comfortable
- Mastering
- Portfolio
- Journey
- Testimonials
- Footer/Contact
And if you have a look at the source files, you can see all these components written down.
As for the parts that needed to be dynamic:
- Skills
- Portfolio
- Journey
- Testimonials
- Socials
One cool aspect of Astro is that it can quickly read from a JSON file, so in our case, we are using that as our “database”.
Let’s dive right into building it!
Creating the project
Astro has a super quick setup guide, and we can go ahead and create a folder and init Astro like this:
mkdir portfolio && cd portfolio
npm init astro
You can choose a starter template if you like, but I tend to go for the starter kit.
Open this project up in your favorite editor.
Let’s start with our data source. I’ll add a site.json file inside a data directory in the src of the project.
The basic structure of this JSON looks like this.
{
  "title": "Chris Bongers | Senior Full Stack Developer",
  "description": "Chris Bongers - Portfolio, Full stack developer",
  "url": "https://chrisbongers.com/",
  "author": "Chris Bongers",
  "profile_pic": "/assets/chris.jpg",
  "resume": "/assets/resume.pdf",
  "nav": [
    { "link": "#skills", "name": "Skills" },
    { "link": "#work", "name": "Work" },
    { "link": "#footer", "name": "Contact" },
    {
      "link": "https://daily-dev-tips.com/",
      "name": "Blog",
      "target": "_blank"
    }
  ],
  "skills": {
    "comfortable": [{ "name": "HTML5", "icon": "html5" }],
    "mastering": [{ "name": "Flutter", "icon": "flutter" }]
  },
  "work": [
    {
      "title": "Yaatree",
      "description": "Our amazing puppy, who goes on all kinds of cool adventures",
      "image": "/assets/yaatree.jpg"
    }
  ],
  "journey": {
    "2030": [
      {
        "title": "Senior full stack remote developer ☁️",
        "description": "It's my dream to be a senior full-stack developer who can work remotely."
      }
    ]
  },
  "testimonials": [
    {
      "image": "/assets/nicole.jpg",
      "name": "Nicole Bongers",
      "title": "~ Wife",
      "quote": "Chris is an amazing husband and dog father!"
    }
  ],
  "socials": [
    {
      "link": "https://codepen.io/rebelchris",
      "title": "Codepen",
      "icon": "codepen"
    }
  ]
}
As you can see, I’ve omitted some data, but you can make this your own. Feel free to add socials, testimonials, and work elements as you find needed.
The index page in Astro
Now let’s head over to the index.astro page. This is the actual index and, for us, the only page we have.
---
// Component Imports
import MainHead from '../components/MainHead.astro';
import Header from '../components/Header.astro';
import Intro from '../components/Intro.astro';
import Skills from '../components/Skills.astro';
import Work from '../components/Work.astro';
import Journey from '../components/Journey.astro';
import Testimonials from '../components/Testimonials.astro';
import Footer from '../components/Footer.astro';
---
<html lang="en">
  <head>
    <MainHead />
  </head>
  <body>
    <Header />
    <main>
      <Intro />
      <Skills />
      <Work />
      <Journey />
      <Testimonials />
      <Footer />
    </main>
  </body>
</html>
<style lang="scss">
main {
  padding-top: 150px;
  width: 100%;
  max-width: 700px;
  margin: 0 auto;
}
</style>
Don’t worry. We are importing a lot of components here. We’ll make those in a bit.
I just want to highlight some things here. Remember how I said we could easily split things out into components? Well, here they are. Every section has its own component, so the code keeps readable for us.
Another cool thing is that Astro allows us to use inline styling, and even in the form of scss.
We also include a component called the MainHead component in the head of our structure. Let’s see what that component looks like.
---
import site from "../data/site.json";
const {title, description} = site;
---
<meta charset="UTF-8">
<meta name="viewport" content="width=device-width, initial-scale=1.0" />
<title>{title}</title>
<meta name="Description" content={description}>
<link rel="stylesheet" type="text/css" href="/global.css">
<link rel="stylesheet" href="https://cdn.jsdelivr.net/gh/devicons/[email protected]/devicon.min.css">
<link rel="icon" href="/favicon.ico" />
As you can see, this is one way to load data from our JSON file. And use it in the component.
I find this approach super convenient and easy to use. The file above has all the stuff we want to have in our head section.
Looping data in Astro
Another important thing we need to do is loop over our sample arrays.
Let’s take the skills as an example.
At the top of our Skills.astro component, we can define the data we need:
---
import site from "../data/site.json";
import SkillItem from './SkillItem.astro';
const title = `These are skills I've mastered over the years`;
const comfortable = `Skills I'm super comfortable with`;
const mastering = `Skills I'm mastering`;
const {skills} = site;
---
Now let’s use these skills in the HTML part.
<div class="skills">
    {skills.comfortable.map((item) => (
        <SkillItem item={item} />
    ))}
</div>
<div class="skills">
    {skills.mastering.map((item) => (
        <SkillItem item={item} />
    ))}
</div>
As you can see, I loop over the two arrays we have inside our skills dataset, being the comfortable and mastering arrays.
For each of those items, I render something called a SkillItem and pass an item variable.
Let’s quickly have a look at a SkillItem to see how this item variable is used:
---
const { item } = Astro.props;
---
<div class="skills-item tooltip-container">
    <span class="tooltip">{item.name}</span>
    <i class={`devicon-${item.icon}-${(item.type?item.type:'plain')}`}></i>
</div>
<style lang="scss">
.skills-item {
    background: #fff;
    padding: 10px;
    margin: 5px;
    border-radius: 5px;
    display: flex;
    align-items: center;
    justify-content: center;
    i {
        color: var(--color-purple);
        font-size: 2rem;
    }
}
</style>
As you can see, the item variable is retrieved using the Astro.props.
And we can now render a super small part of our application in its component. It also uses its own styles, so it’s clear where these belong.
Rendering JavaScript inside a component
Another thing Astro can do is, of course, render React/Svelte/Vue components and use those JavaScript.
However, my site was previously built in plain HTML, so I already had some plain JavaScript.
The cool part is that Astro gives us the option to use it inside Astro files!
So let’s look at the Header component to see how we can embed a little piece of JavaScript for a single component.
---
import site from "../data/site.json";
const {nav} = site;
---
<header id="header">
    <ul>
        {nav.map((item) => (
            <li>
                <a href={item.link} target={item.target} rel="noopener noreferrer">{item.name}</a>
            </li>
        ))}
    </ul>
</header>
<script type="text/javascript">
const header = document.getElementById("header");
window.onscroll = function() {
  if (document.body.scrollTop > 50 || document.documentElement.scrollTop > 50) {
    header.classList.add("active");
  } else {
    header.classList.remove("active");
  }
};
</script>
This JavaScript will only get attached when the component is rendered; however, it doesn’t matter much since everything is on one page.
Using static assets
You might have spotted that I’ve used some images in my portfolio, as many static generators also come with a public folder.
This folder will always be available on our build.
For the portfolio, I placed images inside a assets folder.
We can link these by using the following syntax:
<img src="/assets/image.jpg" />
If you are keen to see how it looks compiled, then visit my portfolio.
Or maybe you instead want to see the complete code, then check out this GitHub public repository.
Thank you for reading, and let’s connect!
Thank you for reading my blog. Feel free to subscribe to my email newsletter and connect on Facebook or Twitter