Now that we have loaded our blog posts from local markdown files let’s see how we can make the work section dynamic.
For this we’ll be using a local JSON file. This file will become the source of truth regarding these work elements.
If you’d like to follow along, use the following branch as your starting point.
Creating the JSON file
The first step is to create our JSON file that will hold all the information.
I decided to create a folder called json at the root of my project. Inside this, I added data.json as a file.
The format I’m using looks like this:
{
  "work": [
    {
      "title": "Example piece one",
      "image": "https://placedog.net/500",
      "year": 2022,
      "category": "Dashboard",
      "description": "Amet minim mollit non deserunt ullamco est sit aliqua dolor do amet sint. Velit officia consequat duis enim velit mollit. Exercitation veniam consequat sunt nostrud amet."
    },
    {
      "title": "Example piece two",
      "image": "https://placedog.net/500",
      "year": 2022,
      "category": "Backend",
      "description": "Amet minim mollit non deserunt ullamco est sit aliqua dolor do amet sint. Velit officia consequat duis enim velit mollit. Exercitation veniam consequat sunt nostrud amet."
    }
  ]
}
You can extend this format or even add different dynamic elements here.
Loading the JSON file
Since we already created an API file that loads our blog posts, let’s add the work elements to this file.
Open up the lib/api.js file and add the following function.
export function getAllWork() {
  const data = fs.readFileSync('json/data.json', 'utf-8');
  const jsonData = JSON.parse(data);
  return jsonData.work;
}
This function reads the data from our JSON file and parses it as actual data. We then return the work section from this parsed JSON.
If we now call this function, it returns the array of work items.
Converting the homepage
Now that our data and function are complete, let’s see how we can use it on our homepage.
We already have the static props function that loads our blog post, so we can easily add the work section like this.
export async function getStaticProps() {
  const posts = getAllPosts();
  const work = getAllWork();

  return {
    props: {
      posts,
      work,
    },
  };
}
Now the work elements will be available in our primary function.
export default function Home({posts, work}) {
And we will, in return, pass the items to our FeaturedWork component.
<FeaturedWork work={work} />
Modifying the featured work component
Up until now, our featured work component returned some static data. But now we pass our work data to it, so let’s modify it to render work items dynamically.
export default function FeaturedWork({ work }) {
  return (
    <section className='px-6'>
      <div className='max-w-4xl mx-auto py-12'>
        <SectionHeader title='Featured work' href='#' />
        <div className='flex flex-col gap-2'>
          {work.map((workItem) => (
            <Work key={workItem.title} item={workItem} />
          ))}
          ;
        </div>
      </div>
    </section>
  );
}
As you can see, we pass the work items in the props of this component.
And we can then loop over them to render dynamic amounts of Work components.
Note: The key prop is important to pass in any React loop, so ensure you use them.
You can also see we pass the individual items to the work component. However, our work component doesn’t know what to do with this, so let’s fix that.
Open the work component and modify it to accept the item prop, and render the items dynamically.
export default function Work({ item }) {
  return (
    <article className='flex items-center border-b-2 py-6'>
      <img src={item.image} className='w-1/3 mr-6 rounded-lg' />
      <div>
        <h3 className='text-2xl mb-2 font-medium'>{item.title}</h3>
        <span className='text-gray-600 mb-4 block'>
          <time className='bg-blue-800 text-white px-5 py-1.5 mr-4 rounded-xl'>
            {item.year}
          </time>
          {item.category}
        </span>
        <p>{item.description}</p>
      </div>
    </article>
  );
}
Fantastic. At this point, you can reload the website and see the work on the homepage to be dynamic to whatever you set in the JSON file.
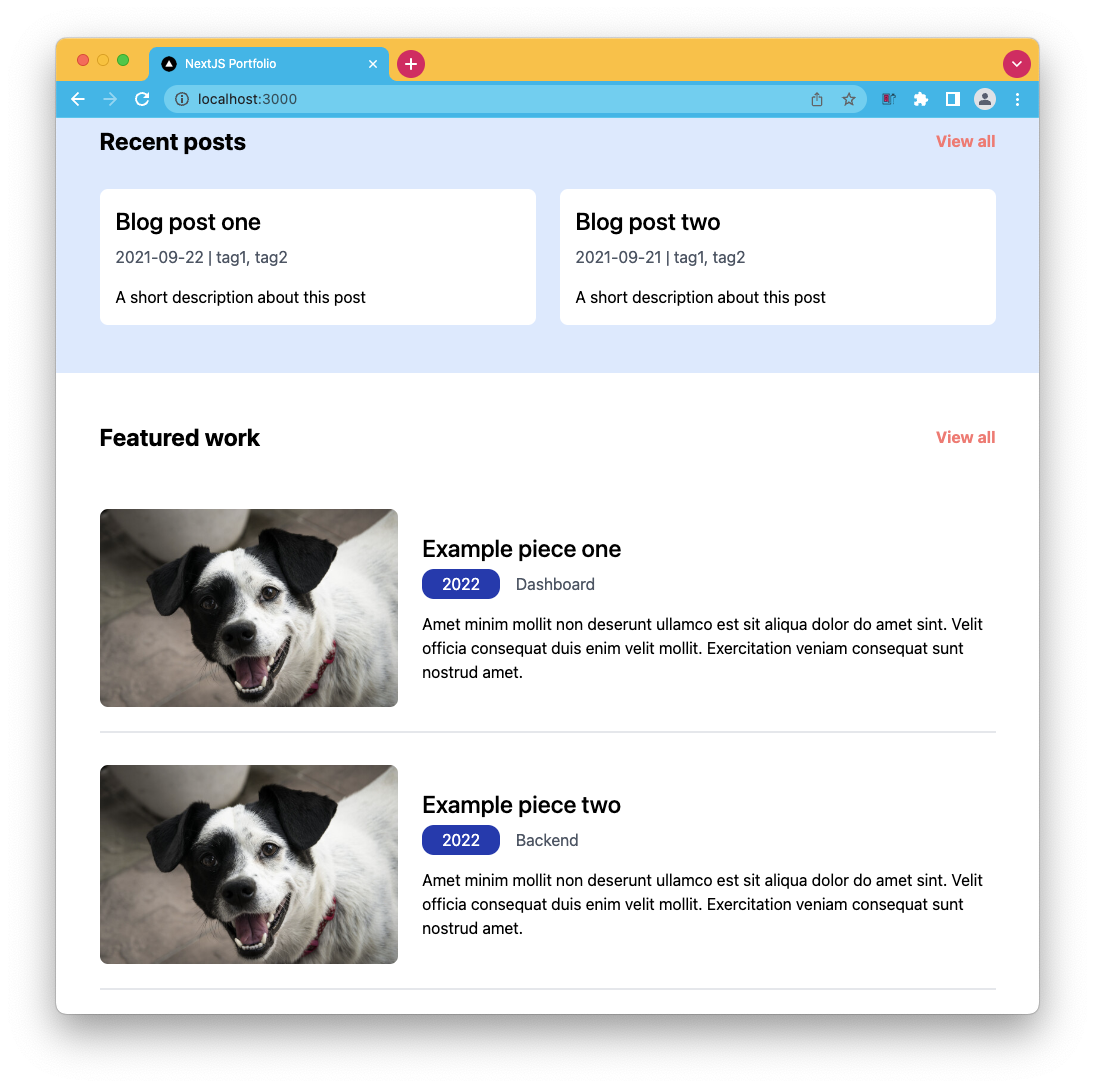
Note: For those paying attention, it will render ALL elements. How can we ensure it only renders two? *(note look at the blog article)
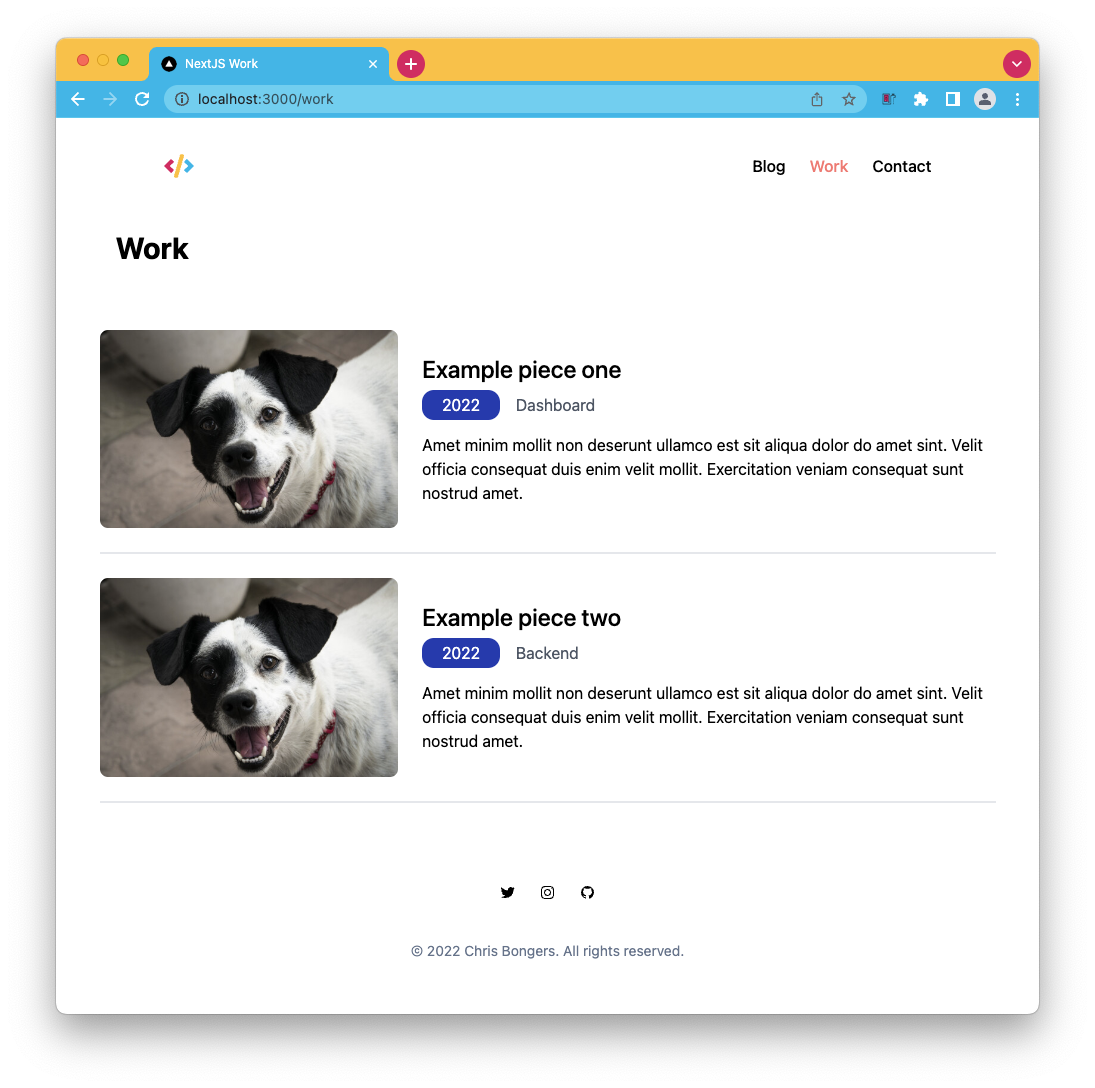
Making the work page dynamic
With the homepage working, all that’s left is to make our actual work page dynamic.
Open up the page, and start by adding the static props function, as we’ve seen on the homepage.
import { getAllWork } from '../lib/api';

export async function getStaticProps() {
  const work = getAllWork();

  return {
    props: {
      work,
    },
  };
}
This will make the work prop available on our main function, which we can use to loop over work items.
export default function WorkPage({ work }) {
  return (
    <div>
      <Head>
        <title>NextJS Work</title>
        <meta name='description' content='Generated by create next app' />
        <link rel='icon' href='/favicon.ico' />
      </Head>
      <section className='px-6'>
        <div className='max-w-4xl mx-auto'>
          <h1 className='text-3xl font-bold mb-6 p-4'>Work</h1>
          {work.map((workItem) => (
            <Work key={workItem.title} item={workItem} />
          ))};
        </div>
      </section>
    </div>
  );
}
And that’s it already. Our work page is now loading the dynamic work items we set in our JSON.
You can find the completed code for today on GitHub.
Thank you for reading, and let’s connect!
Thank you for reading my blog. Feel free to subscribe to my email newsletter and connect on Facebook or Twitter