Today I wanted to check in on Ionic again, explicitly making an API call and showcasing the results in a list.
This is a very common use case in Ionic. You want to call an API endpoint and get a list of results back.
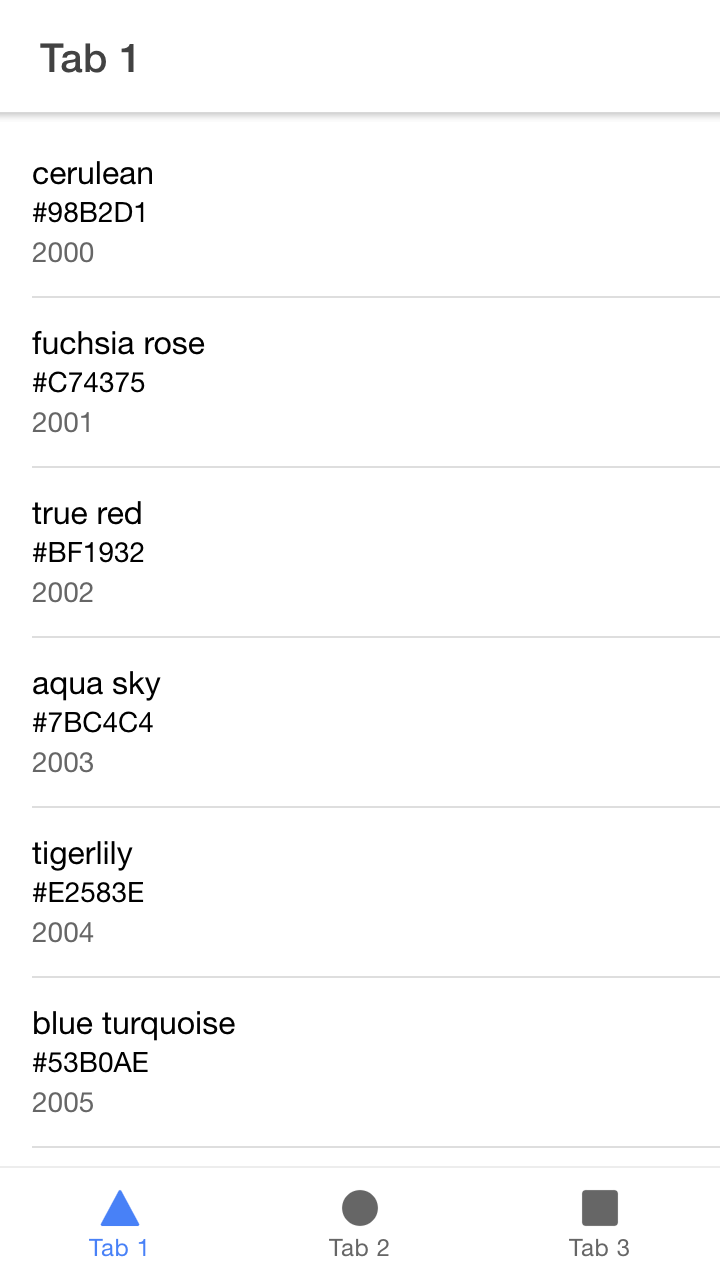
The user can often click these items and see the detail page. In our instance, we will focus on showing the list for now.
The result will look like this:
Ionic starting point
A while ago, we created a basic Ionic app, which we will use as our template to work from.
If you’re interested in getting started with Ionic, follow this article.
You can download the starting template from GitHub.
Creating our list component
We will be using the default tabs to create our list.
Open up tab1.page.html and insert the following HTML.
<ion-header [translucent]="true">
  <ion-toolbar>
    <ion-title> Tab 1 </ion-title>
  </ion-toolbar>
</ion-header>

<ion-content [fullscreen]="true">
  <ion-list>
    <ion-item>
      <ion-label>
        <h2>cerulean</h2>
        <h3>#98B2D1</h3>
        <p>2000</p>
      </ion-label>
    </ion-item>
  </ion-list>
</ion-content>
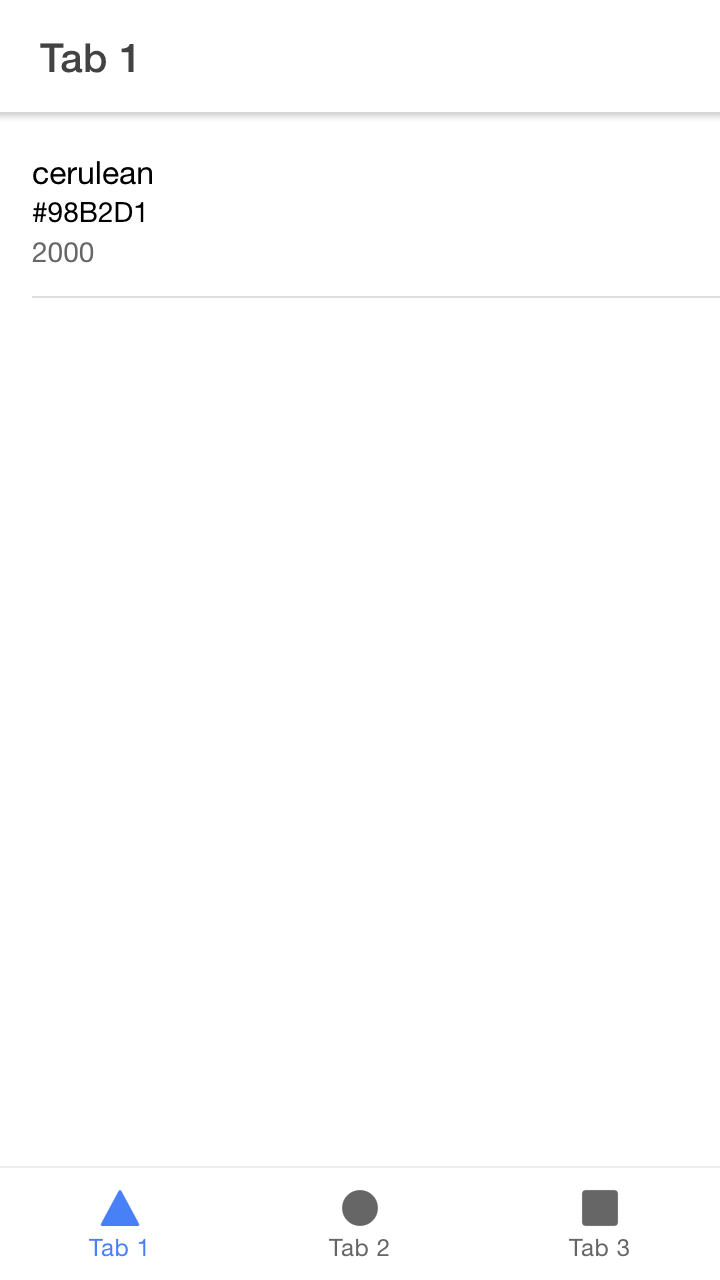
If we render this, it will look like this:
Now we will make this dynamic by doing an API call!
Adding an API call
Now let’s add an API so we can fetch some data to fill his list.
First, let’s enable the HttpClientModule in the app.module.ts.
imports: [
    // Other imports
    HttpClientModule,
],
Now, if we have the tab1.page.ts, let’s make a loadData function.
loadData(event = null) {
    this.http
    .get<{ data: any[] }>(`https://reqres.in/api/unknown`)
    .subscribe((resp: { data: any }) => {
      this.data = resp.data;
    });
}
This will call our API and set the data of this component to be the response.data object.
The rest of the components will look like this.
data: any[] = [];

constructor(private http: HttpClient) {}

ionViewWillEnter() {
    this.data = [];
    this.loadData();
}
Now let’s modify the actual tab1.page.html.
<ion-list>
  <ion-item *ngFor="let item of data">
    <ion-label>
      <h2>{{ item.name }}</h2>
      <h3>{{ item.color }}</h3>
      <p>{{ item.year }}</p>
    </ion-label>
  </ion-item>
</ion-list>
When we run this, it will look like this.
There we go. How cool, right?
You can find this project on GitHub.
Thank you for reading, and let’s connect!
Thank you for reading my blog. Feel free to subscribe to my email newsletter and connect on Facebook or Twitter