You might think, what is 28ms? If you are a big advocate of speeding up the web and getting perfect scores on Eleventy’s speedlify dashboard, it’s a lot!
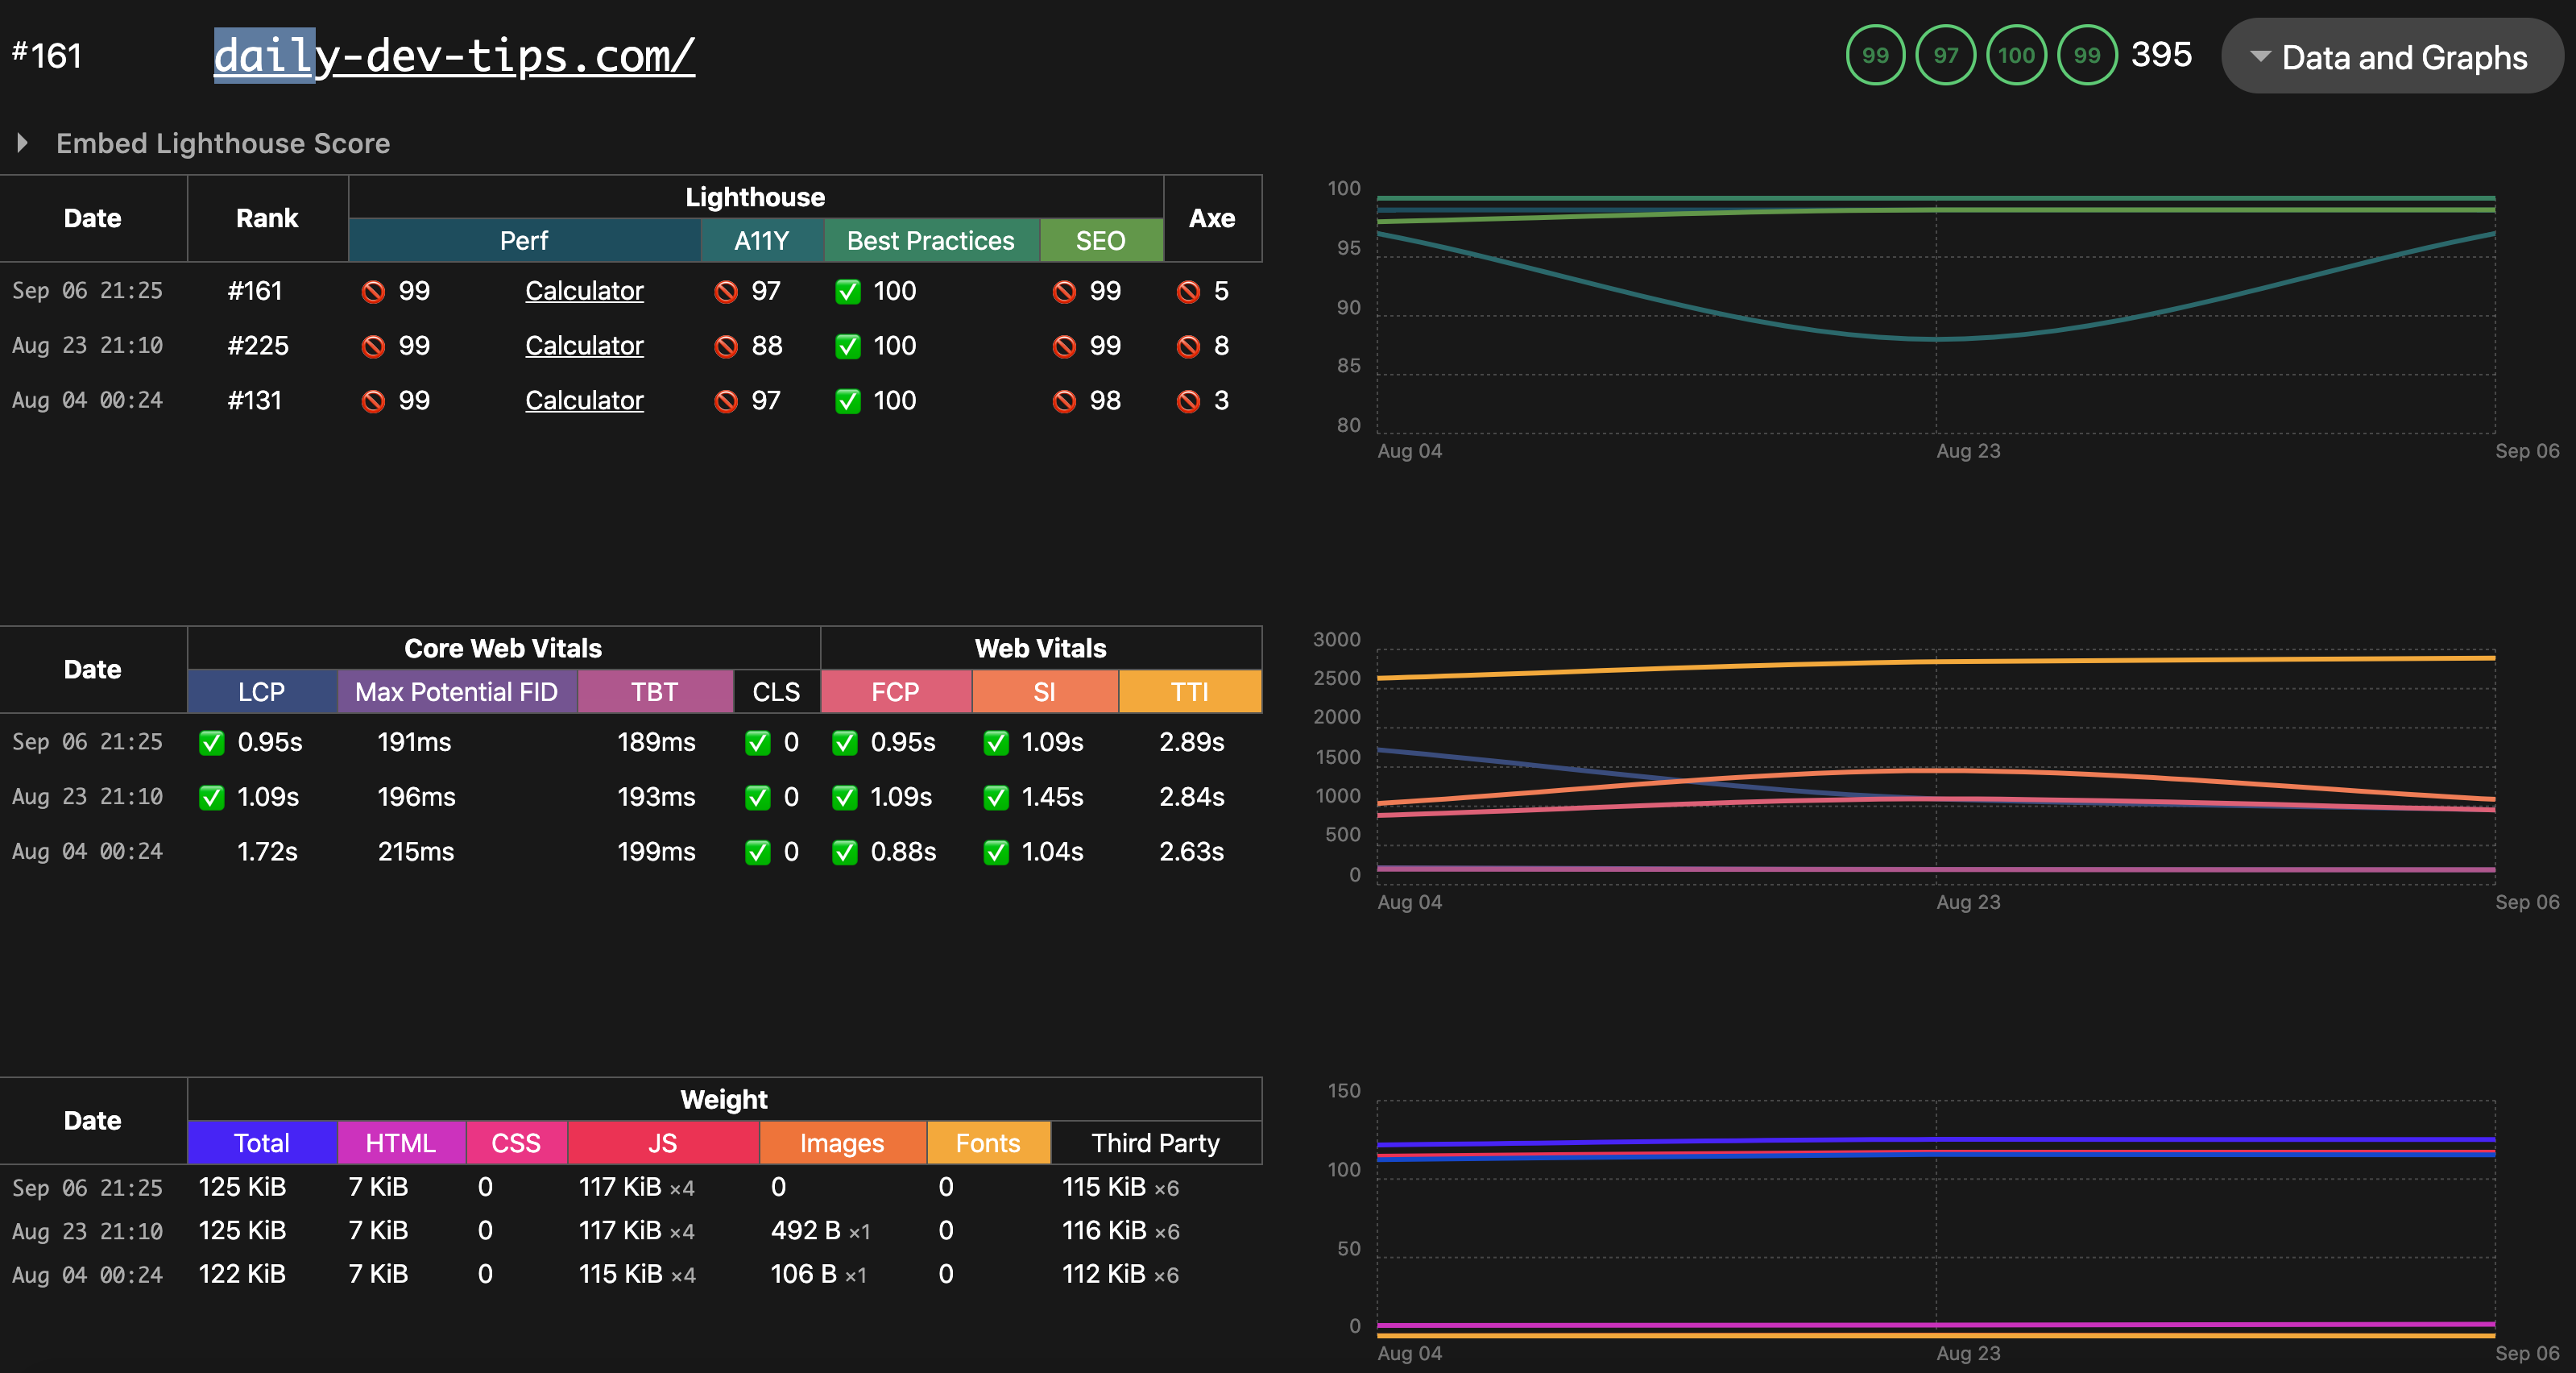
Not that I was doing bad, as you can see in the screenshot below. I just wanted to get full 100’s and get the full potential out of my website.
Making use of content-visibility
I read about this CSS property a while ago. But never got round to implementing and testing it. That is until today, so let’s see what it actually does.
The content-visibility has three values we can use:
visible(no effect, basically how it was before)hidden(a mix between display: none and visibility: hidden, it starts on display hidden, afterwords becomes visibility hidden)auto(This is the one we are looking at. It will only render this element once the browser needs it!)
So how can we add it to elements?
.element {
  content-visibility: auto;
}
I’ve added this on my homepage to the article-list and footer elements.
Before content-visibility
To give you a better understanding, I did a lighthouse test before these changes.
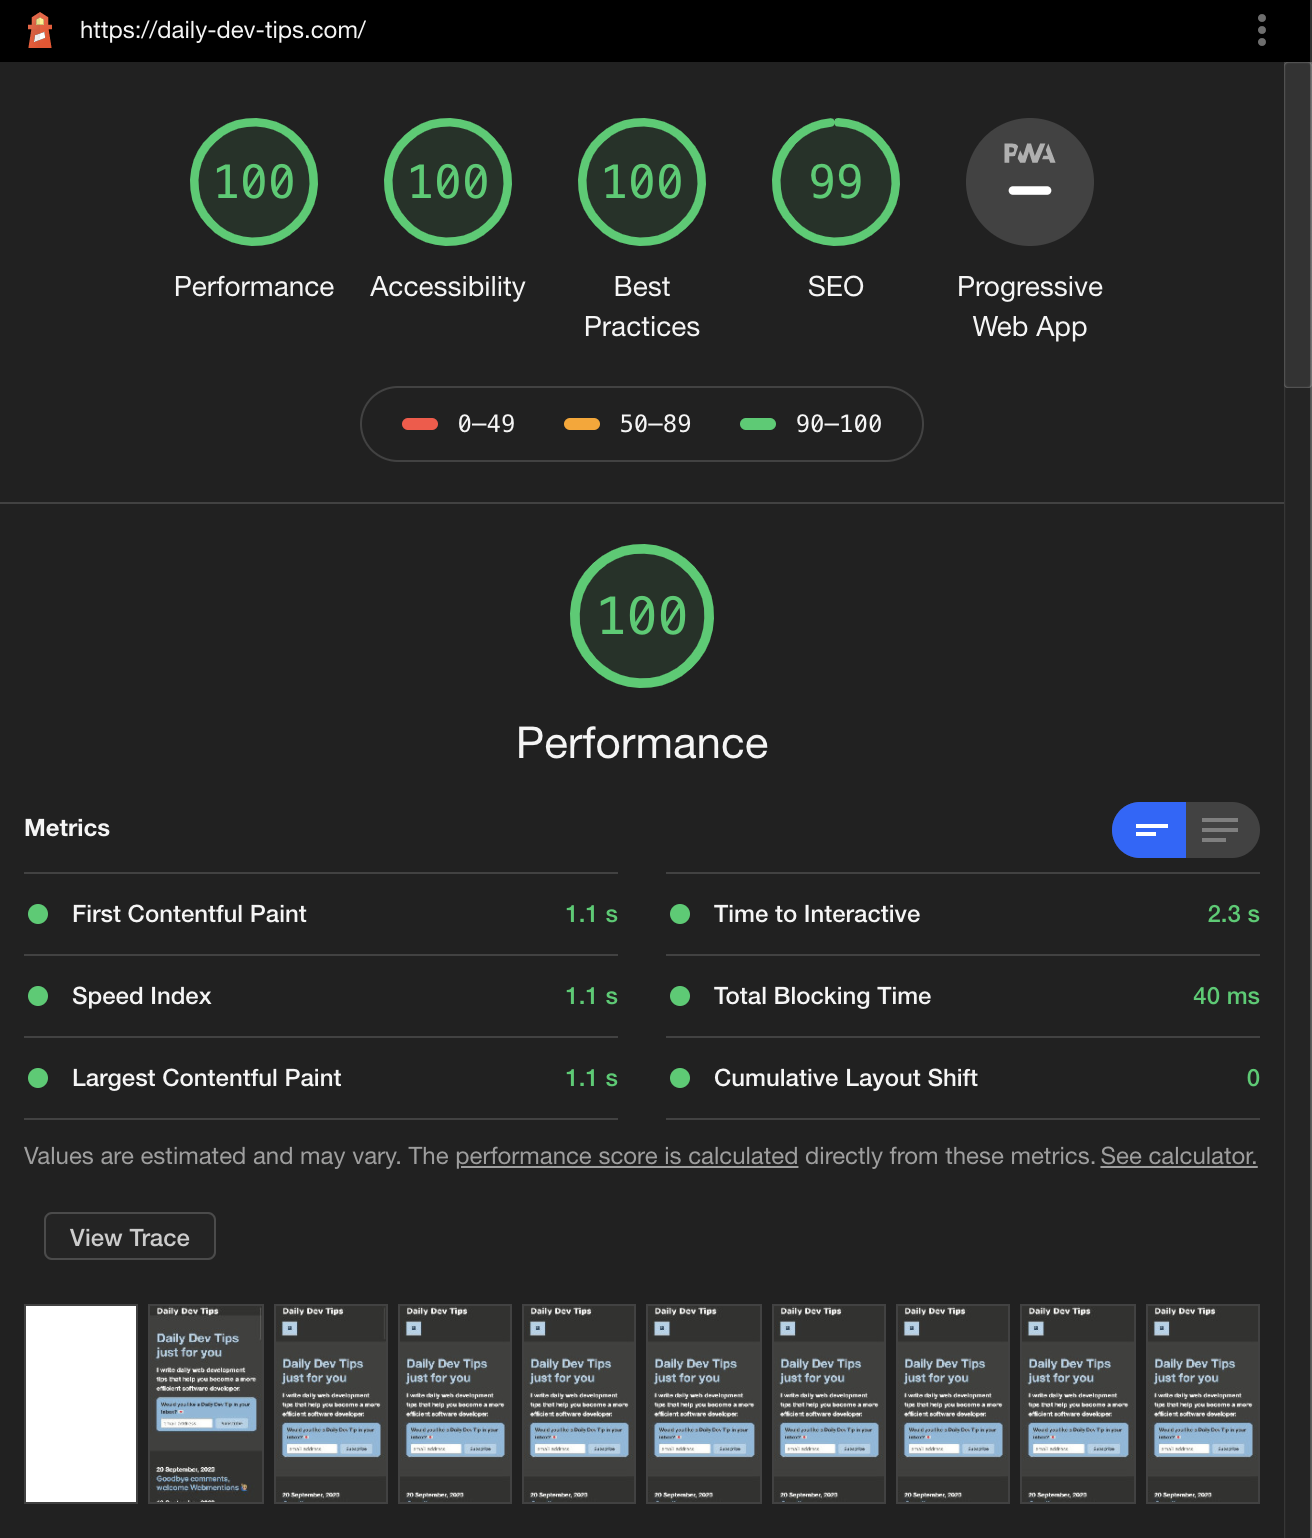
But more important is the actual trace where we can check the total time.
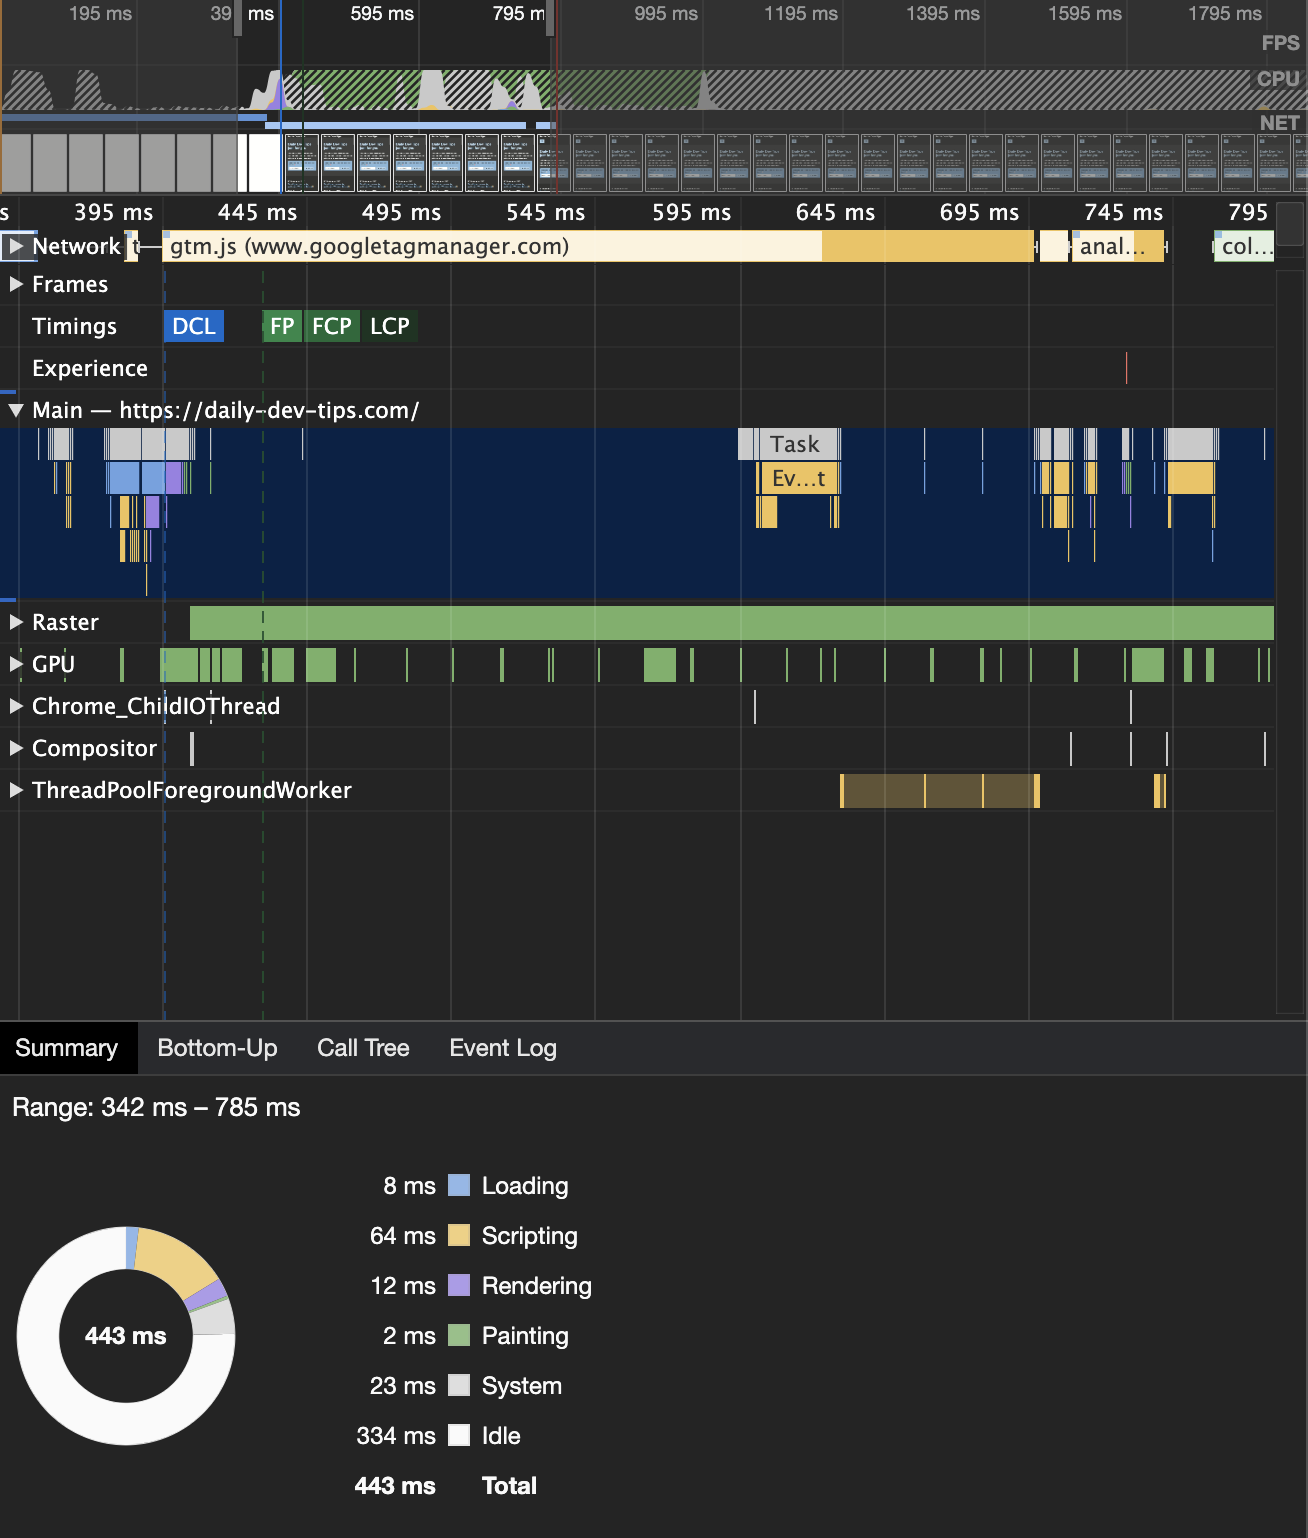
After adding content-visibility
And then, after adding the content-visibility to those two elements, I’ve rerun the test.
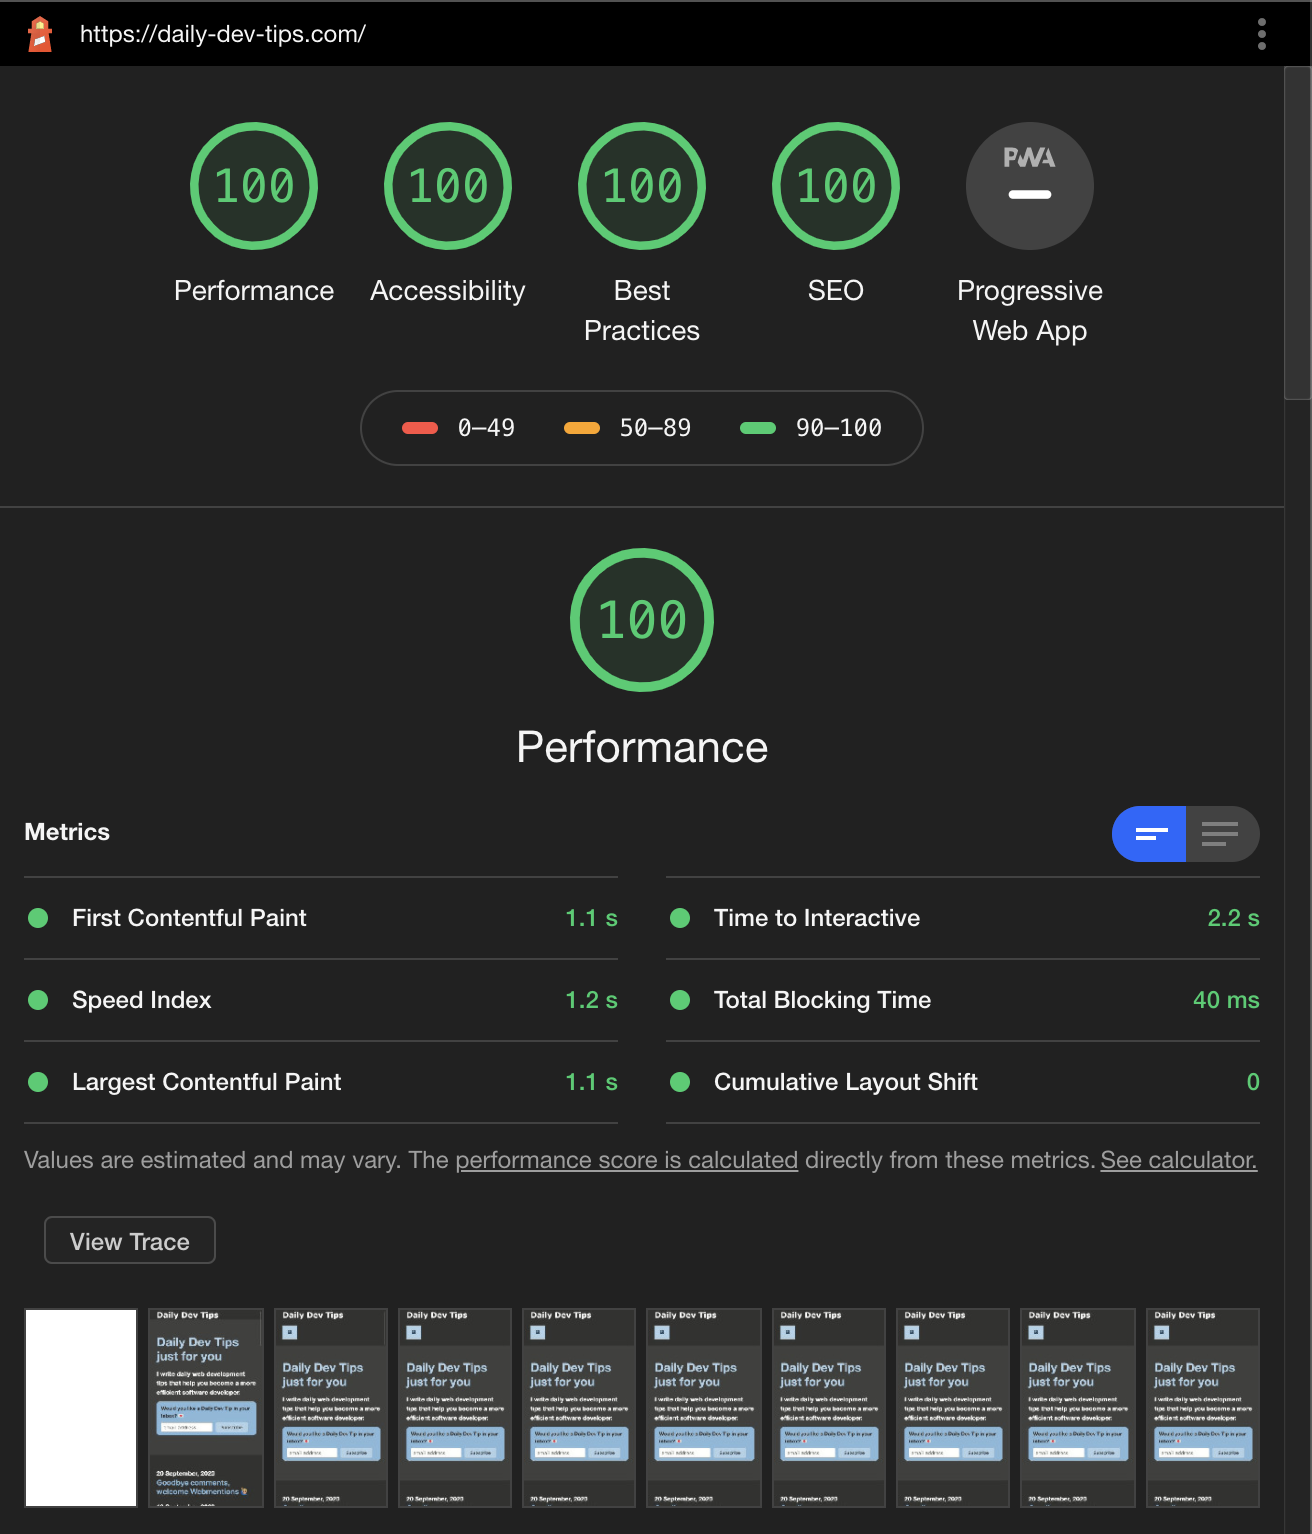
And the trace:
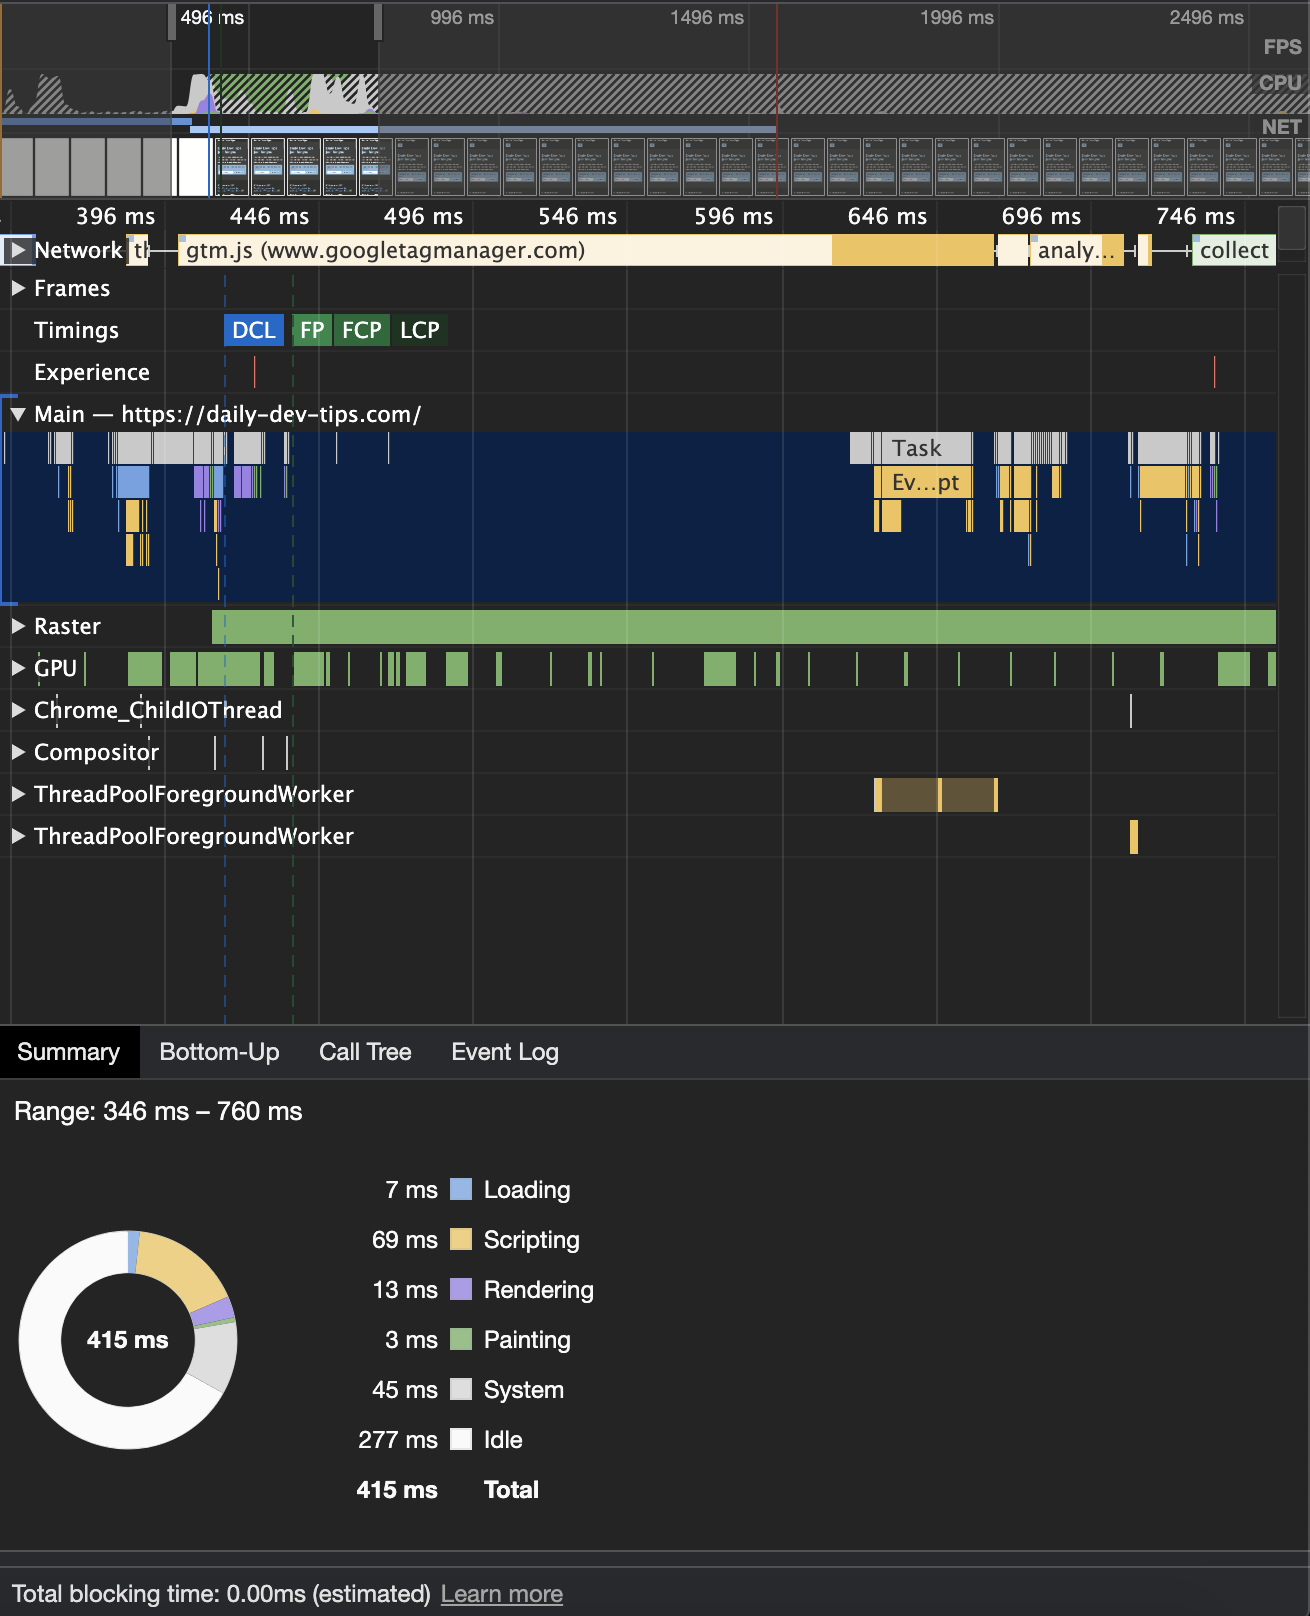
That means it was 443ms and is now 415ms, which means + 28ms win!
Conclusion: There is no downside to not adding the auto one. It can only benefit your website, even the small numbers matter.
Making sub-pages faster
I even added my content-visibility on the post pages, where the main content is set to auto.
The following screenshot is a before rendering:
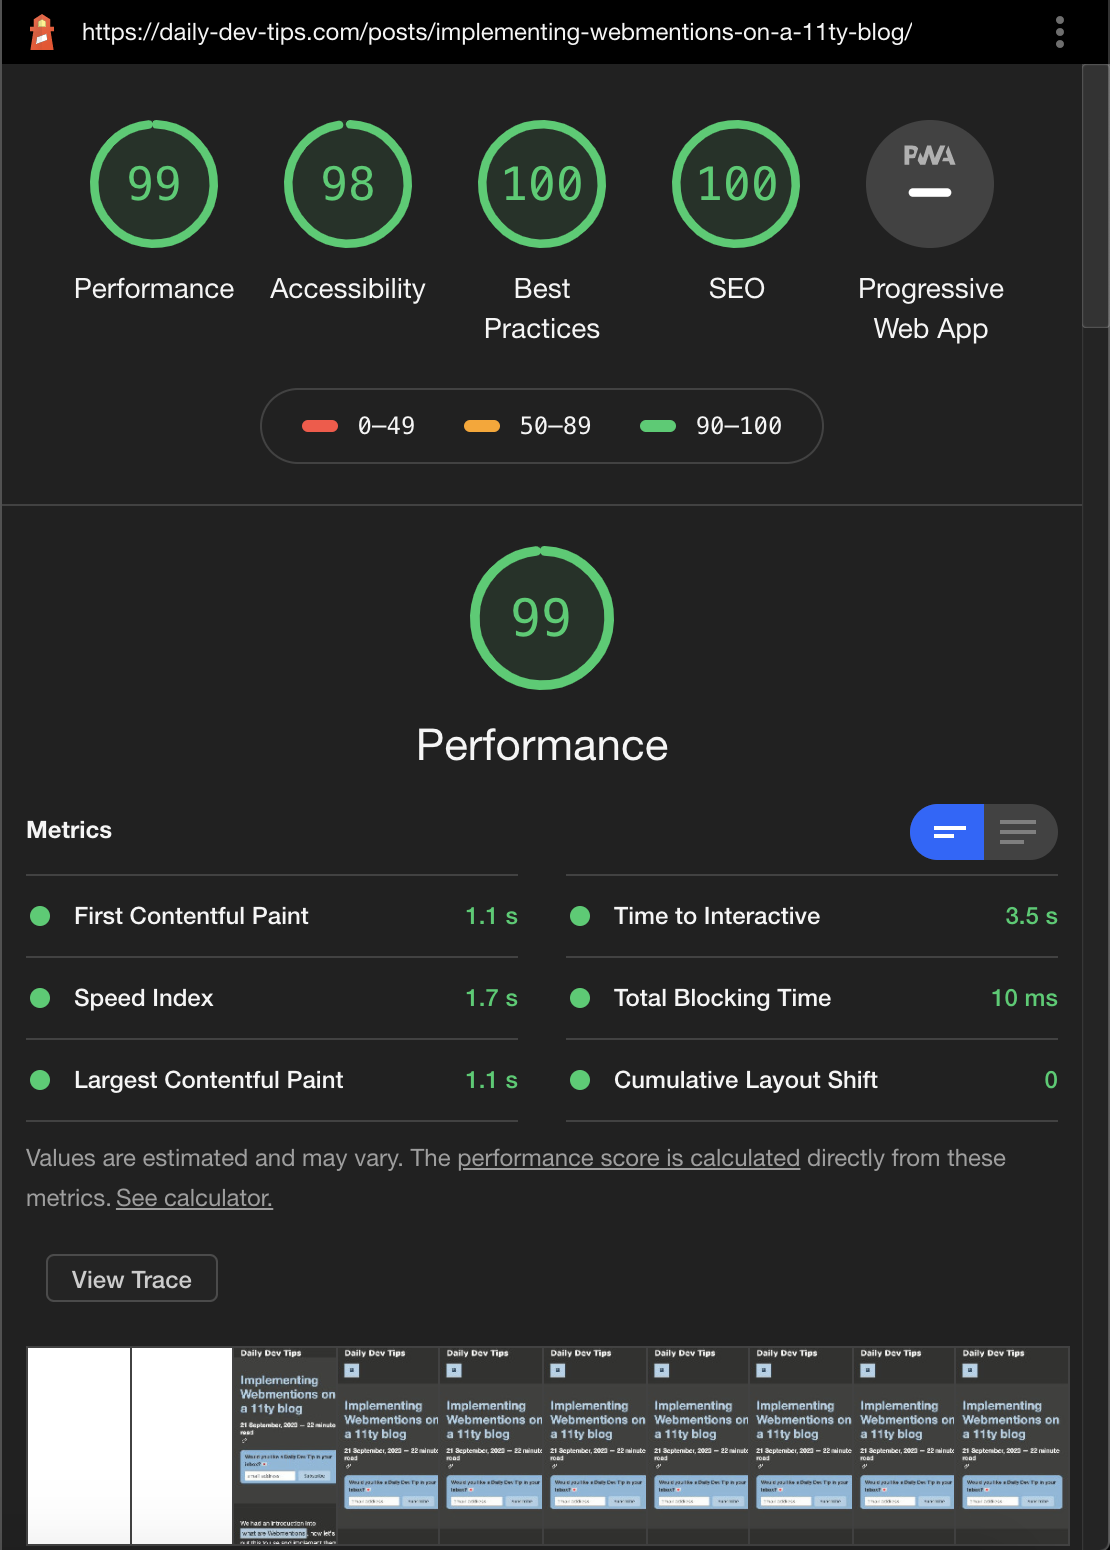
And this is the after rendering:
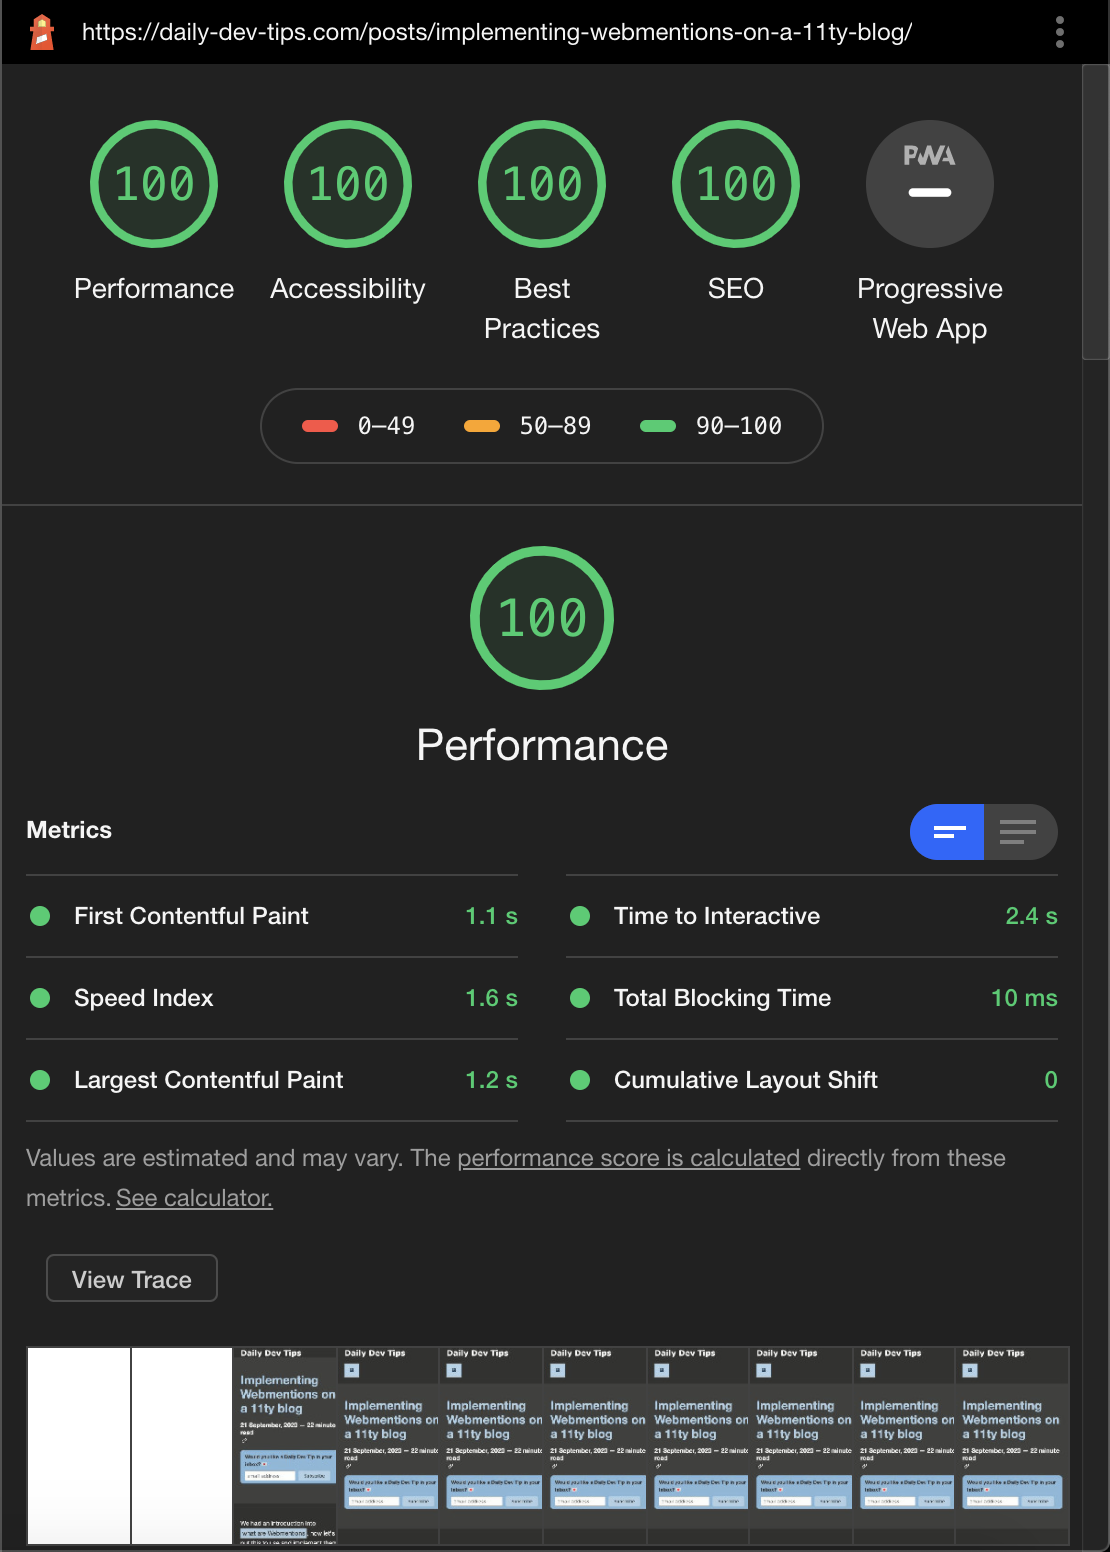
As you can see, it improved my score overall.
And adding content-visibility made the Time to Interactive 1.1s faster.
Thank you for reading, and let’s connect!
Thank you for reading my blog. Feel free to subscribe to my email newsletter and connect on Facebook or Twitter
