Confession time: I have never used the Datalist before! Therefore I thought it was about time I researched what it could be used for.
The Datalist specifies a list of pre-defined options which can be used for an input field.
This means it can be used as an autocomplete for input fields.
Let’s see how to use it:
HTML Structure
<label for="looney"
  ><input list="looneys" name="looneys" id="looney" /> is my favorite Looney
  Tune!</label
>

<datalist id="looneys">
  <option value="Bugs Bunny"></option>
  <option value="Daffy Duck"></option>
  <option value="Elmer Fudd"></option>
  <option value="Foghorn Leghorn"></option>
  <option value="Marvin the Martian"></option>
  <option value="Porky Pig"></option>
  <option value="Road Runner"></option>
  <option value="Speedy Gonzales"></option>
  <option value="Sylvester"></option>
  <option value="Tasmanian Devil"></option>
  <option value="Tweety"></option>
  <option value="Wile E. Coyote"></option>
  <option value="Yosemite Sam"></option>
</datalist>
Wow, that is all! Amazing right?
We need to define list="" on our input, and then we can define a datalist with the same id as the list.
This will generate an input with autocomplete functionality. It’s a better select element.
You can view it in action on this Codepen.
See the Pen HTML Datalist by Chris Bongers (@rebelchris) on CodePen.
Datalist downsides
It can not replace a select fully, so people will be able to type whatever they want in the box, and we can’t stop them unless we are doing some JavaScript magic.
Browser Support
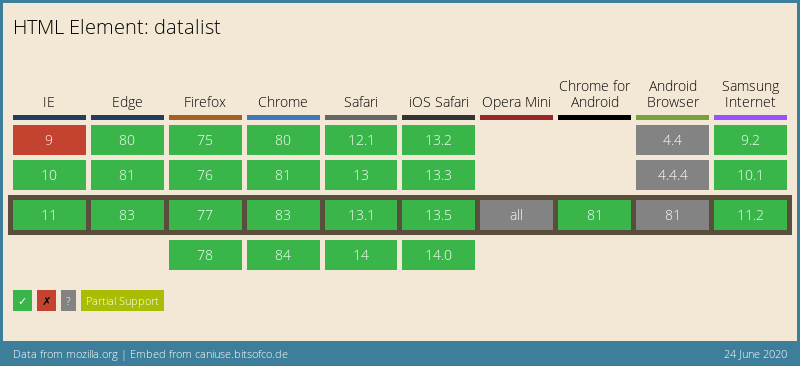
I’m pretty surprised at how well it is supported. We can even find a polyfill for IE9<.

Thank you for reading, and let’s connect!
Thank you for reading my blog. Feel free to subscribe to my email newsletter and connect on Facebook or Twitter