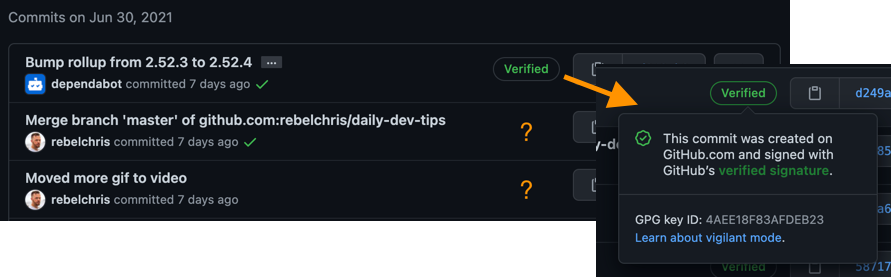
You might have seen some commits from merge-requests or Dependabot having a badge that states verified. But your commits don’t have this fancy badge?
Why bother with verified commits?
This is a valid question, which mainly comes down to security in this day and age.
We are still primarily working remotely/from home. Meaning the companies we work for have many questions if it’s safe what we are doing at home.
When you set your git configuration, you set it to be a specific email and name. And pretend someone else made that commit. That, of course, is a bit weird.
Looking at private repo’s, it makes sense. You are using some SSH key to commit to git, but you could still pretend to be a colleague.
That’s what verified commits will go against. They will make sure that a commit is signed as a specific user.
Set up verified commits on GitHub
GitHub uses Cryptographic signatures in the form of the GNU Privacy Guard (GPG) key.
Such key comes in a public key which we’ll set up in GitHub, and a private key that lives on our computer. Next time we send a commit to GitHub, it will use this key and encrypt our commit and data. On the GitHub site, it will decrypt and make sure it’s the right user.
Step 1 Install GPG
I’ll be using Homebrew since it;‘s the quickest way to install it.
Run the following command in your terminal.
brew install gpg
Step 2 Generate a new GPG key
We can now use the GPG command to generate a new key. Run the following command in your terminal.
gpg --full-generate-key
This will prompt a CLI program that will guide you through the process of generation.
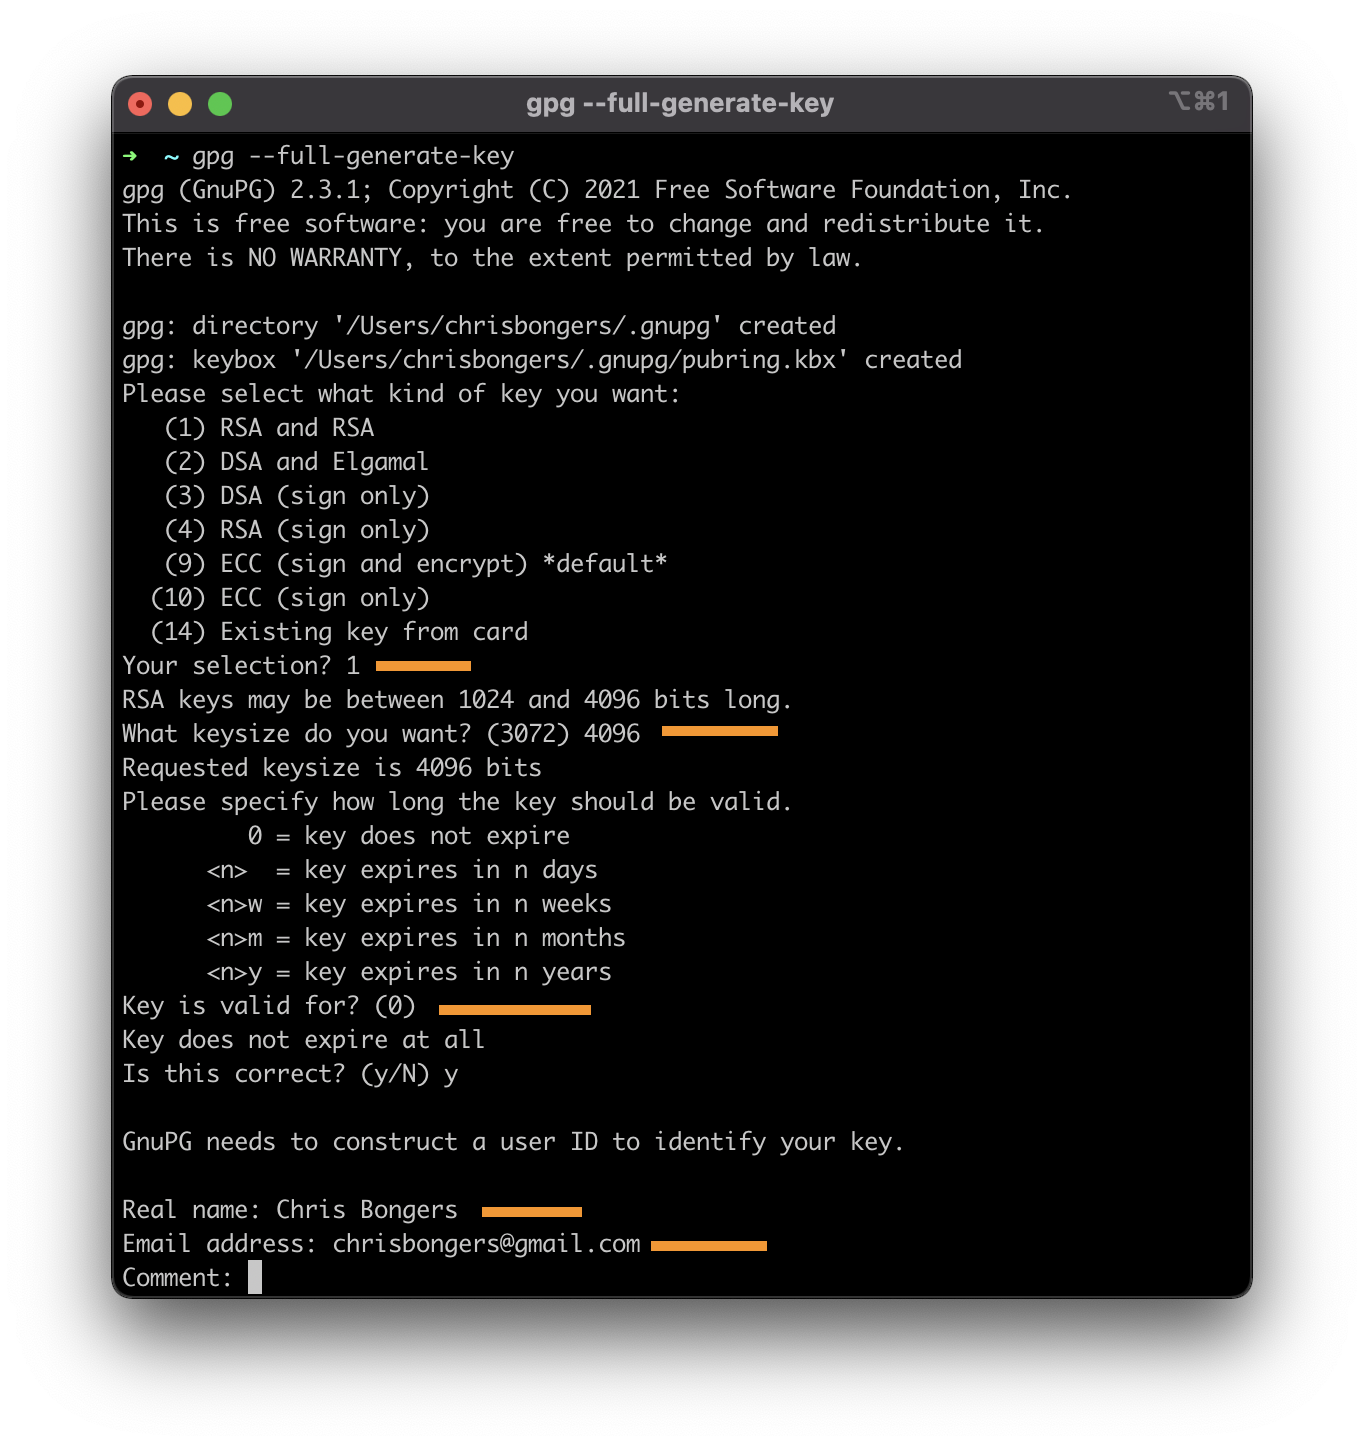
Keep in mind the following settings:
- I choose an RSA key (Option 1)
- Key should be a MINIMUM of 4096 in size
- I set it never to expire (Option 0)
- Name and email. Use your GitHub email else, it won’t work!
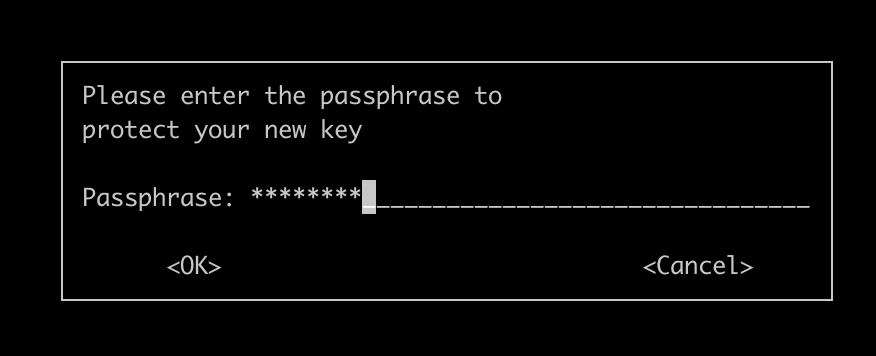
After this, it will prompt a password field twice. Use a secure password for this.
Step 3 verify the GPG key
Now that we created the key let’s verify it’s set up correctly.
Run the following command in a terminal.
gpg --list-secret-keys --keyid-format LONG
This should return something like this:
[SCRAMBLING NOT REALLY IMPORTANT]
--------------------------------------
sec   rsa4096/[THIS_KEY_ID] 2021-07-07 [SC]
      2B18EEB732D15480D40A60D605AE1785E201CE95
uid                 [ultimate] Chris Bongers <[email protected]>
ssb   rsa4096/C98A99F6B0202433 2021-07-07 [E]
Noted, I added the [THIS_KEY_ID], which will contain a key that is important to do the commits with.
Step 4 Export the key to GitHub
Now we should be able to create an export of this key to use in GitHub.
With the [THIS_KEY_ID] you got from step 3, run the following command:
gpg --armor --export [THIS_KEY_ID]
This will generate a large code block between:
-----BEGIN PGP PUBLIC KEY BLOCK-----
[SCRAMBLE]
-----END PGP PUBLIC KEY BLOCK-----
Copy that whole section, including the comments.
Now head over to GitHub, click on your profile image -> Settings. Choose SSH and GPG Keys from the left menu, scroll down and add a new GPG Key.
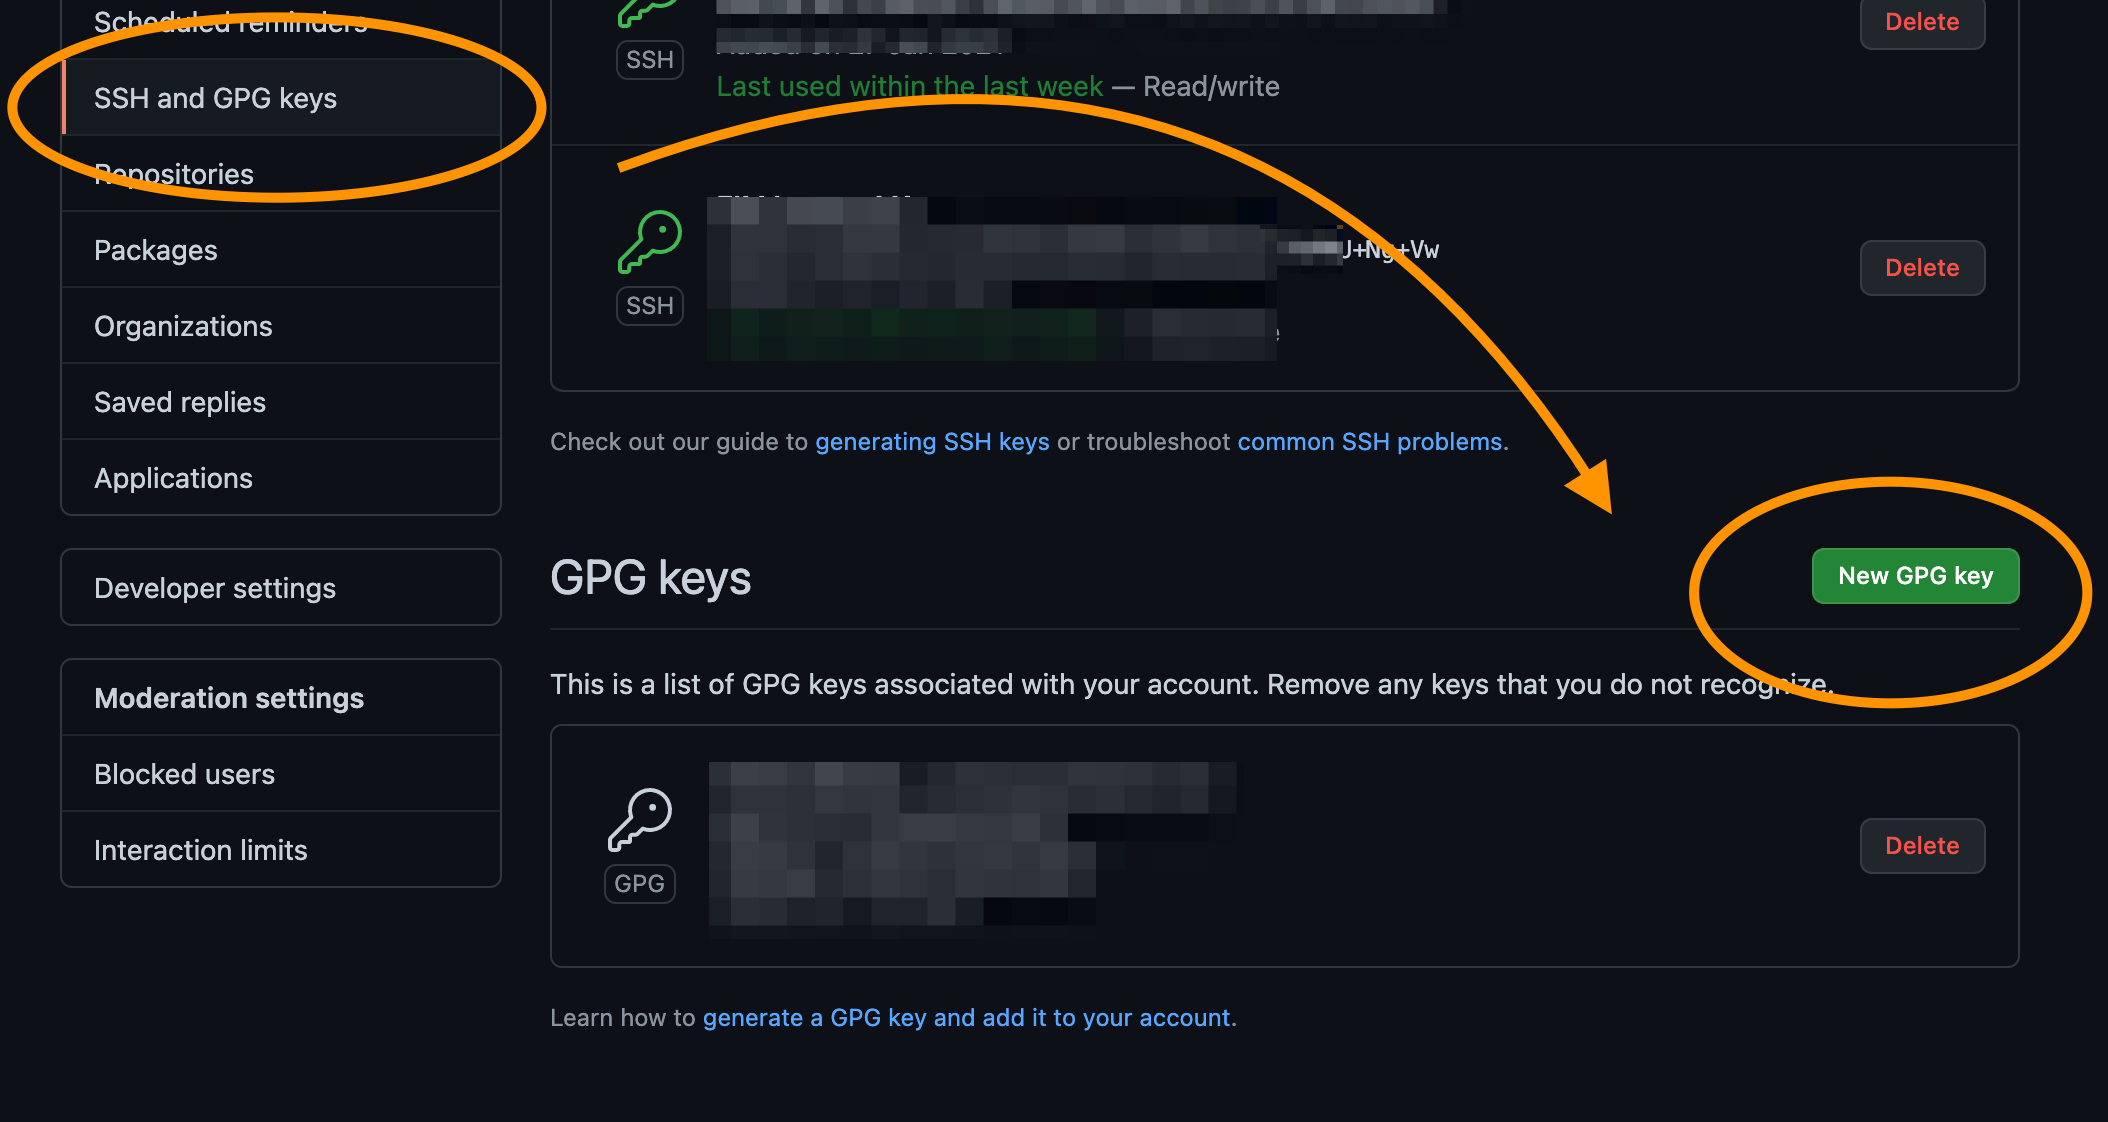
Copy that code block in the editor, and press save. You should now have your GPG key setup.
Step 5 Configure git always to sign commits
Let’s enable the Git client always to sign commits with our new key.
Run the following commands in a terminal.
git config --global user.signingkey [THIS_KEY_ID]
git config --global commit.gpgsign true
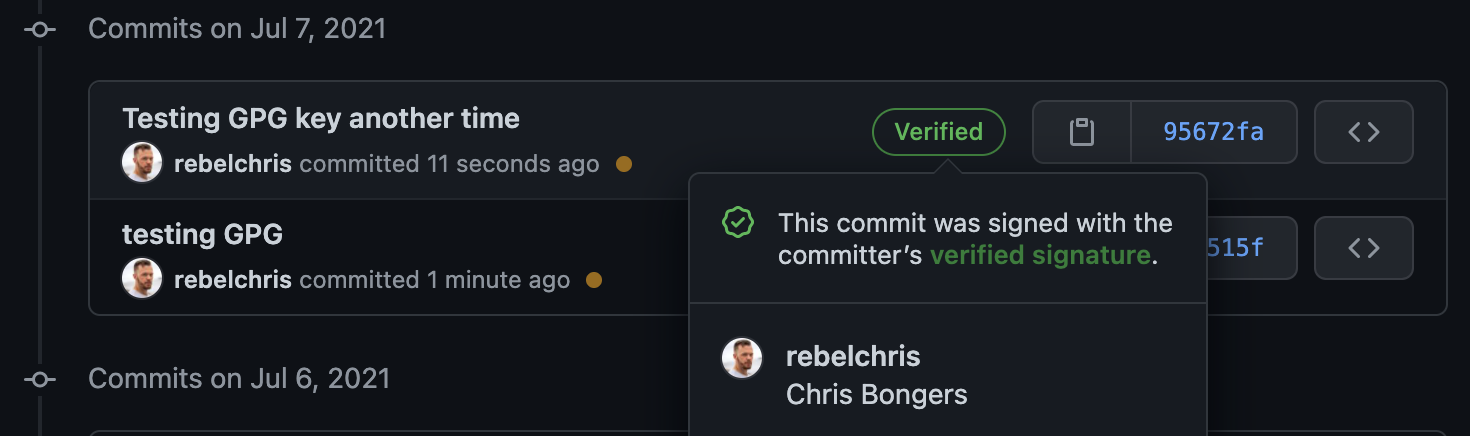
Now try and commit to one of your projects. And it should show a verified commit like this:
Troubleshooting
If you have issues in the last part and the response is saying the commit can’t be verified, you can try the following:
echo "test" | gpg --clearsign
If that is showing it failed, use the following command:
export GPG_TTY=$(tty)
Now rerun the command, and you should see a PGP signature.
It might also help kill the gpg client so that it will ask for the password the first time!
gpgconf --kill all
gpg-agent --daemon
Thank you for reading, and let’s connect!
Thank you for reading my blog. Feel free to subscribe to my email newsletter and connect on Facebook or Twitter