Hi everyone!
I’m sure you’ve heard of WordPress, and you may or may not like it. In this article, I’ll show you how you can leverage only the good parts of WordPress by using it as a headless CMS for your next project.
As the front-end, we’ll be using the new popular static site generator Astro.
Let’s dive a bit into the details of what we are working with.
What is Astro?
Astro is a Static Site Generator (SSG), meaning it can output a static HTML website.
You might be wondering, ok, but why do we need that? An SSG is excellent since it outputs static HTML, which in return means your website will be blazing fast. There is nothing faster than a plain HTML website.
We often want dynamic parts and components on our website. That’s where SSG comes in handy.
Astro is quite the new kid on the block, yet very powerful and full of potential. Here are some benefits to using Astro:
- SEO Focused out of the box
- BYOF (Bring your own framework) approach, bring which ever framework you like to work in, and Astro makes it work
- Partial hydration, making components render at the right time
- Lots of built-in support
- Routing is very extended
- Active community
These are just some of the reasons Astro is pretty amazing if you ask me. But if you wonder how Astro compares to other tools, check out this amazing document they set up.
What is a headless CMS?
Now that we have the front-end part explained let’s take a moment to check out what precisely is a Headless CMS.
I’m sure you’ve heard about WordPress, the bloated and well-used CMS system. WordPress is an absolute package monster, allowing people to manage their websites with little developer experience.
The development community often dislikes WordPress because it gets a bit too bloated. Meaning the websites are slow and full of stuff we don’t need.
That’s where WordPress as a headless system comes in. A headless system means you can use the entire backend system of WordPress but you don’t have to use the front-end output.
Instead, we use an API to query our data and use it in other system. In our case that would be an Astro front-end.
For the API system, we’ll use GraphQL as the query language, but more on that in the step below.
Setting up WordPress as a headless CMS
Before we continue, let’s set up WordPress and especially set it up as a Headless CMS.
The easiest way to set up WordPress on your local machine is to use a docker image.
If you don’t have Docker Desktop installed follow this guide on the Docker website.
Next up, create a new folder and navigate to it:
mkdir wordpress && cd wordpress
Then create a docker-compose.yml file and fill out the following details:
version: '3.9'

services:
  db:
    image: mariadb
    volumes:
      - db_data:/var/lib/mysql
    restart: unless-stopped
    ports:
      - 3307:3306
    environment:
      MYSQL_ROOT_PASSWORD: rootpress
      MYSQL_DATABASE: wordpress
      MYSQL_USER: wordpress
      MYSQL_PASSWORD: wordpress

  wordpress:
    depends_on:
      - db
    image: wordpress:latest
    volumes:
      - wordpress_data:/var/www/html
    ports:
      - '8000:80'
    restart: always
    environment:
      WORDPRESS_DB_HOST: db:3306
      WORDPRESS_DB_USER: wordpress
      WORDPRESS_DB_PASSWORD: wordpress
      WORDPRESS_DB_NAME: wordpress
volumes:
  db_data: {}
  wordpress_data: {}
Then we can spool up our docker image by running the following command:
docker-compose up
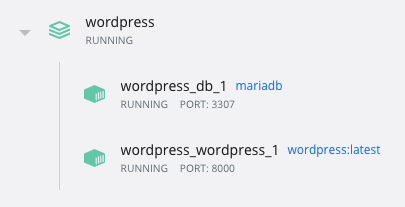
Once it’s up, you should see the following in your Docker Desktop client.
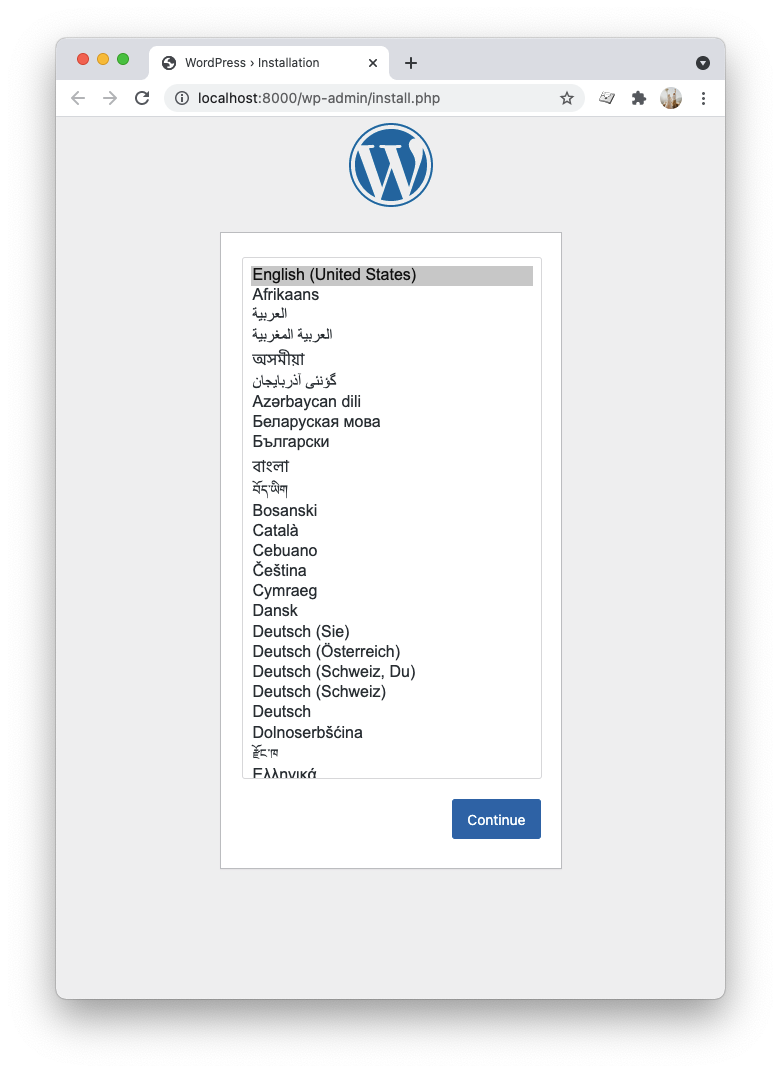
The next step is to visit our WordPress installation and follow the install steps.
You can find your WordPress installation on http://localhost:8000/ and should be welcomed by the WordPress install guide.
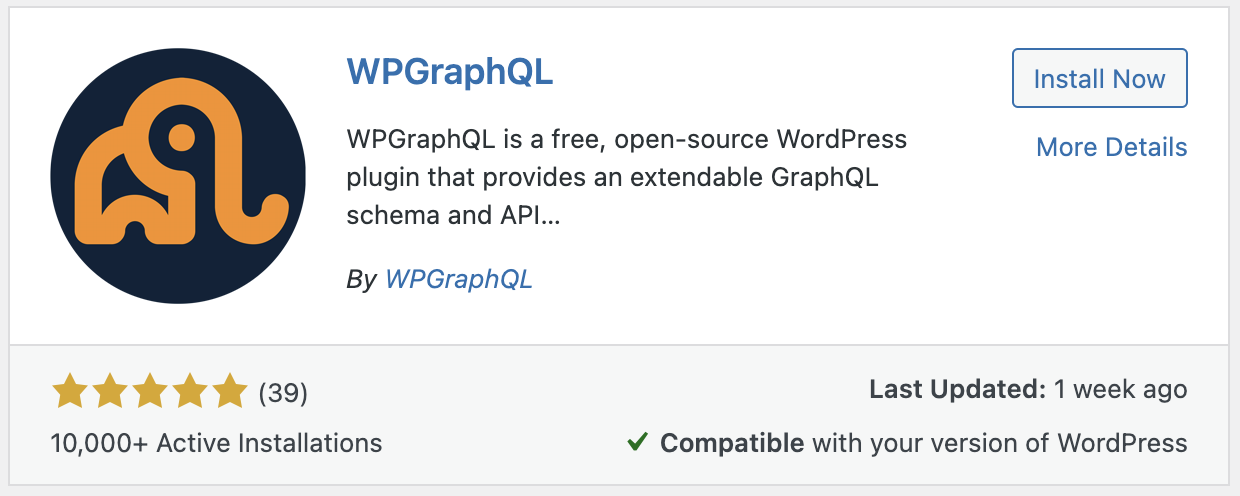
To set it up as a Headless CMS, we need to install the WP GraphQL plugin.
Follow the install guide of the plugin. Once it’s installed, we even get this fantastic GraphQL editor to test out our queries.
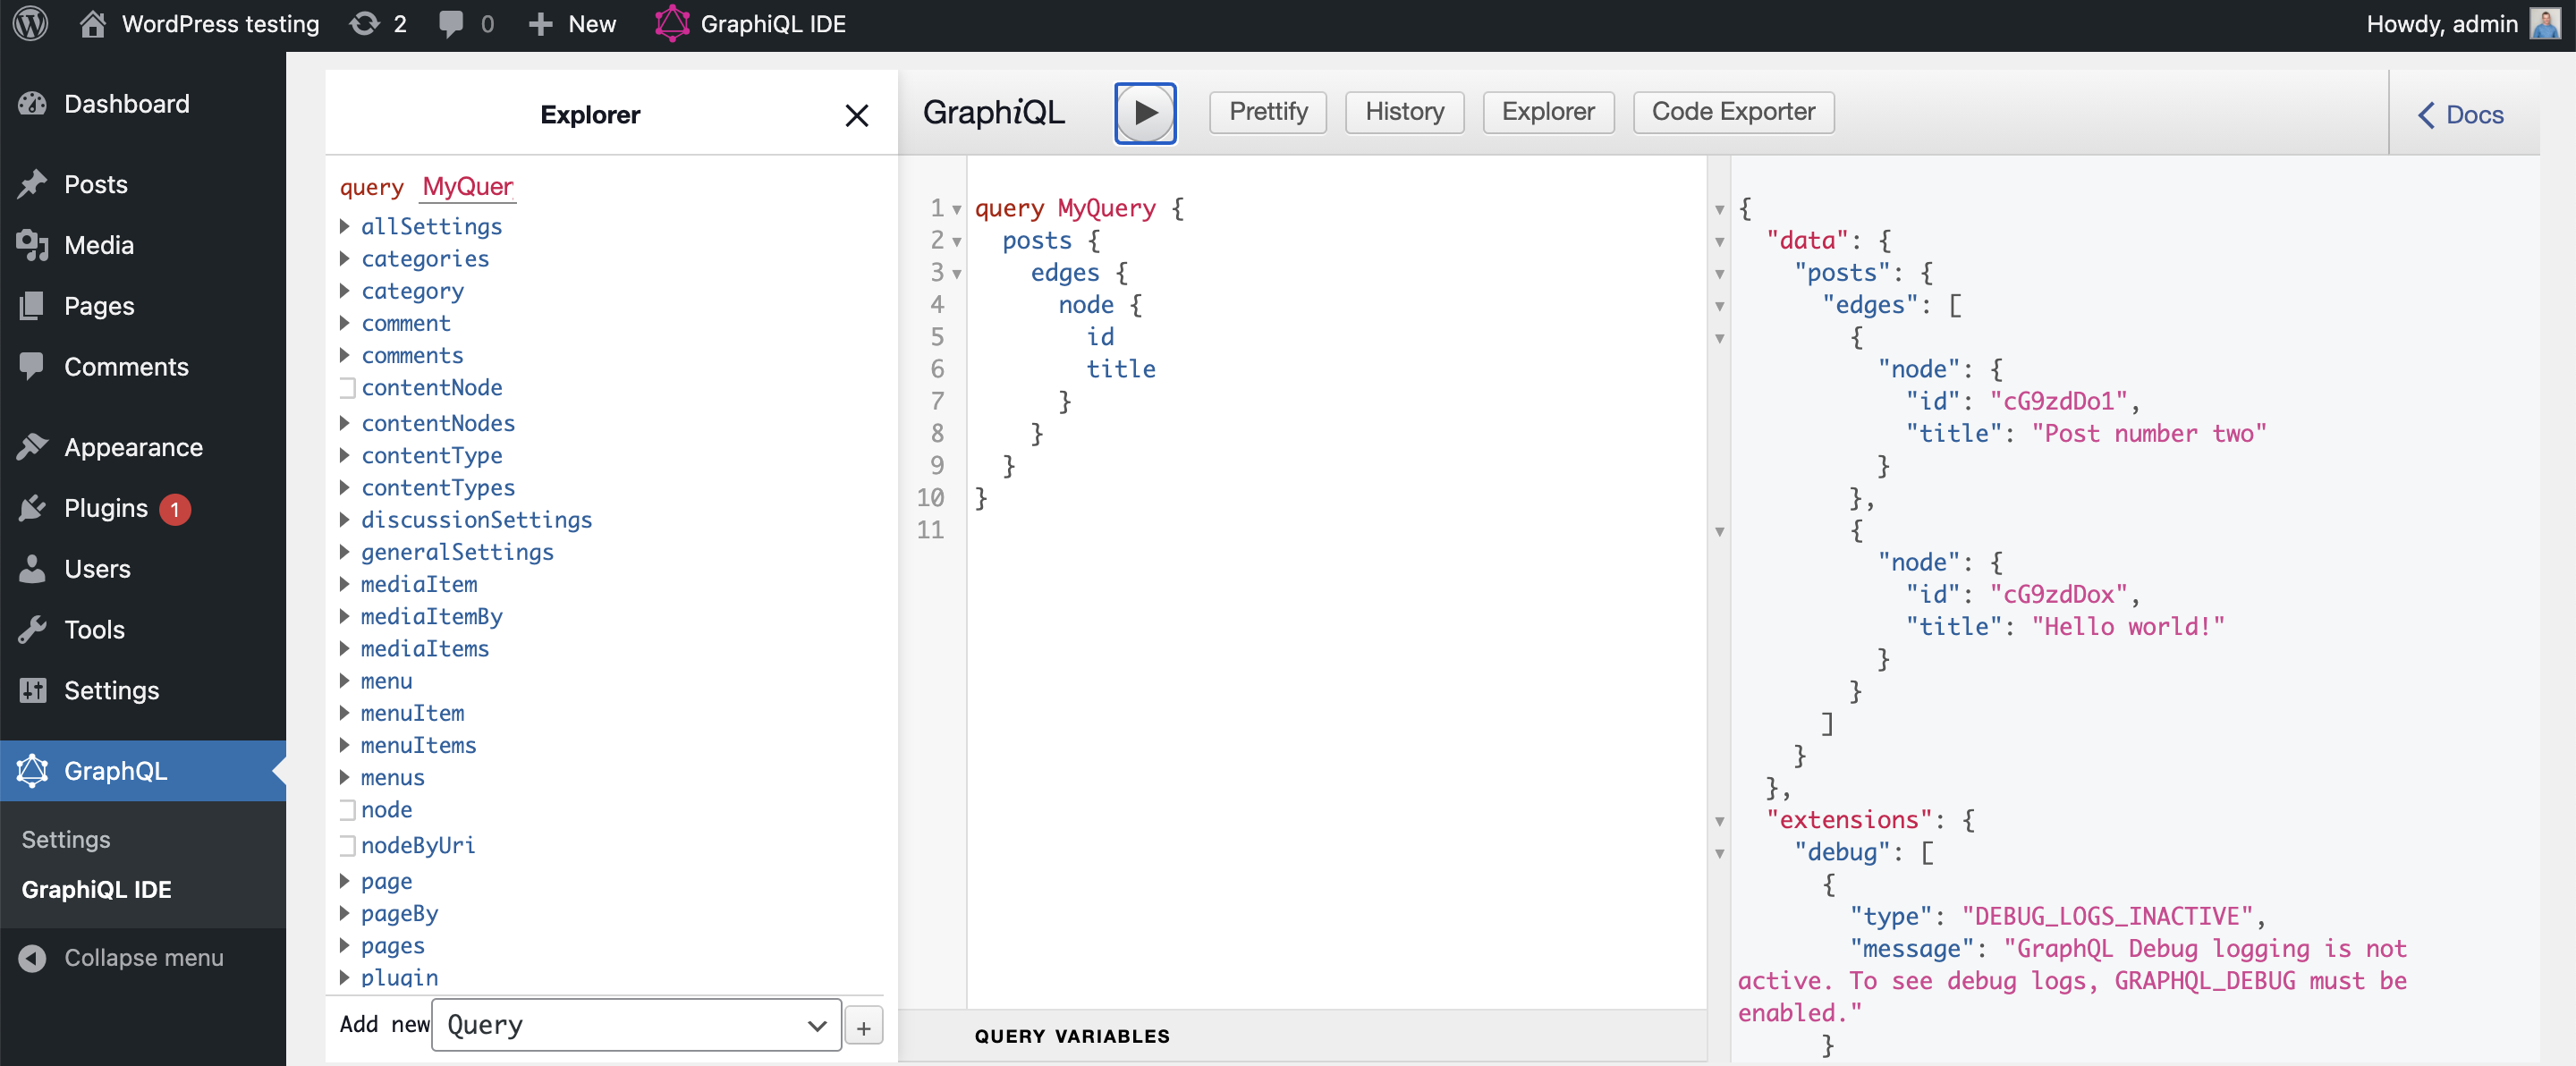
And we get a GraphQL endpoint available at the following URL: http://localhost:8000/graphql.
While you are in the WordPress section, create some demo pages. Next up it’s time to set up our Astro project.
Setting up the Astro project
Please create a new folder and navigate to it.
mkdir astro-wordpress && cd astro-wordpress
Then we can install Astro by running the following command:
npm init astro
You can choose the start template to get started with.
Next up, run npm install to install all dependencies and start up your Astro project by running npm start.
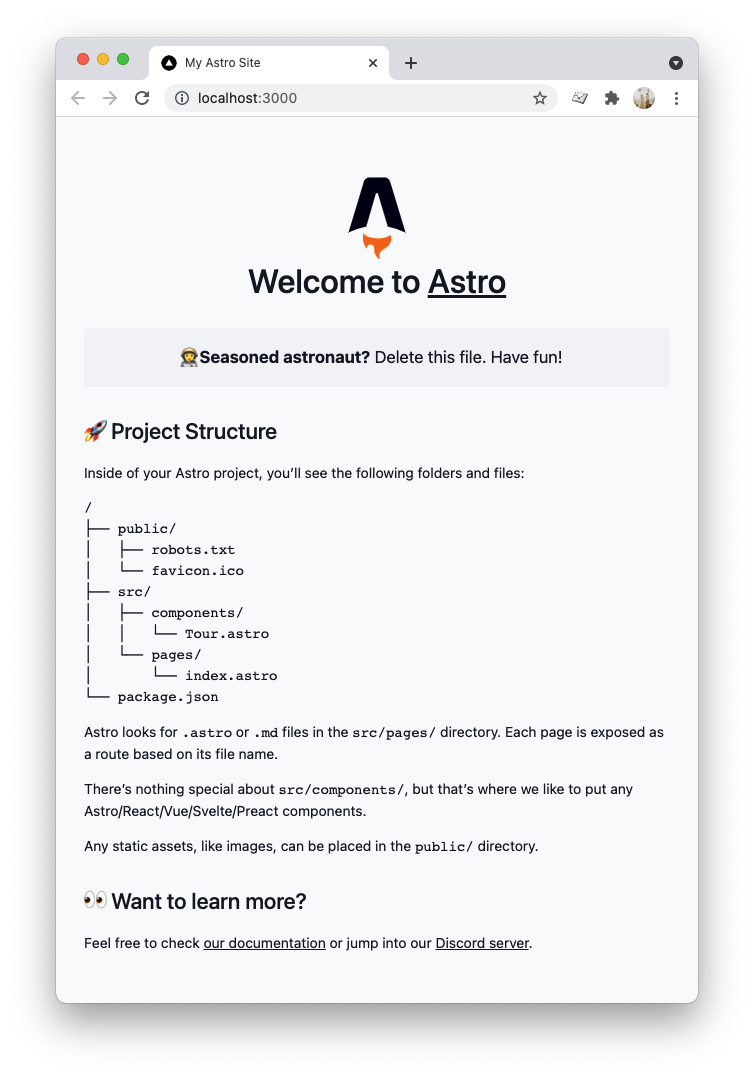
You can now visit your front-end at http://localhost:3000/.
Adding Tailwind CSS as our styling framework
Right, before we move on to loading our WordPress data, let’s install TailwindCSS as it will make our lives easier in styling the website.
Installing Tailwind in an Astro project is pretty easy. Let’s see what needs to happen step by step.
- Install Tailwind:
npm install --D tailwindcss
- Create a
tailwind.config.jsfile
module.exports = {
  mode: 'jit',
  purge: ['./public/**/*.html', './src/**/*.{astro,js,jsx,svelte,ts,tsx,vue}'],
};
- Enable tailwind config in your
astro.config.mjsfile.
export default {
  devOptions: {
    tailwindConfig: './tailwind.config.js',
  }
};
And lastly, we need to create a styles folder in the src directory.
Inside this creates a global.css file and add the following contents:
@tailwind base;
@tailwind components;
@tailwind utilities;
To use this style in our pages, we need to load it like so:
<link rel="stylesheet" type="text/css" href={Astro.resolve('../styles/global.css')} />
Installing the Tailwind typography plugin
Seeing as our content comes from WordPress, we can leverage the Tailwind Typography plugin to not have to style things manually.
Run the following command to install the plugin:
npm install @tailwindcss/typography
Then open your tailwind.config.js file and add the plugin:
module.exports = {
  mode: 'jit',
  purge: ['./public/**/*.html', './src/**/*.{astro,js,jsx,svelte,ts,tsx,vue}'],
  plugins: [require('@tailwindcss/typography')],
};
And that’s it! We can now use Tailwind and its fantastic typography plugin.
Creating a .env file
Since our endpoint might vary depending on our environment, let’s install the dotenv package.
npm install --D dotenv
Then we can create a .env file that will contain our WordPress graphQL endpoint.
WP_URL=http://localhost:8000/graphql
Creating the API calls in Astro
Alright, we have our WordPress set up and our basic Astro website up and running. It’s time to bring these two together.
Create a lib folder in the src directory and create a file called api.js.
This file will contain our API calls to the WordPress GraphQL API endpoint.
The first thing we need to do in this file is loading our environment.
import dotenv from 'dotenv';
dotenv.config();
const API_URL = process.env.WP_URL;
Then we need to create a basic fetchAPI call that will execute our GraphQL queries.
This generic call will handle the URL and actual posting.
async function fetchAPI(query, { variables } = {}) {
  const headers = { 'Content-Type': 'application/json' };
  const res = await fetch(API_URL, {
    method: 'POST',
    headers,
    body: JSON.stringify({ query, variables }),
  });

  const json = await res.json();
  if (json.errors) {
    console.log(json.errors);
    throw new Error('Failed to fetch API');
  }

  return json.data;
}
Then let’s create a function that can fetch all our WordPress pages that have a slug.
export async function getAllPagesWithSlugs() {
  const data = await fetchAPI(`
  {
    pages(first: 10000) {
      edges {
        node {
          slug
        }
      }
    }
  }
  `);
  return data?.pages;
}
As you can see, we pass a GraphQL query to our fetchAPI function and return all the pages we get in return.
Remember you can try out these GraphQL queries in the WordPress plugin GraphQL viewer.
Seeing the above query will only give us the slugs for each page. We can go ahead and create a detailed call that can retrieve a page’s content based on its slug.
export async function getPageBySlug(slug) {
  const data = await fetchAPI(`
  {
    page(id: "${slug}", idType: URI) {
      title
      content
    }
  }
  `);
  return data?.page;
}
Rendering WordPress pages in Astro
Now that we have these functions set up, we need to create these pages in our front-end Astro project dynamically.
Remember how Astro outputs static HTML? That means we need a way to retrieve these and dynamically build these pages.
Luckily Astro can do just that for us!
To create a dynamic page, we must create a file called [slug].astro in our pages directory.
As this is an Astro file, it comes in two sections, the code, and the HTML. The code is wrapped in frontmatter (three lines), and it looks like this:
---
Code
---
<html>
	<h1>HTML</h1>
</html>
Let’s first import the two functions we need from our API file.
---
import { getAllPagesWithSlugs, getPageBySlug } from '../lib/api';
---
Then Astro comes with a getStaticPaths function that enables us to create dynamic pages.
Inside this function we can wrap all our pages like so:
export async function getStaticPaths() {
  const pagesWithSlugs = await getAllPagesWithSlugs();
}
And then, we can map those to return a slugged page for each of our WordPress pages.
export async function getStaticPaths() {
  const pagesWithSlugs = await getAllPagesWithSlugs();
  return pagesWithSlugs.edges.map(({ node }) => {
    return {
      params: { slug: node.slug },
    };
  });
}
You can see the file name must match with the params there, as we have [slug] as the filename. The params must also be slug.
Then the last thing we need is to fetch the current page based on the slug.
const { slug } = Astro.params;
const page = await getPageBySlug(slug);
Then we can move to the HTML part to render the page!
<html lang="en">
  <head>
    <meta charset="UTF-8" />
    <title>{page.title}</title>
    <meta name="viewport" content="width=device-width" />
    <link rel="stylesheet" type="text/css" href={Astro.resolve('../styles/global.css')} />
  </head>
  <body>
    <div class="flex flex-col p-10">
      <div class="mb-5 text-4xl font-bold">{page.title}</div>
      <article class="prose lg:prose-xl">
        {page.content}
      </article>
    </div>
  </body>
</html>
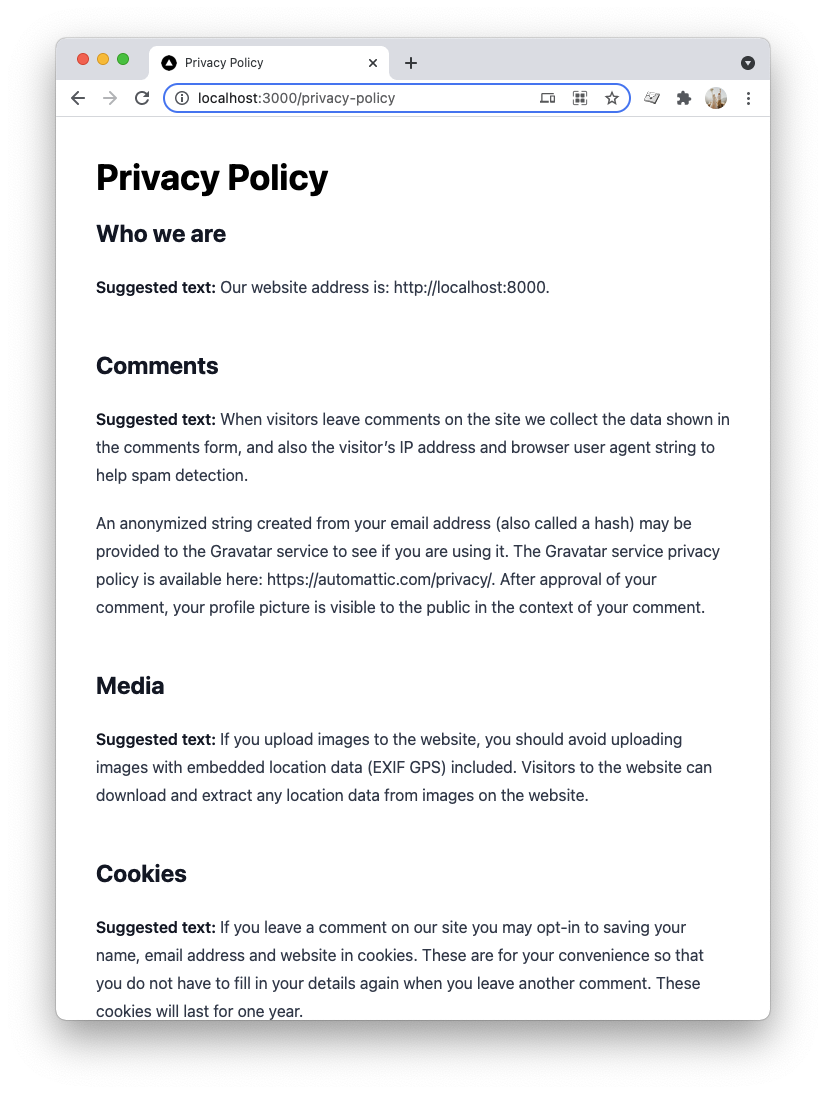
You should now be able to visit any of your slugs. Let’s see my privacy policy page, for instance.
Loading the primary WordPress menu in Astro
It’s pretty cool that we have these pages at our disposal, but we can’t tell the user to type in the URLs they want to visit.
So let’s create a primary menu in WordPress and use that instead!
First, head over to your WordPress admin panel and find the Appearance > Menu section.
Add a new menu. You can give this any name you want.
However, for the display location, choose Primary menu.
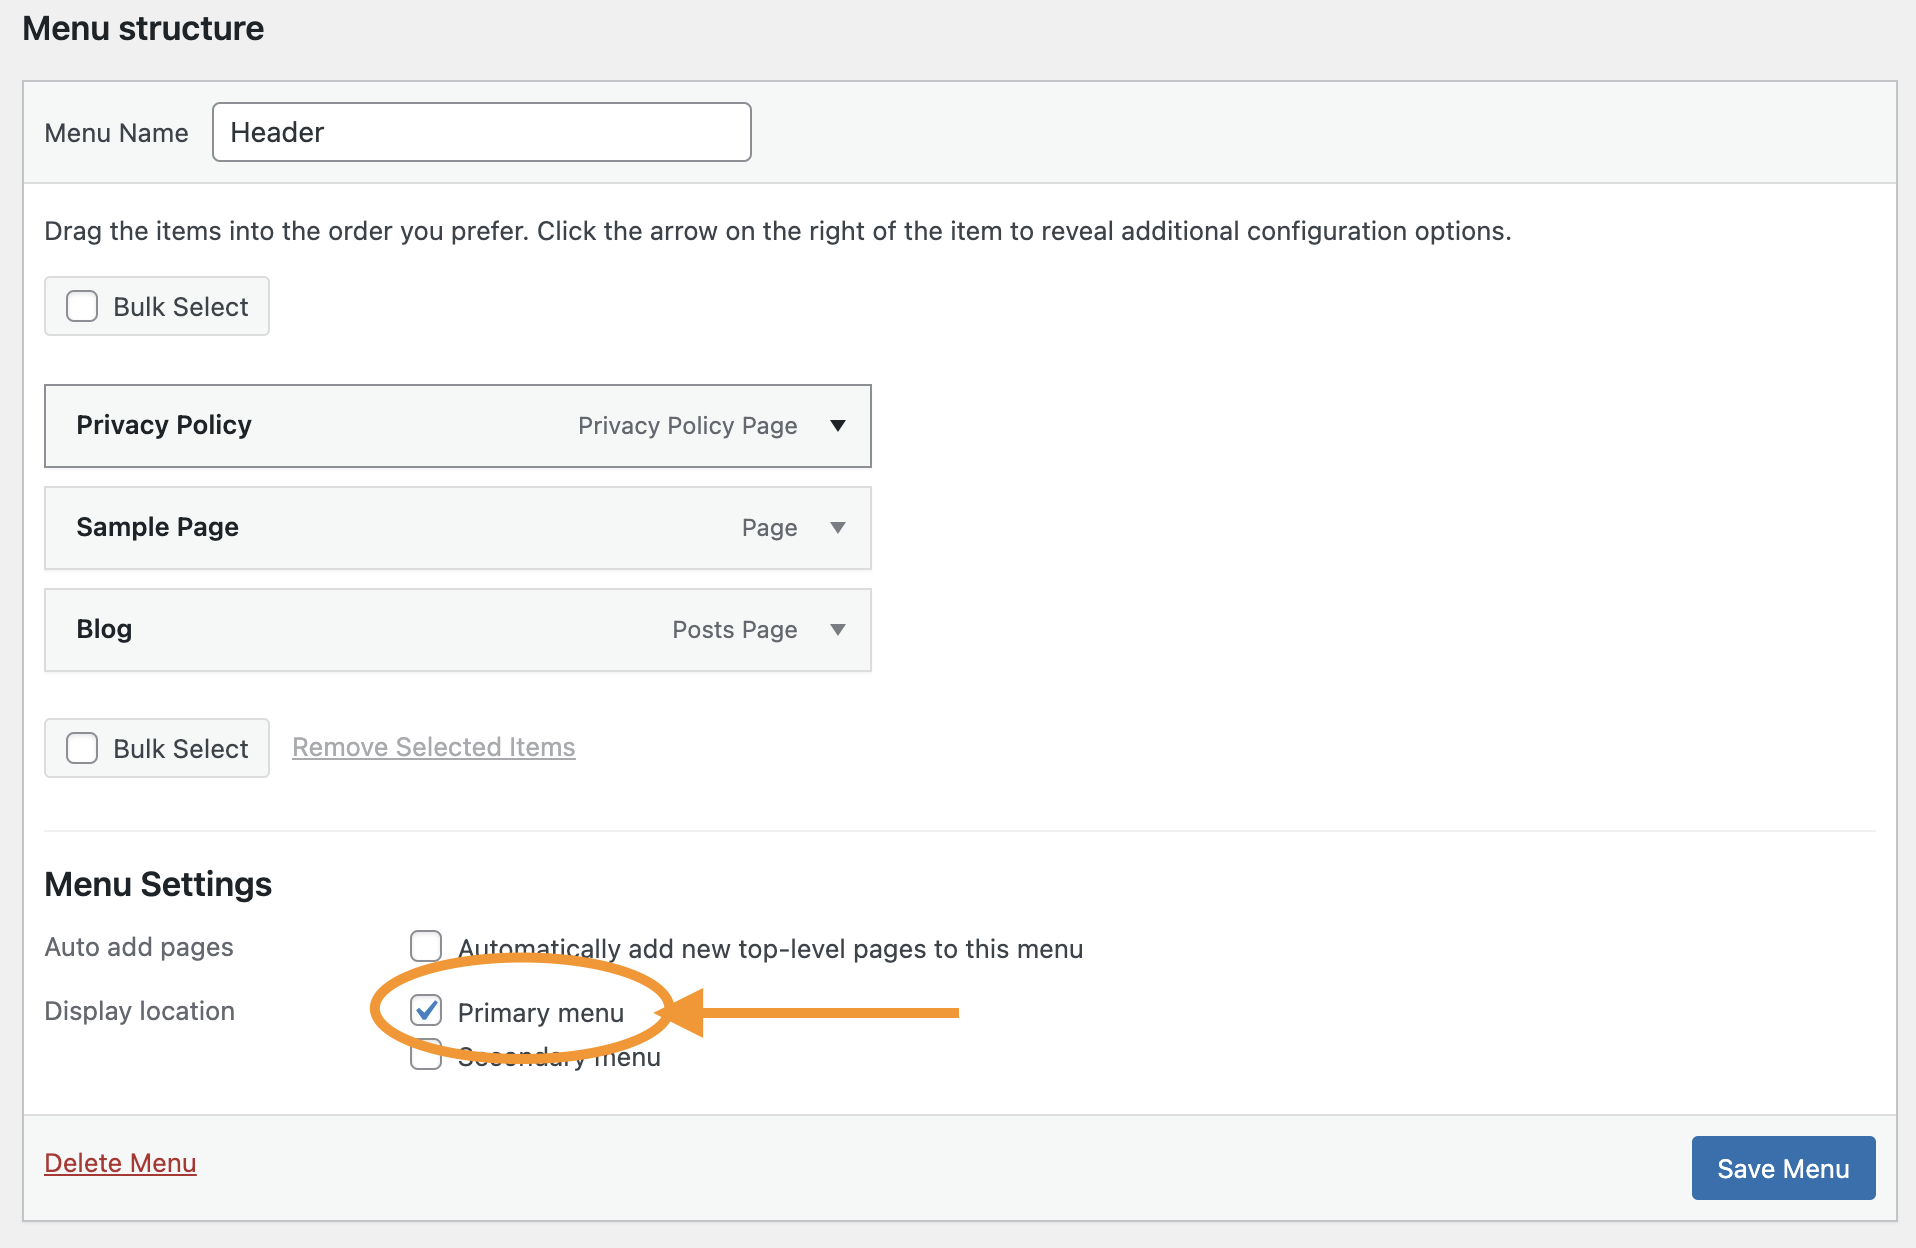
You can then go ahead and add some pages to this menu.
The next thing we need to do is query this menu in our lib/api.js file in our front-end project.
export async function getPrimaryMenu() {
  const data = await fetchAPI(`
  {
    menus(where: {location: PRIMARY}) {
      nodes {
        menuItems {
          edges {
            node {
              path
              label
              connectedNode {
                node {
                  ... on Page {
                    isPostsPage
                    slug
                  }
                }
              }
            }
          }
        }
      }
    }
  }
  `);
  return data?.menus?.nodes[0];
}
To use this, let’s create a new component that we can re-use. Remember that’s one of the powers Astro brings us.
Create a Header.astro file in your components directory.
In there, let’s first go to the code section.
---
import { getPrimaryMenu } from '../lib/api';

const { menuItems } = await getPrimaryMenu();
---
This will retrieve all the menu items in the primary menu we just defined.
Next up the HTML section for this:
<nav class="flex flex-wrap items-center justify-between p-6 bg-blue-500 shadow-lg">
  <a href="/" class="cursor-pointer p-4 ml-2 text-white">AstroPress</a>
  <ul class="flex items-center justify-end flex-grow">
    {menuItems.edges.map((item) =>
        <li key={item.node.path}>
            <a href={item.node.connectedNode.node.slug} class={`cursor-pointer p-4 ml-2 text-white`}>
                {item.node.label}
            </a>
        </li>
    )}
  </ul>
</nav>
To use this component and see it in action, let’s open up the [slug].astro file and import it in our code section.
---
import Header from '../components/Header.astro';
---
Then we can use it in our HTML section by adding the following code in our body tag.
<body>
    <Header />
    <!-- Other code -->
</body>
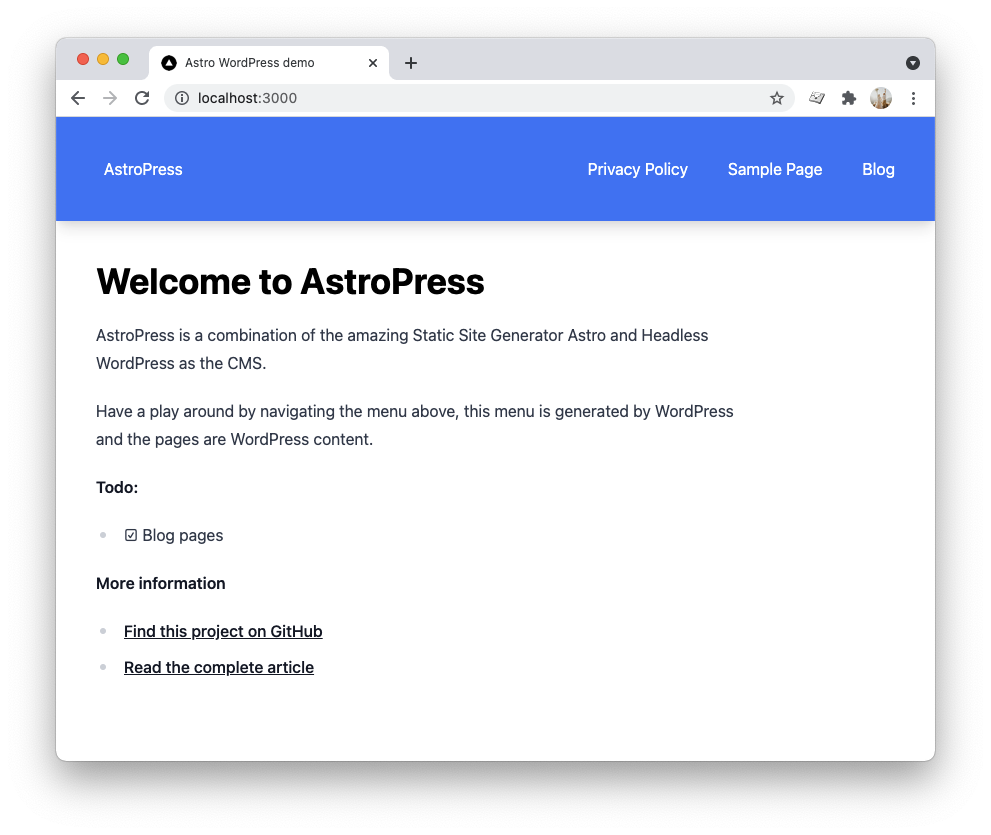
And if we refresh our project, we have a super cool menu!
Conclusion
Today, we learned how to set up WordPress as a headless CMS and how to load this through a GraphQL endpoint in an Astro website.
For me, this brings the best of two worlds.
WordPress as an established CMS system, something we don’t want to be rebuilding from scratch. And Astro as the SSG that outputs the fastest possible website for us!
From here, the options are endless as you can retrieve posts, custom elements, and more from WordPress.
If you are interested, you can find the complete code on GitHub. Or check out the sample website here.
Thank you for reading, and let’s connect!
Thank you for reading my blog. Feel free to subscribe to my email newsletter and connect on Facebook or Twitter